
Welcome to another practical guide from TheKitchenApplianceDad.com. Today, we’re tackling a common yet occasionally perplexing task: removing the freezer drawer from a Whirlpool refrigerator. This process can be necessary for a range of reasons, from a deep clean, troubleshooting, defrosting, to making repairs or replacements.
Whirlpool refrigerators are known for their reliability and durability, but like any appliance, they need a bit of maintenance now and then. Removing the freezer drawer is a task that can seem daunting if you’ve never done it before, but with the right instructions, it’s quite straightforward. Let’s get into the step-by-step process.
Before we begin, it’s important to gather the right tools and ensure safety throughout the procedure.
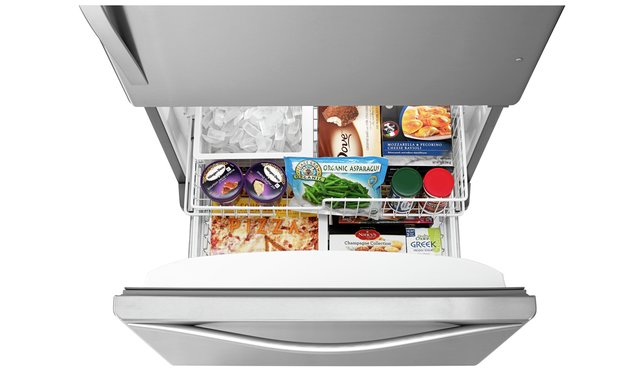
Start by opening the freezer drawer fully. This will give you access to the slides and mechanisms that hold it in place.
If your model has an ice maker inside the freezer drawer, you will need to remove it before you can take out the drawer itself. Look for the mounting screws that attach the ice maker to the freezer wall, usually found on the upper sides. Use your Philips head screwdriver to remove these screws. Gently pull out the ice maker and disconnect any wiring harnesses connected to it. Be sure to support the ice maker with your hand as you detach it.
Many freezer drawers have a front panel attached to the main drawer compartment. Locate the screws on the sides or the bottom of the drawer that hold the front panel in place. Using a screwdriver, remove these screws and gently lift off the front panel.
With the front panel removed, you should see the metal slides that allow the drawer to move in and out. There will typically be levers or tabs on the slides that lock the drawer in place. These can usually be pressed or lifted with a flathead screwdriver. Once released, you should be able to pull the drawer forward smoothly.
After releasing the slides, pull the drawer out towards you. It might require a bit of wiggling to free it from the track. Be careful as the drawer can be heavier than expected, especially if it’s a larger model.
With the drawer removed, it’s a good opportunity to check the tracks and interior for any frost buildup or debris. Use this chance to clean the areas that are usually hard to reach when the drawer is in place.
To put the drawer back into place, simply reverse the steps above. Make sure the slides click back into their tracks properly and that all components are secure before turning the refrigerator back on. This is also a good time to ensure that everything is clean and dry to prevent ice buildup.
Removing the freezer drawer from your Whirlpool refrigerator might seem like a big task, but with these instructions, it should be a breeze. Whether you’re cleaning, troubleshooting, or just curious about how your refrigerator works, knowing how to properly remove and replace the freezer drawer is a valuable skill. Keep these tips in mind, and you’ll handle this task like a pro! VisitTheKitchenApplianceDad.com for more tips and guides on managing your home appliances effectively.

