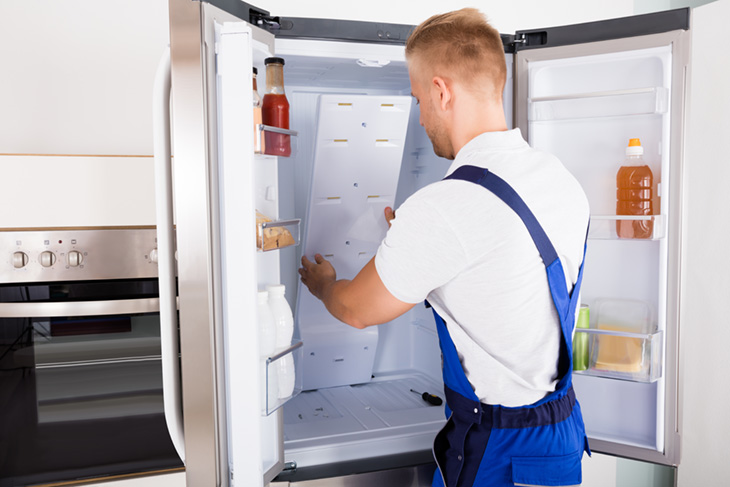
Maintaining an airtight seal on your Frigidaire freezer is crucial for several reasons. A tight seal ensures efficient operation, reduces energy consumption, and extends the life of your freezer’s contents by keeping them frozen and well-preserved. Air leaks can lead to frost buildup, increased energy costs, and spoiled food. Here at TheKitchenApplianceDad.com, we understand the importance of keeping your appliances in top shape, so let’s dive into how you can ensure a tight seal on your Frigidaire freezer to prevent those pesky air leaks.
Before we get into the specifics, it’s important to understand why a good seal is so crucial. The seal around your freezer door, also known as a gasket, is designed to keep the cold air in and the warm air out. If this seal is compromised, your freezer has to work harder to maintain the set temperature, which can lead to wear and tear on the compressor and other vital parts.

Start by visually inspecting the seal around the edges of the freezer door. Look for any signs of wear, tear, or gaps. Cracks, dryness, or areas where the seal does not adhere properly to the door frame can be an initial indication of issues that need to be addressed.
A simple and effective way to check the integrity of your freezer’s seal is by using a dollar bill. Place the bill between the seal and the freezer, close the door, and then try to pull the bill out. If the bill comes out easily with no resistance, it’s a sign that the seal isn’t tight enough. Perform this test at various points around the door to ensure the entire seal is effective.
Dirt, debris, and spills can prevent your freezer’s seal from closing properly. Here’s how to clean it:
Sometimes, the door gasket can become sticky, which can also prevent a tight seal. Cleaning off any sticky residues can often resolve this issue.
Sometimes, the issue might not be with the gasket itself but with how the door aligns with the freezer frame. Check the alignment and adjust the hinges accordingly. This can often be done with a simple screwdriver, adjusting the screws on the door’s hinges.
If the seal is damaged or beyond repair, replacing it is the next step. Here’s how:
To minimize future issues, here are some preventive tips to keep in mind:
If you’ve tried all these steps and you still suspect air leaks, it might be time to call in a professional. Sometimes, issues could stem from other parts of the freezer that aren’t as easily accessible or fixable on your own.
By following these steps, you can ensure that your Frigidaire freezer maintains a tight seal, operates efficiently, and keeps your food preserved under optimal conditions. Remember, a little maintenance goes a long way in extending the life of your kitchen appliances. Stay tuned to TheKitchenApplianceDad.com for more tips and advice on keeping all your kitchen appliances in perfect shape.

