
Preserving the delicate beauty of flowers is an art that has been appreciated through the ages. While traditional methods of drying flowers can take days or even weeks, modern technology offers a quicker solution. At TheKitchenApplianceDad.com, we understand the importance of preserving memories and making the most of every moment. That’s why today, we’re diving into the efficient method of drying flowers using a microwave. This quick and easy guide will help you turn your cherished blooms into lasting keepsakes in a fraction of the time it usually takes.
Drying flowers serves multiple purposes. It not only helps in preserving the gorgeous hues and unique shapes of your favorite blooms but also allows you to create stunning arrangements, home décor, and heartfelt gifts. The traditional air-drying method, while effective, often leads to faded colors and brittle petals. Using a microwave, however, you can maintain vibrant colors and achieve faster results.
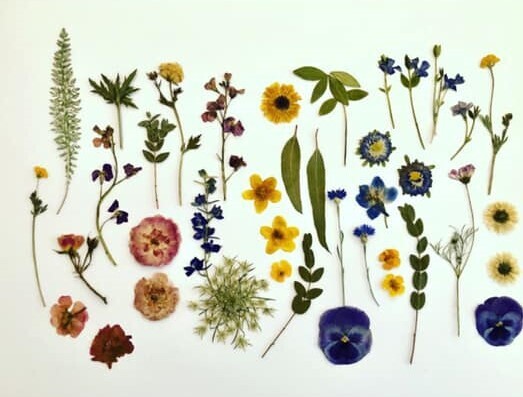
Not all flowers are suitable for microwave drying. The best candidates are those with naturally low moisture content and sturdy petals. Flowers like roses, marigolds, chrysanthemums, and gerberas are excellent choices. Avoid very thick or fleshy flowers, such as orchids or lilies, which may not dry well using this method.
Before you begin the drying process, it’s important to prepare your blooms to ensure the best results:
Place a sheet of absorbent paper on the microwave-safe plate. Arrange your flowers on the paper, making sure they don’t overlap. Cover them with another sheet of absorbent paper.
Place a heavy microwave-safe object on top of the upper sheet of paper. This helps in pressing the flowers down and absorbing moisture evenly.
Set your microwave to a low heat setting (defrost or 30-50% power). The time required can vary based on the type and density of the flower, but generally, start with 30-second intervals. After each interval, carefully check the flowers. Continue this process until the flowers feel dry to the touch.
Once the flowers feel papery and dry, remove them from the microwave and let them cool for a minute. Carefully remove the weight and the top paper. If the petals stick to the paper, gently peel them off.
If you have used silica gel, brush off any remaining grains gently with a soft brush. Store or display your dried flowers away from direct sunlight and humidity to preserve their colors and forms.
Dried flowers can be used in numerous creative ways. Here are a few ideas to inspire you:
Drying flowers in the microwave is a fast, effective method that helps preserve the beauty of your favorite blooms. With just a few simple steps and proper care, you can create stunning, long-lasting floral arrangements and decorations. Remember, every flower is different, so feel free to experimentwith the times and settings to achieve the best results. Happy drying!
At TheKitchenApplianceDad.com, we’re always excited to share innovative uses of everyday kitchen appliances that go beyond their conventional purposes. Drying flowers in the microwave is just one of the many creative endeavors that can be accomplished with the tools you already have at home. Try it out, and you might find yourself diving deeper into the world of floral crafts and preservation!
Remember: The beauty of flowers doesn’t have to be fleeting. With microwave drying, you can hold onto those beautiful blooms a little longer, turning them into timeless treasures.

