Welcome back to another detailed guide from TheKitchenApplianceDad.com! Today, we’re tackling a task that many might find daunting but is actually quite simple when you know the steps: draining your Frigidaire chest freezer. Whether you’re defrosting it for routine maintenance or preparing to move it to a new location, draining the freezer correctly is crucial to ensure its longevity and optimal performance.
Before we dive into the “how,” let’s talk about the “why.” Draining your freezer primarily aids in removing excess ice buildup and moisture that can affect the efficiency and cooling performance of your appliance. Regular draining and defrosting can also help prevent odors and the buildup of frost, which can make it hard to open the lid or cause the freezer to work harder than necessary.
Step 1: Unplug and Empty the Freezer
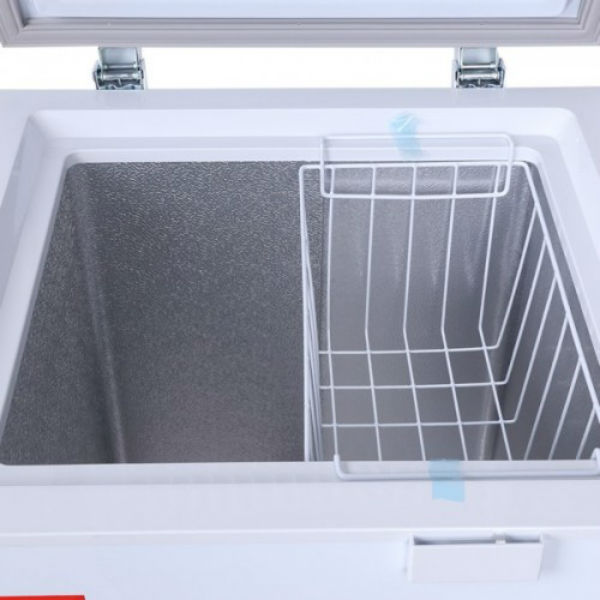
First things first, safety and preparation are key. Ensure that the freezer is unplugged from the power source to avoid any electrical hazards. Remove all the contents from your chest freezer. This is a great time to sort through and discard any expired or freezer-burned items.
Step 2: Gather Necessary Supplies
To drain your freezer efficiently, you’ll need a few supplies:
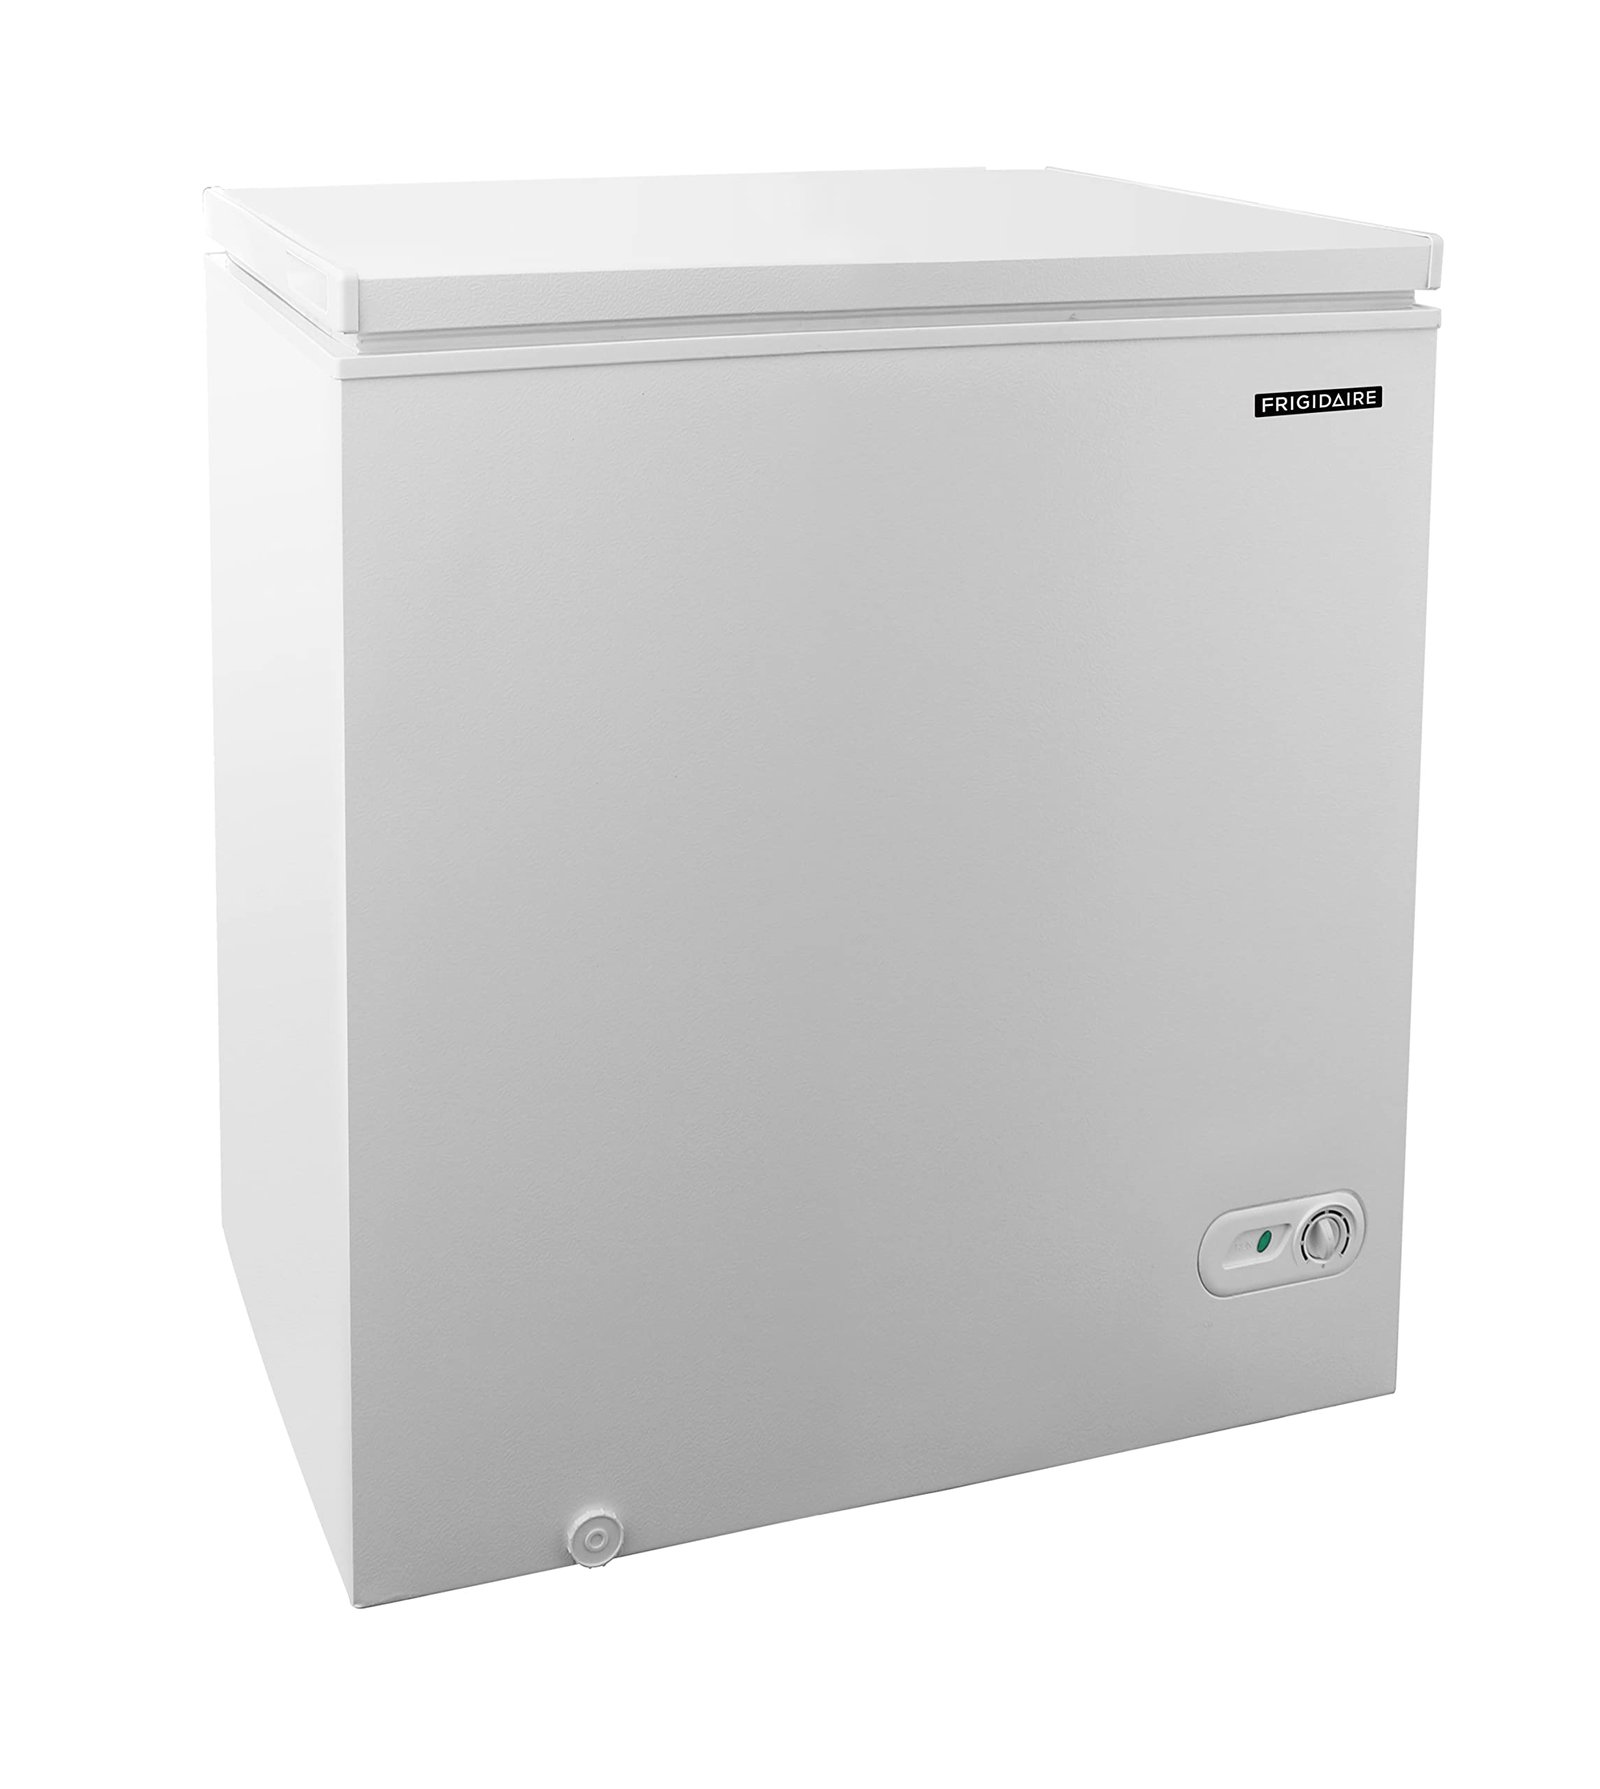
Frigidaire chest freezers typically have a drain plug located at the bottom or the lower side of the appliance. It’s designed to let out the water as the ice melts. You might need to consult your freezer’s manual (which can usually be found on the Frigidaire website) to find the exact location of the drain plug in your model.
Place your bucket or bowl close to the drain plug. Ensure it’s large enough to collect the amount of water expected from the melted ice. If you’re defrosting a heavily iced freezer, be prepared to empty the bucket multiple times.
Carefully remove the drain plug. Water will start flowing out, so make sure your bucket is in place. If the water doesn’t flow freely, check if there are ice blockages near the drain hole. You can use a small wooden or plastic utensil to gently clear the ice (metal objects can damage the freezer).
To speed up the defrosting process, you can use pans of hot water inside the freezer. The steam will help melt the ice faster. Replace the water as it cools. You can also use a fan to circulate warm air into the freezer, but keep electrical devices away from water for safety.
Once all the ice is melted and the water drained, use towels to dry the interior thoroughly. This helps prevent mildew and odors. Clean the inside with a mild detergent or baking soda solution to remove any residue or odors.
Make sure to securely replace the drain plug. Dry the outside of the freezer and move it back to its original position. Plug it back in, wait for it to reach its optimal temperature, and restock your frozen goods.
If you encounter electrical issues, significant leaks, or if the freezer isn’t functioning properly after you’ve drained and defrosted it, it might be time to call in a professional. This ensures that any potential issues are addressed safely and effectively.
Draining your Frigidaire chest freezer is an essential part of maintaining the appliance. By following these steps, you can ensure your freezer continues to function efficiently, keeping your frozen goods in perfect condition.Thank you for visiting TheKitchenApplianceDad.com, and remember, a little maintenance goes a long way in the lifespan and efficiency of your kitchen appliances!