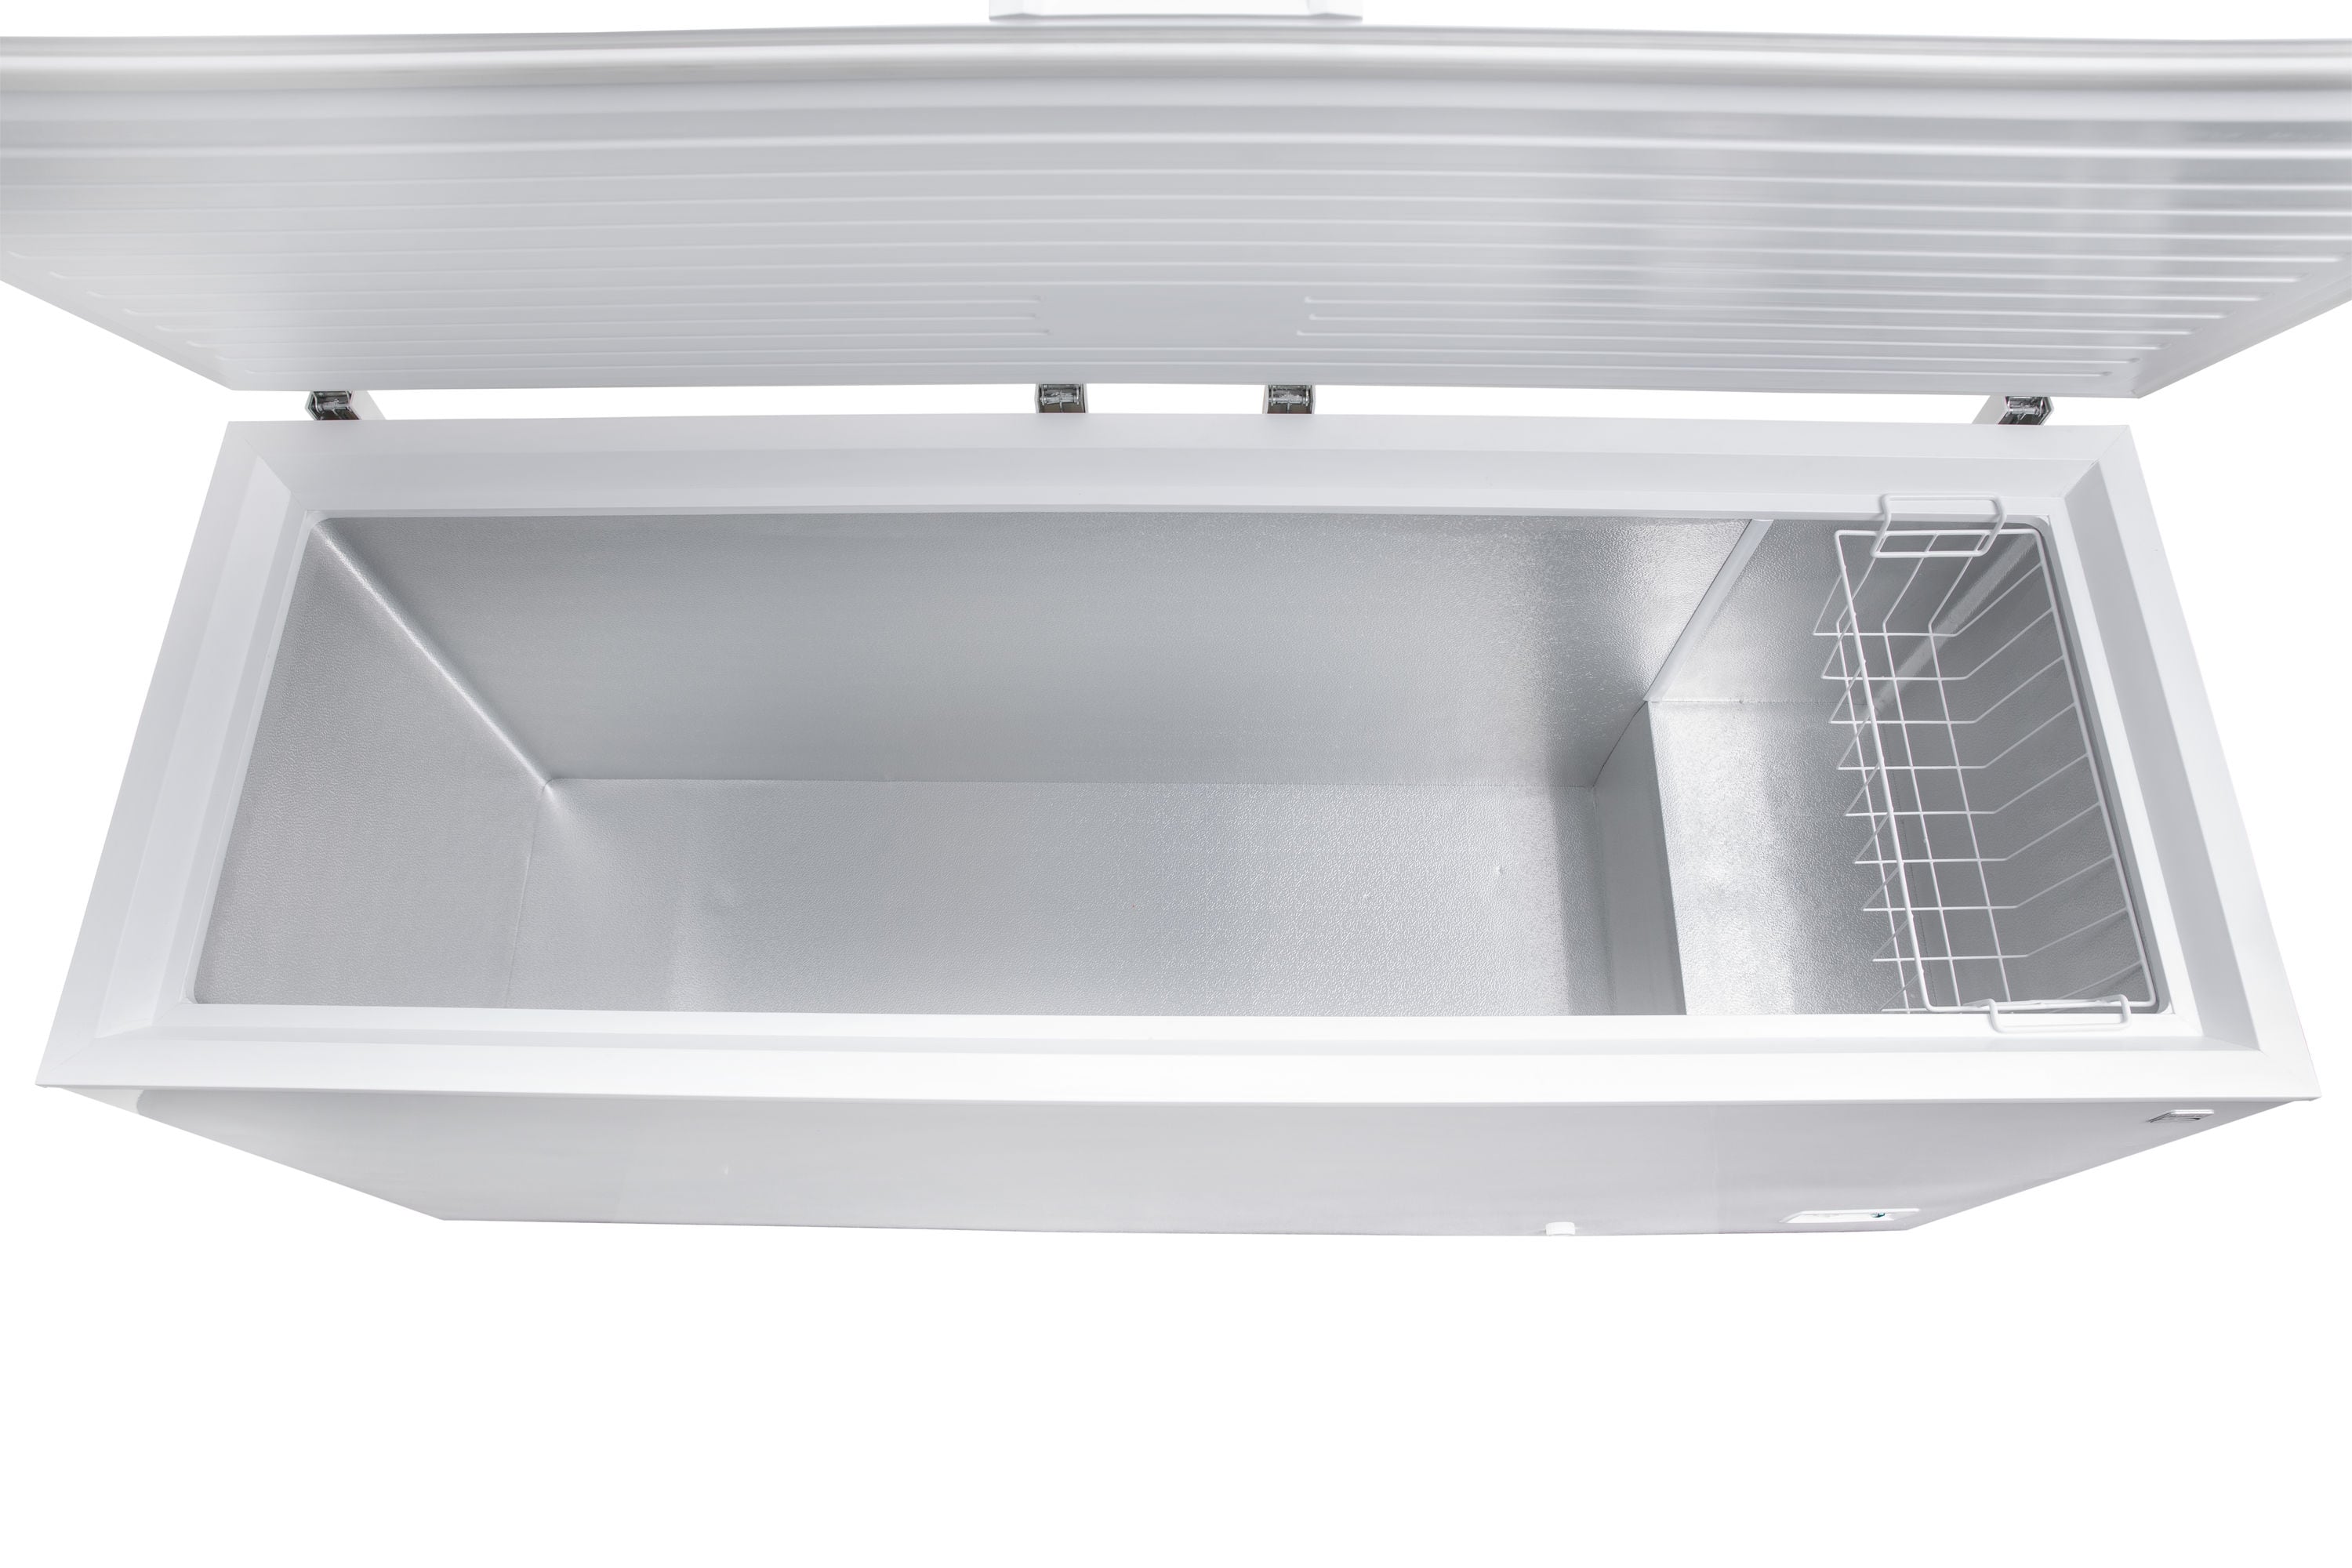
Defrosting the freezer of your Kenmore refrigerator is a maintenance task that some might find daunting, but it’s essential for keeping your appliance running efficiently and your food preserved properly. Whether you’re noticing a build-up of ice that’s reducing the effectiveness of your freezer or you’re preparing for a thorough clean, understanding the right way to defrost your freezer—and what to do afterward—can save you time and extend the life of your refrigerator. Here at TheKitchenApplianceDad.com, we’re here to guide you through the process step-by-step.
Before diving into the defrosting process, it’s important to recognize when defrosting is necessary. Typically, it’s time to defrost your freezer when the ice build-up is about a quarter-inch thick. Excessive frost can lead to increased energy costs and stress on your refrigerator’s motor, as it has to work harder to maintain the required low temperatures.

Start by removing all items from your freezer. Transfer them into a cooler with ice to keep them frozen during the defrosting process. If you plan well, you can aim to defrost when your freezer is less stocked to minimize the hassle.
Safety first! Unplug your refrigerator to ensure there are no electrical hazards. This also stops the freezer from continuing to produce cold air.
Leave the freezer door open to allow the room temperature to warm the ice. This process can take several hours, depending on the amount of ice build-up and the room temperature.
Place towels at the base of the freezer and around the area to absorb the melting ice. This helps prevent water from spilling onto your kitchen floor.
If there are large chunks of ice, you may gently remove them using a plastic scraper. Avoid using metal tools as they can damage the interior of the freezer.
Once the ice is completely melted, use a sponge or a cloth dipped in a mixture of warm water and mild detergent to wipe down the interior surfaces of the freezer. Avoid using harsh cleaning agents as they can damage the surfaces.
After cleaning, dry the interior thoroughly with a dry towel. This step is crucial to prevent ice from quickly reforming when you restart the freezer.
Once everything is dry, plug the refrigerator back in. Wait for the freezer to reach its optimal freezing temperature before restocking your frozen goods. This usually takes about an hour.
After you have successfully defrosted and cleaned your freezer, there are a few things you should do to ensure it operates efficiently:
Defrosting your Kenmore freezer is an important part of maintaining your refrigerator’s efficiency and longevity. By following these steps and recommendations, you can ensure that your appliance continues to function at its best, keeping your food perfectly frozen and ready when you need it. Remember, a little maintenance goes a long way in extending the life of your kitchen appliances. Stay tuned to TheKitchenApplianceDad.com for more tips and tricks on managing your home appliances effectively!

