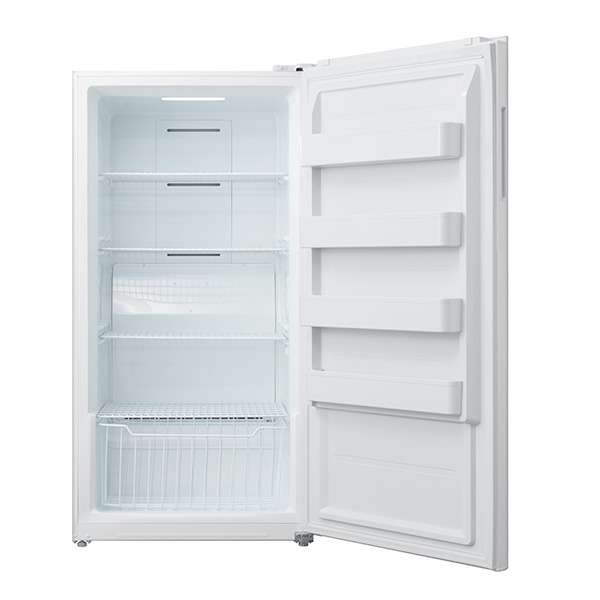
Defrosting the freezer of your Kenmore refrigerator is a crucial maintenance task that ensures efficiency, preserves food quality, and extends the life of your appliance. Whether you’re noticing a buildup of ice that’s reducing the available storage space or your freezer is not cooling as effectively as before, defrosting can often solve these issues. In this guide from TheKitchenApplianceDad.com, I’ll walk you through the steps to defrost just the freezer compartment of your Kenmore refrigerator and what actions to take afterward to ensure optimal performance.
Understanding the Need for Defrosting Your Freezer
Before diving into the defrosting process, it’s essential to understand why this maintenance is necessary. In frost-free models, the unit periodically heats the evaporator coil slightly to melt away any frost that has accumulated, theoretically eliminating the need for manual defrosting. However, even these models can sometimes accumulate excess frost under certain conditions such as frequently opening the freezer door or poor sealing.
For manual defrost models, the process is even more critical as these units do not have an automatic defrost system. Regular defrosting is necessary to prevent the build-up of ice, which can insulate the coils and reduce the efficiency of the cooling and freezing processes.

Step-by-Step Guide to Defrosting Your Kenmore Freezer
Step 1: Preparation
Before you begin the defrosting process, it’s crucial to prepare to ensure a smooth and safe defrost. Here’s how:
- Empty the Freezer: Remove all food from the freezer. Use coolers with ice packs to store perishable items. It’s a good time to discard expired or freezer-burned items.
- Unplug the Refrigerator: Safety first! Always unplug the unit before starting the defrost process to avoid any electrical hazards.
- Gather Needed Supplies: Have towels and a scraper handy if the ice is thick, but avoid using sharp objects like knives as they can damage the freezer walls.
Step 2: Melting the Ice
- Leave the Freezer Door Open: Let the room temperature air help in melting the ice. This process can take several hours depending on the amount of frost build-up.
- Speed Up the Process (optional): To hasten the defrosting, place a pot of hot water in the compartment and close the door, or use a hairdryer on a low setting, but be cautious to avoid any electrical components or water contact.
Step 3: Cleaning Up
- Wipe Down: Once all the ice has melted, wipe down the interior of the freezer with a solution of water and mild detergent. Avoid using harsh cleaning agents as they can damage the surfaces.
- Dry Thoroughly: Ensure the freezer is completely dry before turning it back on. This reduces the risk of ice forming quickly again.
Step 4: Turning Your Freezer Back On
- Plug in the Refrigerator: Once everything is clean and dry, plug the refrigerator back in.
- Reset the Temperature: Set the freezer to the desired temperature, usually between 0°F and 5°F (-18°C to -15°C).
- Restock the Freezer: Once the freezer reaches its set temperature, you can place your items back in. This is a great opportunity to organize your freezer to optimize space and accessibility.
What to Do After Defrosting Your Kenmore Freezer
After defrosting your Kenmore freezer, there are a few steps you should take to ensure it operates at peak efficiency:
- Check the Door Seals: Make sure the seals are tight and not leaking any cold air. Clean them with a damp cloth and replace them if they are cracked or damaged.
- Organize the Freezer: Use this opportunity to organize the contents efficiently. Keeping the freezer organized helps in reducing the door opening times and thus, ice buildup.
- Regular Maintenance: Schedule regular defrosting and maintenance checks depending on your usage and the model specifics. This proactive approach can save you from future hassles and repair costs.
Key Takeaways
- Defrost Regularly: Depending on your Kenmore model and usage, regular defrosting is crucial for optimal performance.
- Safety First: Always unplug your refrigerator before starting the defrost process.
- Proper Cleaning Post-Defrost: Cleaning and drying the freezer compartment post-defrost are essential to prevent immediate frost rebuild-up.
- Maintenance: Check and maintain the door seals and organize the freezer contents for efficiency.
By following these detailed steps to defrost only the freezer of your Kenmore refrigerator and taking appropriate actions afterward, you can ensure that your appliance runs efficiently and effectively. This not only helps in prolonging the life of your refrigerator but also in saving energy and maintaining your food’s freshness. For more tips and guides on maintaining your kitchen appliances, keep visiting [The### How to Defrost Only the Freezer of Your Kenmore Refrigerator and What to Do Afterward
Defrosting your freezer can seem like a daunting task, but it is a necessary part of maintaining your Kenmore refrigerator in optimal working condition. Here at TheKitchenApplianceDad.com, we understand the importance of keeping your appliances running smoothly and efficiently. This guide will provide a comprehensive walkthrough on how to defrost the freezer compartment of your Kenmore refrigerator, as well as important steps to follow afterward.
Why Defrost Your Kenmore Freezer?
Freezers, especially older models, can accumulate ice buildup that reduces efficiency, increases energy consumption, and diminishes the available storage space. In frost-free models, while there is an automatic defrost system, extreme conditions or wear and tear might necessitate manual intervention. Regular defrosting helps maintain your freezer’s functionality and extends its lifespan.
Step-by-Step Guide to Defrosting
Step 1: Prepare for Defrosting
Preparation is key to a smooth defrosting process.
- Empty the Freezer: Start by removing all items from the freezer. Store them in a cool place or in another freezer during the defrosting process.
- Unplug the Refrigerator: Safety first! Disconnect your refrigerator from the power source to avoid any electrical issues.
- Gather Necessary Tools: Have towels, a sponge, and a bowl or pan to catch the water. Avoid using sharp tools like knives to scrape off ice, as they can damage the freezer.
Step 2: Defrosting the Freezer
With everything prepared, you can now begin the defrosting process.
- Open the Freezer Door: Allow the room temperature to naturally melt the ice. This process can take several hours.
- Expedite the Process: If you wish to speed up the process, you can place a fan facing the open freezer to circulate warm air into the freezer. Alternatively, placing a pot of hot water in the freezer can also help melt the ice faster.
Step 3: Cleaning Up
Once all the ice has melted, it’s time to clean up.
- Drain the Water: Remove any remaining water from melted ice. Towels and sponges will be handy here.
- Clean the Interior: Use a mild detergent mixed with warm water to clean the inside of the freezer. This removes any food residue and odors.
- Dry Thoroughly: Ensure the freezer is completely dry to prevent immediate ice buildup when you turn it back on.
Step 4: Restarting Your Freezer
With a clean and dry freezer, you’re ready to start it up again.
- Plug in the Refrigerator: Reconnect your refrigerator to the power source.
- Set the Right Temperature: Adjust the freezer settings back to your preferred temperature, typically between 0°F and 5°F.
- Restock the Freezer: Once the freezer is cold again, you can put your food items back in. This is a great opportunity to organize and discard any outdated or unnecessary items.
Post-Defrosting Steps
After defrosting your Kenmore freezer, there are a few additional steps to ensure everything runs smoothly.
- Check the Door Seal: Make sure the freezer door seals are intact and clean. A poor seal can lead to frost buildup and energy waste.
- Regularly Monitor Frost Build-up: Keep an eye on ice accumulation in the future to determine if your freezer needs more frequent defrosting sessions.
- Maintain an Organized Freezer: An organized freezer minimizes the need to keep the door open too long, which contributes to temperature stability and energy efficiency.
Key Takeaways
- Defrost Regularly: Depending on usage, defrost your freezer every 6 to 12 months to prevent excessive frost buildup.
- Be Prepared: Proper preparation makes the defrosting process smoother and quicker.
- Safety First: Always unplug your appliance before beginning the defrosting process.
- Clean and Dry: Thoroughly clean and dry the freezer to prevent odors and quick re-ice formation.
- Maintain and Monitor: Regular checks and maintenance will extend the life of your Kenmore refrigerator.
By following these detailed instructions and tips from TheKitchenApplianceDad.com, you can effectively defrost the freezer compartment of your Kenmore refrigerator, ensuring it operates efficiently and preserves your food’s freshness and quality. Remember, regular maintenance not only helps in prolonging the life of your appliance but also in saving energy and reducing costs.