Welcome to another detailed guide from TheKitchenApplianceDad.com. Today, we’re diving into a common household task that can sometimes seem daunting: defrosting your Whirlpool side-by-side freezer. Whether your appliance is showing signs of excessive frost buildup or it’s just time for a routine maintenance check, knowing how to properly defrost your freezer can enhance its efficiency and extend its lifespan. Let’s get started!
Understanding the Need for Defrosting
Before we delve into the defrosting process, it’s important to understand why it’s necessary. Over time, ice can build up on the inside walls of your freezer, which can reduce the efficiency of the appliance. It can lead to increased energy consumption, reduced cooling efficiency, and strain on the freezer’s motor. Regular defrosting helps maintain the optimal performance of your freezer.

Step-by-Step Guide to Defrosting Your Whirlpool Freezer
Step 1: Preparation
- Clear out the freezer: Begin by removing all food items from your freezer. Use this opportunity to discard expired or freezer-burned items. Store the remaining items in a cooler with ice to keep them frozen during the defrosting process.
- Unplug the freezer: Safety first! Always unplug your appliance before starting the defrosting process to avoid any electrical hazards.
Step 2: Protect Your Floor
- Lay down towels: Place towels or newspapers on the floor around your freezer to soak up any water that may drip out when the ice melts.
Step 3: Allow the Ice to Melt
- Leave the door open: Let the freezer air out by keeping the door open. This will speed up the melting process. Ensure the room is well-ventilated to help moisture escape.
Step 4: Speed Up the Process (Optional)
- Use a fan: Position a fan to blow air into the freezer to help circulate warm air and speed up melting.
- Place a pot of hot water in the freezer: A pot of boiling water placed on a solid surface inside the freezer can help accelerate the melting of ice. Be cautious and use heat-resistant gloves when handling the hot pot.
Step 5: Cleaning Up
- Remove melted ice: Use a plastic spatula or a similar tool to gently remove chunks of ice. Avoid using metal tools as they can damage the interior of your freezer.
- Wipe down the interior: Once all the ice is removed, clean the inside of the freezer using a solution of warm water and baking soda. This will help remove odors and any residual dirt.
Step 6: Turning Your Freezer Back On
- Dry the interior thoroughly: Before plugging the freezer back in, make sure that the interior is completely dry to prevent immediate frost buildup.
- Restore power and restock: Plug the freezer back in, adjust the thermostat to the desired setting, and allow it to reach the proper temperature before restocking your food items.
What To Do After Defrosting
After you’ve successfully defrosted your Whirlpool side-by-side freezer, there are a few steps you should follow to ensure it operates efficiently:
Check the Door Seals
Make sure the door seals are intact and clean. Poor sealing can lead to air leaks which increase frost buildup and energy consumption. Clean the seals with a damp cloth and replace them if they are worn out.
Adjust the Temperature Settings
The ideal temperature for your freezer is around 0°F (-18°C). Keeping the temperature too low can unnecessarily increase energy consumption and frost accumulation.
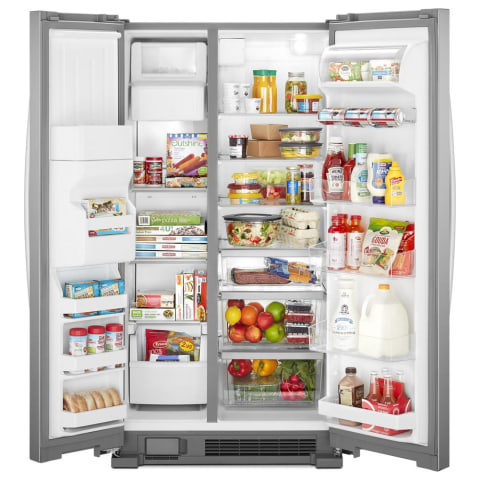
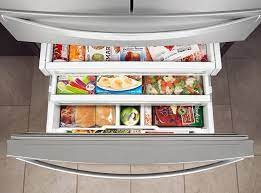
Organize Your Freezer
Proper organization not only helps you keep track of your food items but also improves air circulation within the freezer. This can help prevent frost buildup. Use baskets and dividers to keep items organized.
Regular Maintenance
Regularly inspect and clean your freezer to maintain its efficiency. This includes wiping down the interior, checking the door seals, and ensuring the exterior vents are not blocked.
Key Takeaways
- Preparation is crucial: Safely empty and unplug your freezer before starting the defrost process.
- Protect your space: Use towels or newspapers to catch dripping water as the ice melts.
- Speed up the process if necessary: Use a fan or a pot of hot water to quicken the ice melting.
- Clean thoroughly post-defrost: A clean freezer is a more efficient freezer.
- Post-defrost maintenance: Check door seals, adjust temperature settings, and organize the freezer to minimize future frost buildup.
Defrosting your Whirlpool side-by-side freezer is an essential part of maintaining your appliance’s efficiency and lifespan. By following these steps, you can ensure that your freezer continues to function at its best. Remember, regular maintenance not only saves on energy costs but also prolongs the life of your freezer. Thanks for tuning into TheKitchenApplianceDad.com for your appliance care needs. Stay cool and efficient!