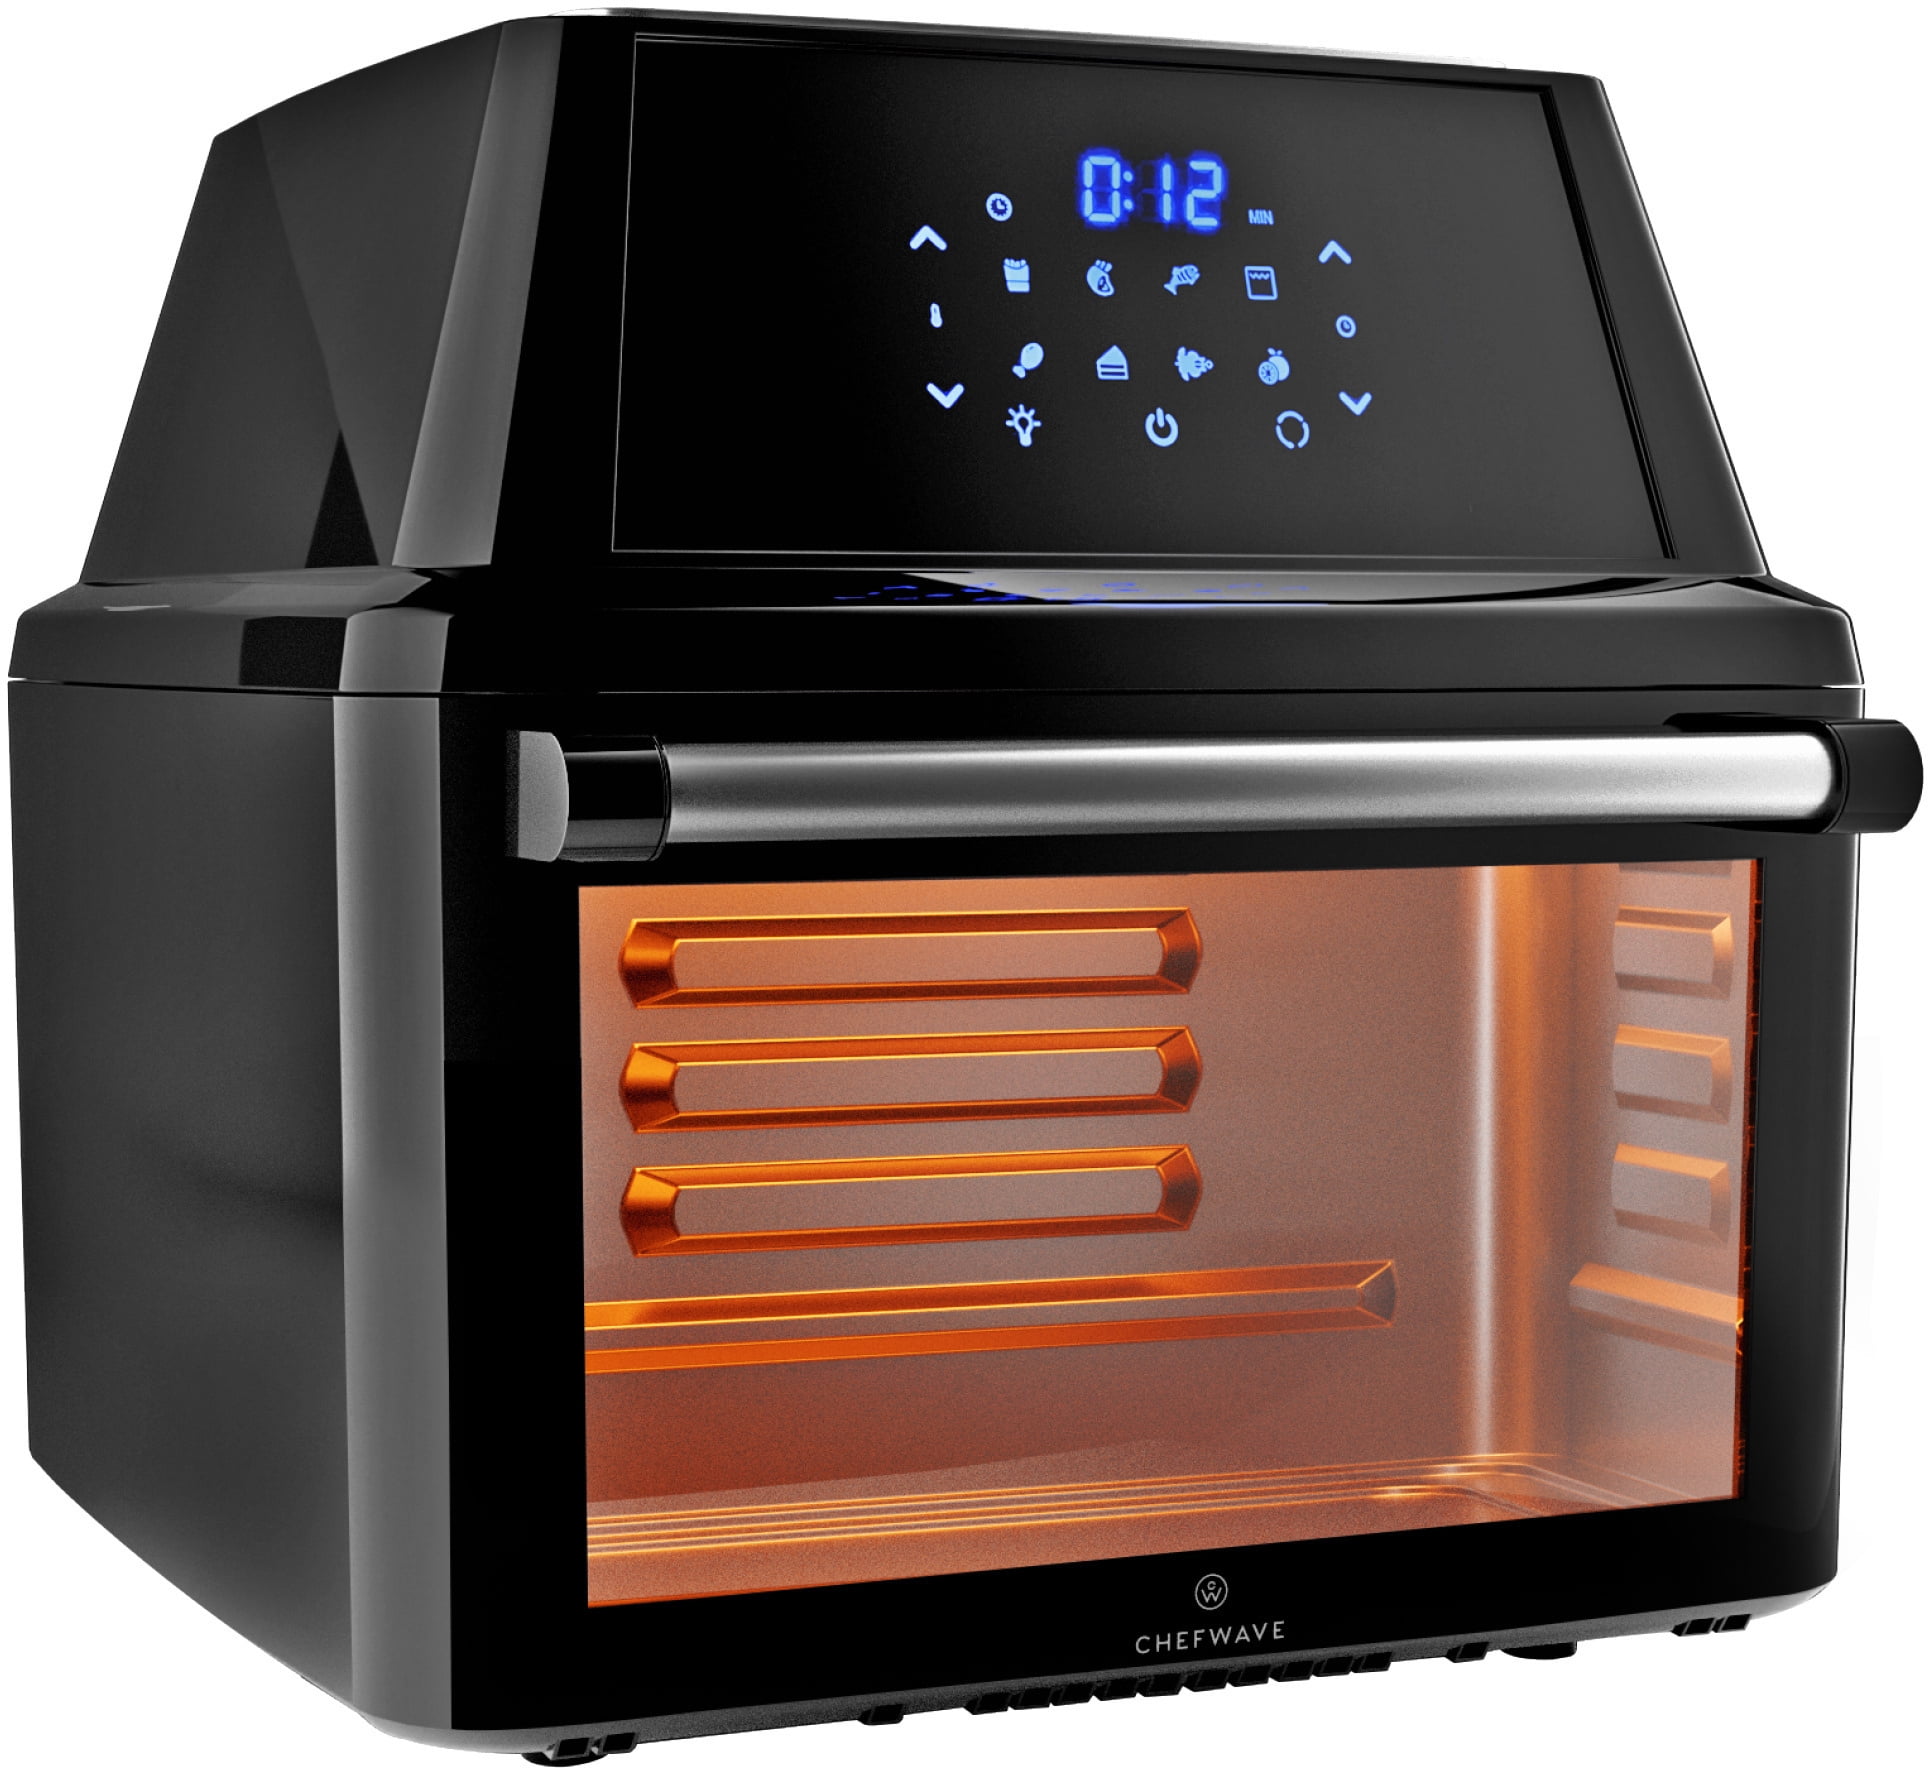
Air fryers have revolutionized the way we cook, offering a healthier alternative to traditional frying methods. With their rapid air technology, they create crispy and delicious food with minimal oil. However, with regular use, your air fryer can accumulate grease and food particles, which not only affects the taste and quality of your meals but can also become a safety hazard. Deep cleaning your air fryer is essential to maintaining its performance and longevity. In this article, we’ll guide you through the steps to deep clean your air fryer effectively, and share some best practices to keep it in top condition.
Before we dive into the cleaning process, it’s crucial to prioritize safety. Always make sure that your air fryer is unplugged and completely cooled down before you start cleaning. This will prevent any potential accidents or damage to the appliance.

To thoroughly clean your air fryer, you’ll need:
Carefully take apart your air fryer by removing the basket, tray, and pan. If your model has additional components that are removable, such as a rack or skewers, take those out as well. Consult the user manual if you’re unsure about which parts can be taken apart for cleaning.
Soak the basket, tray, and any other removable parts in warm soapy water. Let them sit for about 10 minutes to loosen any grease or food particles. After soaking, use a soft-bristled brush or sponge to gently scrub each component. For stubborn residue, you can make a paste with baking soda and water, and apply it to the affected areas. Rinse everything thoroughly with clean water and dry with a microfiber cloth or paper towels.
With the removable parts set aside, focus on the interior of the air fryer. Use a damp microfiber cloth or sponge to wipe the inside, being careful not to damage any heating elements. For tough spots, a soft toothbrush or an old paintbrush can help you reach and clean crevices and corners. If there’s an unpleasant odor, wiping the interior with a solution of vinegar and water can help deodorize your appliance.
Over time, the heating element of your air fryer can become coated with grease and food residue, which can cause smoking and unpleasant smells during cooking. To clean the heating element, turn the air fryer upside down to access it better. Use a dry, soft-bristled brush to gently remove any debris. If necessary, a slightly damp cloth can be used to wipe the element, but ensure it’s completely dry before you use the fryer again.
The exterior of your air fryer also deserves attention. Use a soft, damp cloth to wipe down the outside, including any dials or displays. Avoid using abrasive materials or harsh chemicals that can damage the finish of your air fryer.
Once all parts are clean and dry, reassemble your air fryer. Make sure everything is properly in place before storing it. Choose a clean, dry location for storage, away from any potential contaminants.

To simplify the cleaning process and prolong the life of your air fryer, consider the following maintenance tips:

