Creating the perfect icy smoothie, cocktail, or dessert starts with perfectly crushed ice. If you’ve ever been frustrated with big, chunky pieces of ice that just don’t blend well, you’re in luck. Ninja blenders, known for their powerful performance, can turn ice into snow-like consistency in no time. But to get the best results, there’s a method to follow. In this comprehensive guide, we’ll walk you through how to crush ice in a Ninja blender, ensuring you achieve that flawless texture every time.
Understanding Your Ninja Blender
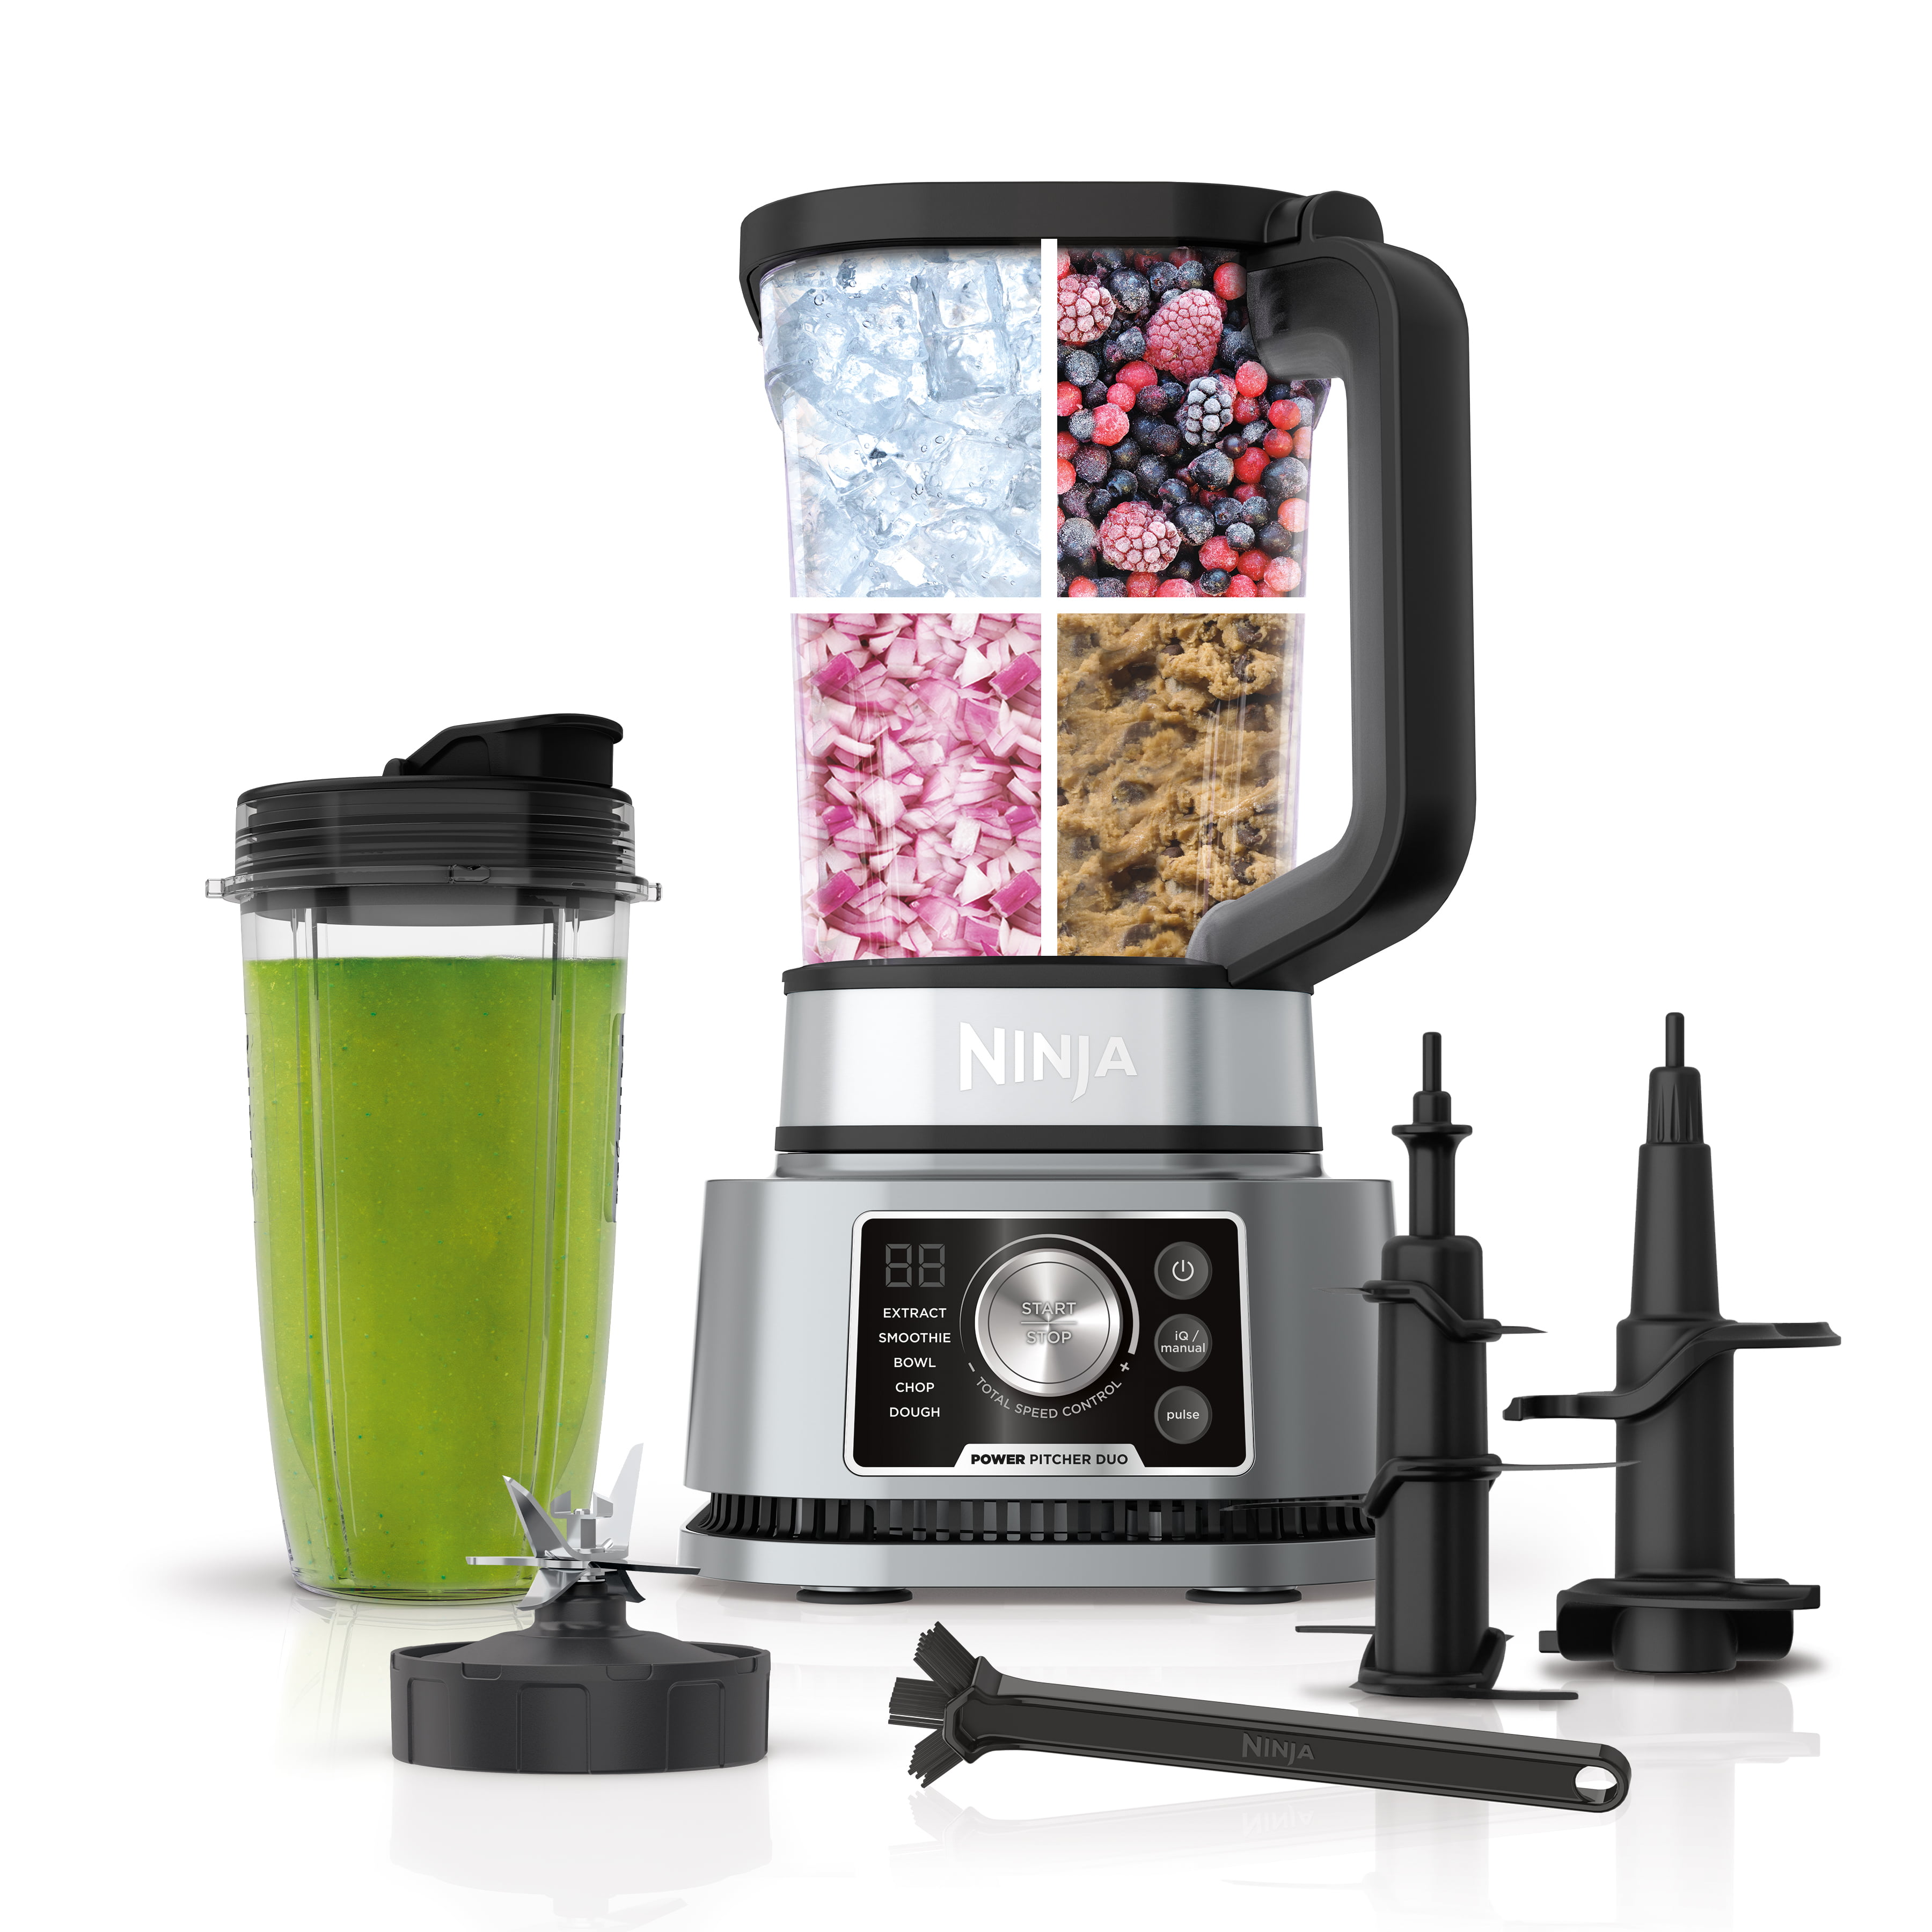
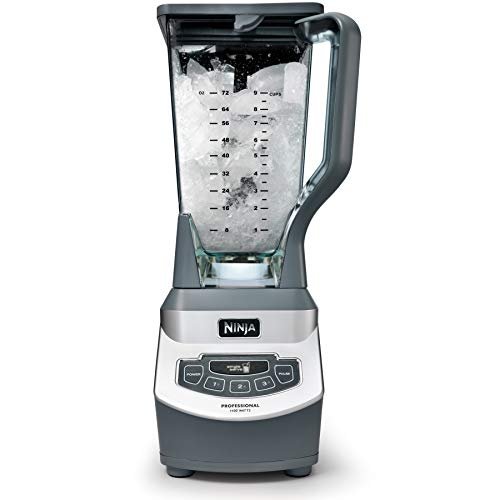
Before we dive into the ice-crushing process, it’s important to understand that not all Ninja blenders are created equal. Ninja offers a range of models, each with different features and capabilities. Models like the Ninja Professional Blender (BL660) and the Ninja Mega Kitchen System (BL770) are designed to handle tough tasks like crushing ice.
Ensure you have a model that is suitable for ice crushing. Most Ninja blenders come with a stacked blade assembly, which provides the power and precision necessary for effectively breaking down ice.

Preparing Your Blender
Before you start, make sure your Ninja blender is clean and the blades are sharp. Dull blades can struggle to crush ice, potentially leading to motor burnout or uneven blending.
Here’s what you need to do:
- Check the User Manual: Always read the manual that comes with your Ninja blender. It will specify whether your model can crush ice and, if so, how to do it properly.
- Inspect Your Blender: Look at the pitcher and the blades for any signs of wear or damage. If you notice anything amiss, it’s best to get replacements before proceeding.
The Ice Crushing Process
Now, let’s get to the fun part – crushing the ice. Follow these steps for the best results:
- Add Ice: Fill your Ninja blender pitcher with the desired amount of ice cubes. Do not overfill; leave some room for the ice to move around. A good rule of thumb is to fill it no more than halfway.
- Pulse: Secure the lid on your pitcher and plug in your blender. Use the pulse function to break down the ice. Short, sharp pulses will gradually break the cubes into smaller pieces.
- Shake: Occasionally, you might need to shake the pitcher gently to redistribute the ice. This ensures that all the pieces are crushed evenly.
- Blend: Once the ice is broken down into coarse pieces, you can switch to the ‘crush’ or ‘blend’ setting (if your model has it) for a few seconds for a finer consistency.

Tips for Perfectly Crushed Ice
- Room Temperature Ice: Slightly temper your ice by letting it sit out for a few minutes before blending. This makes the ice less dense and easier to crush.
- Ice Quality: Use ice cubes from a standard freezer tray or bagged ice from the store. Avoid using overly-compacted or gourmet ice as this can be harder to break down.
- Quantity: Don’t overload your blender with too much ice. It’s better to crush in batches than to strain your blender’s motor.
- Blade Care: Always handle the blades with care, especially when cleaning, as they are extremely sharp.
Cleaning and Maintenance
After you’ve crushed your ice, it’s vital to clean your Ninja blender properly to keep it in top condition. Here’s what to do:
- Empty the Pitcher: Discard any leftover ice or water.
- Disassemble: Take apart the pitcher, lid, and blade assembly.
- Clean: Wash all parts with warm, soapy water. Most Ninja blenders have dishwasher-safe parts, but check your manual to be sure.
- Dry: Allow all parts to air dry completely before reassembling.
Troubleshooting
If you encounter issues while crushing ice, here are some common problems and solutions:
- Blender Won’t Start: Ensure the blender is plugged in and the pitcher is secured to the base properly.
- Uneven Crushing: Shake the pitcher or redistribute the ice manually, then continue pulsing.
- Blender Struggles: If the blender sounds like it’s struggling, turn it off immediately. Remove some ice to lighten the load, then try again.
Key Takeaways
- Choose the Right Ninja Blender: Ensure your model is capable of crushing ice.
- Prepare Properly: Inspect your blender and use appropriate ice quantities.
- Follow the Steps: Use the pulse function, shake the pitcher, and blend until you achieve the desired consistency.


