Connecting a water line to your refrigerator can seem like a daunting task, but with the right tools and a bit of guidance, it’s a project you can complete on your own. Whether you’ve just purchased a new fridge or you’re upgrading an existing one, installing a water line is essential for any refrigerator with a water dispenser or ice maker. Here at TheKitchenApplianceDad.com, we’re here to walk you through the process step-by-step.
The primary reason to connect a water line to your refrigerator is to utilize the built-in water dispenser and ice maker. Having access to chilled, filtered water and freshly made ice without having to refill trays or pitchers manually is a convenience that many enjoy.
Before you start, ensure you have all the necessary tools and materials. You’ll need:
Make sure to choose materials that are compatible with your refrigerator model. Check the manufacturer’s installation instructions for any specific requirements.
The first step is to locate a cold water line closest to where your refrigerator is or will be situated. This line will be tapped for the water supply to your fridge. Ensure it’s a cold water line to prevent any potential health hazards associated with hot water.
Turn off the main water supply to avoid any leaks during installation. Next, choose the type of valve you will use:
After installing your chosen valve, ensure it is in the closed position.
Secure the tubing to the floor or wall using clips to keep it in place and prevent damage.
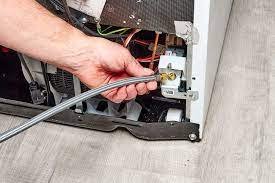
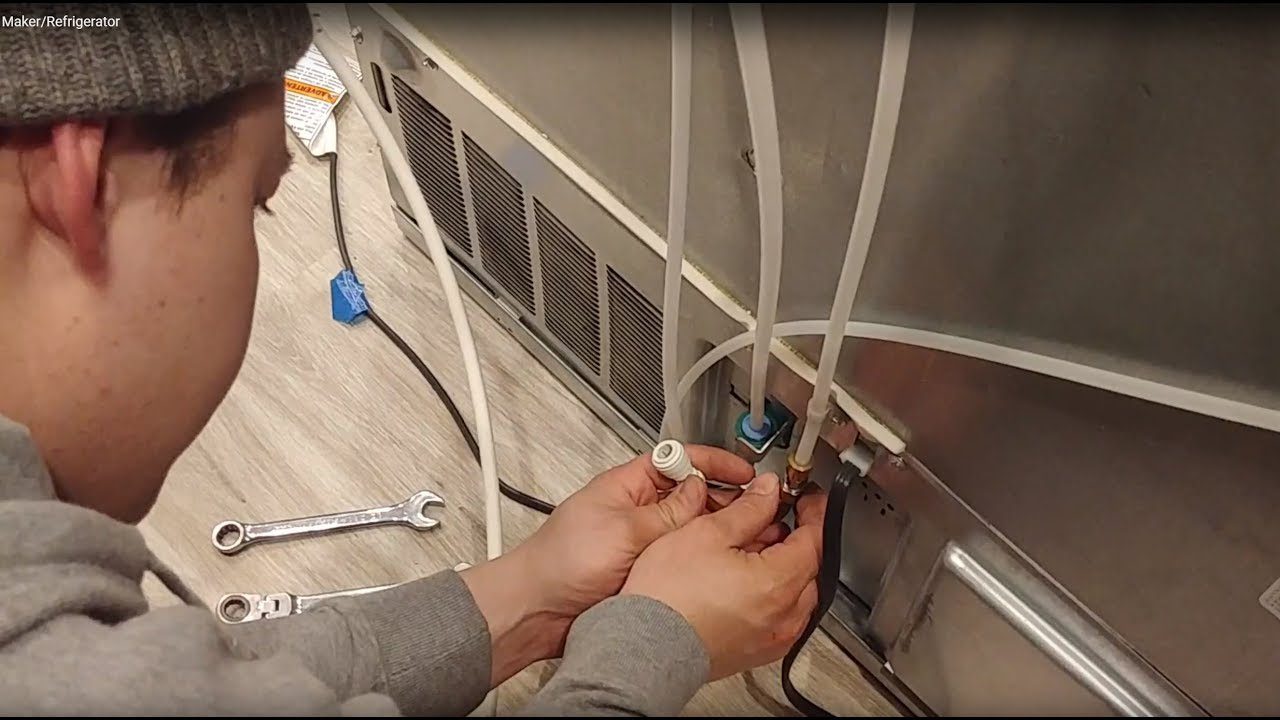
At the back of your refrigerator, there should be a water line connection point. Connect the other end of your water line to this point. If using copper, slip on a compression nut followed by a ferrule over the tubing, insert it into the refrigerator connection, and tighten the nut.
Turn on the water valve to allow water to flow to the refrigerator. Check for any leaks at all connection points. If leaks occur, tighten the connections a bit more.
Once everything is connected and checked for leaks, flush the system to clear out any impurities or debris. Use the water dispenser to let water run for about 5 minutes or until it runs clear. Dispose of the first batch of ice made to ensure it’s free from any contaminants.
After installation, test the water and ice features to ensure everything is working correctly. It’s a good idea to inspect the line and connections periodically for leaks. If your refrigerator has a water filter, replace it according to the manufacturer’s recommendations, usually every six months.
Connecting a water line to your refrigerator can enhance your kitchen’s functionality. By following these steps, you can enjoy the convenience of chilled water and ice at your fingertips. Remember, if at any point the task seems overwhelming, don’t hesitate to call a professional plumber. Stay hydrated and enjoy the fruits of your labor!