how-to-clean-refrigerator-coils-in-15-minutes

How To Clean Refrigerator Coils in 15 Minutes

When it comes to kitchen maintenance, some tasks are often overlooked until they cause significant problems. One such task is cleaning the refrigerator coils, a critical yet frequently neglected component of refrigerator upkeep. At TheKitchenApplianceDad.com, we understand the importance of maintaining every part of your appliances to ensure their longevity and efficiency. Today, we’ll walk you through a simple, quick guide on how to clean your refrigerator coils in just 15 minutes.

Why Clean Your Refrigerator Coils?

Before diving into the cleaning process, it’s crucial to understand why this task is important. The coils on your refrigerator are responsible for releasing heat from the refrigerant that cools the inside of the unit. Over time, these coils can accumulate dust, pet hair, and other debris which can insulate them and reduce their efficiency. This not only forces your refrigerator to work harder, leading to increased energy consumption and higher utility bills, but it can also shorten the lifespan of your appliance.

How to Clean Refrigerator Coils | Dependable Appliance Repair

Safety First: Preparing to Clean Your Refrigerator Coils

Unplug Your Refrigerator

Begin by unplugging your refrigerator to ensure your safety. This step is crucial as it eliminates any risk of electrical shock.

Locate the Coils

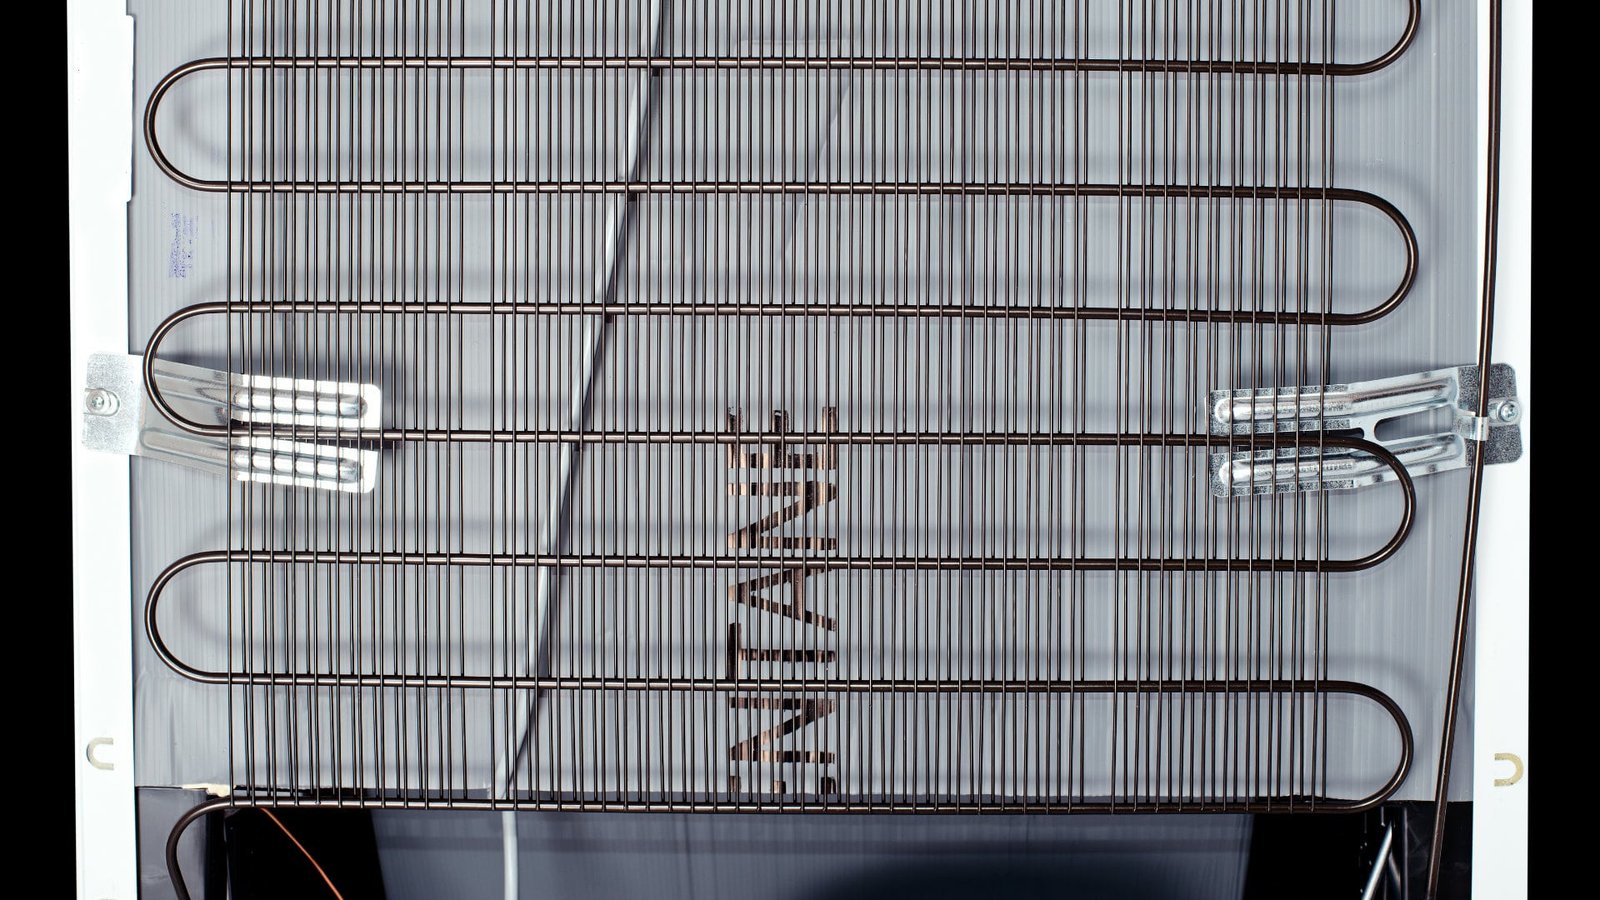
Refrigerator coils can either be found at the back or beneath the appliance. If they’re at the back, you’ll simply need to pull the fridge away from the wall. If they’re underneath, you’ll likely have to remove the base grille at the front.

Gather Your Tools

You will need:

  • A coil brush (specifically designed for this purpose)
  • A vacuum cleaner with a hose attachment
  • A flashlight (if needed)
  • Cleaning cloths
  • A pair of gloves (optional, but recommended)

The Cleaning Process

Step 1: Accessing the Coils

For rear coils:

  • Carefully move the refrigerator away from the wall to avoid damaging the floor.
  • Use the flashlight to locate the coils.

For bottom coils:

  • Remove the base grille. This is usually snapped into place and can be removed easily by hand or with the help of a screwdriver.
  • Shine the flashlight to find the coils.

Step 2: Removing Dust and Debris

  • Using the coil brush: Gently insert the coil brush into the spaces between the coils. Be careful not to bend or damage the coils as you clean. The brush will loosen the dust and debris.
  • Vacuuming: After loosening the particles with the brush, use the vacuum cleaner with the hose attachment to remove the debris. Be thorough and try to get as much of the dirt out as you can.

Step 3: Wiping Down

  • Once the majority of the loose debris has been vacuumed, use a damp cloth to wipe down the coils and the surrounding area. This will help remove any remaining dust and ensure a thorough clean.

Step 4: Reassemble and Test

  • If you had to remove the base grille, reattach it securely.
  • Move the refrigerator back into place (be mindful of the floor).
  • Plug the refrigerator back in and listen for any unusual noises. It should start up smoothly.

Aftercare and Maintenance Tips

To keep your refrigerator running efficiently, it’s recommended to clean the coils at least twice a year. However, if you have pets or live in a dusty area, you might need to clean them more frequently.

Additionally, always ensure there’s enough space between the wall and your refrigerator to allow for proper air circulation. This helps in heat dissipation and improves the efficiency of your appliance.

Key Takeaways

  • Safety First: Always unplug your refrigerator before starting the cleaning process.
  • Proper Tools: Use a coil brush and a vacuum with a hose attachment for effective cleaning.
  • Regular Maintenance: Clean your refrigerator coils at least twice a year, or more often if necessary.
  • Efficiency Matters: Regular cleaning of the coils can help reduce energy consumption and extend the life of your refrigerator.

Maintaining your refrigerator may not always be at the top of your to-do list, but taking 15 minutes to clean the coils can save you money and hassle in the long run. At TheKitchenApplianceDad.com, we’re dedicated to helping you keep your kitchen appliances running smoothly. Remember, a little maintenance goes a long way!

Meet

Dale

Hi, I'm Dale! With over ten years in high volume restaurants, my journey has taken me through the ins and outs of using, maintaining, and even repairing virtually every kitchen appliance imaginable.

I'm here to share simple, straightforward advice to help you choose and use your kitchen tools effectively. No fluff, just the essential info you need to cook up a storm.