how-to-change-the-water-filter-in-a-whirlpool-french-door-refrigerator

How To Change The Water Filter In A Whirlpool French Door Refrigerator

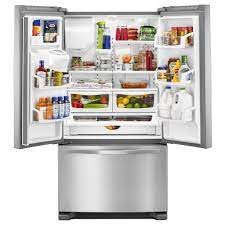
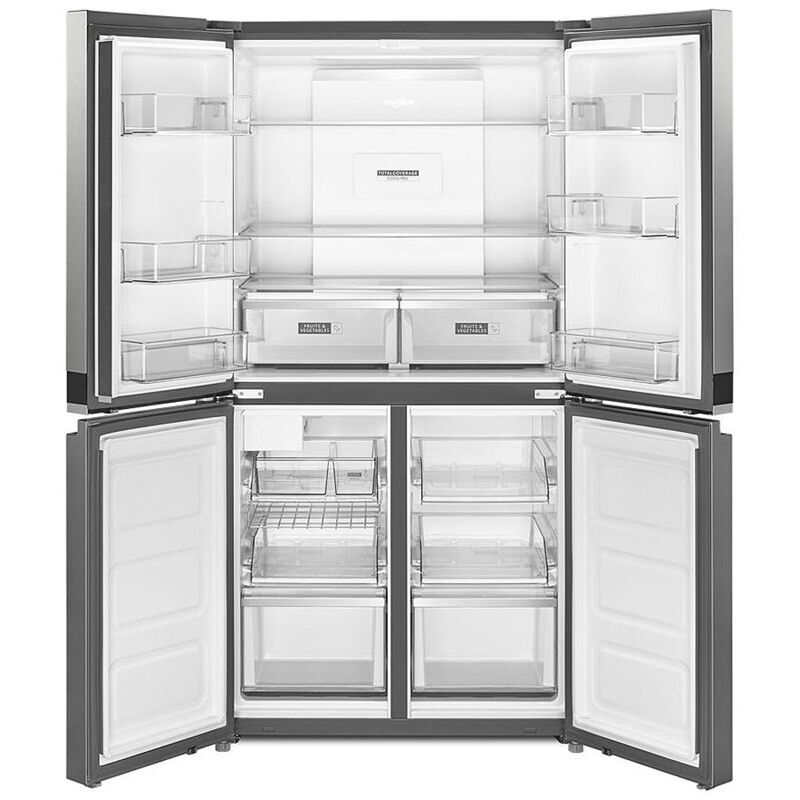
Maintaining your refrigerator is key to ensuring it operates efficiently and keeps your food fresh. One crucial aspect of maintenance is regularly changing the water filter. If you own a Whirlpool French Door Refrigerator, you’re in luck because changing the water filter is a straightforward process. In this detailed guide from TheKitchenApplianceDad.com, I’ll walk you through each step to ensure you can handle this task like a pro.

Understanding the Importance of a Clean Water Filter

Before diving into the steps, it’s crucial to understand why keeping your refrigerator’s water filter up to date is essential. A clean water filter:

  • Ensures your water tastes fresh and is free from common contaminants.
  • Reduces pollutants such as chlorine, lead, and other unwelcome elements.
  • Helps maintain the efficiency of your ice maker and water dispenser.

Generally, it’s recommended to change your refrigerator’s water filter every six months, but this can vary depending on your usage and water quality.

Whirlpool 36 in. 19.4 cu. ft. Counter Depth 4-Door French Door Refrigerator  - Stainless Steel | P.C. Richard & Son

Identifying Your Whirlpool Model and Filter Type

Step 1: Locate Your Model Number
Your refrigerator’s model number is pivotal in purchasing the correct filter. You can typically find this number inside your refrigerator, on the upper walls, or near the crisper drawer.

Step 2: Determine the Filter Type
Whirlpool French Door Refrigerators usually use one of the following filters:

  • Filter 1 (EDR1RXD1): Often found in the grille at the bottom of the fridge or inside the refrigerator compartment.
  • Filter 2 (EDR2RXD1): Typically located inside the refrigerator compartment.
  • Filter 3 (EDR3RXD1): Located in the grille at the bottom of the refrigerator.

You can confirm your filter type by checking your user manual or visiting the Whirlpool official website.

Step-by-Step Guide to Changing the Water Filter

For Filter 1 (Located in the Grille or Inside the Fridge):

Step 3: Locate and Remove the Old Filter

  • If the filter is in the grille, turn the filter a quarter turn to the left and pull it straight out.
  • If located inside, press the release button beside the filter or twist to unlock it, depending on your model.

Step 4: Install the New Filter

  • Remove the protective coverings from the O-rings of your new filter.
  • If in the grille, push the new filter into the slot and turn it a quarter turn to the right.
  • If inside, simply push the new filter in until it clicks into place.

For Filter 2 and 3 (Located Inside the Refrigerator):

Step 5: Accessing the Filter Compartment

  • Open your refrigerator and locate the filter compartment, usually in the upper right corner.

Step 6: Replace the Filter

  • Push the old filter in and turn it left to unlock, then pull it straight out.
  • Remove the cap from the new filter and discard the old filter.
  • Insert the new filter into the compartment and turn it right until it locks.

Flushing the New Filter

Step 7: Flush the System
After installing the new filter, it’s important to flush out the system to remove any carbon fines (the black particles) and air:

  • Dispense water for about 5 minutes or until the water runs clear.
  • Check for any leaks around the filter area.

Resetting the Filter Indicator

Step 8: Reset the Filter Indicator
Most Whirlpool French Door Refrigerators have a filter indicator light that tells you when it’s time to change the filter. After replacing the filter:

  • Find the button labeled “Filter Reset” or similar.
  • Press and hold this button for 3 seconds until the light turns off or changes color.

Maintaining Your Refrigerator for Optimal Performance

Regularly changing your water filter is just one part of maintaining your Whirlpool French Door Refrigerator. Ensure that you also clean the condenser coils, check the door seals, and keep the fridge at the correct temperature to optimize performance and extend the life of your appliance.

Key Takeaways

  • Check and Replace Regularly: Change your refrigerator’s water filter every six months, or more frequently if you notice a change in water taste or dispenser output.
  • Purchase the Correct Filter: Identify your Whirlpool model number and corresponding filter type.
  • Installation: Follow specific steps for your filter type for removal and installation.
  • Flush the System: Always flush at least 5 minutes of water through the new filter to clear out impurities.
  • Reset Indicator: Don’t forget to reset the filter indicator light after replacing the filter.

Changing the water filter in your Whirlpool French Door Refrigerator is a simple yet crucial task. By following these instructions, you can ensure thatyour refrigerator continues to provide clean, fresh-tasting water and ice. Remember, proper maintenance not only ensures the longevity of your appliance but also the health of your family. Be sure to visit TheKitchenApplianceDad.com for more helpful guides and tips on keeping your kitchen appliances in top condition. Happy filtering!

Meet

Dale

Hi, I'm Dale! With over ten years in high volume restaurants, my journey has taken me through the ins and outs of using, maintaining, and even repairing virtually every kitchen appliance imaginable.

I'm here to share simple, straightforward advice to help you choose and use your kitchen tools effectively. No fluff, just the essential info you need to cook up a storm.