At TheKitchenApplianceDad.com, we know that even the simplest kitchen maintenance tasks, such as changing a light bulb in your appliance, can sometimes be daunting. Today, we will guide you through the steps to change the light bulb in your Kitchenaid freezer. This tutorial will help you keep your freezer well-lit and functional without needing to call in a professional.
Safety First
Before starting any maintenance on your Kitchenaid freezer, safety must be your top priority.
- Unplug the Freezer: Always unplug the appliance from the power outlet to avoid any electrical hazards.
- Allow the Bulb to Cool: If the light was on and then went out, give it some time to cool down before you attempt to replace it.

Tools You Will Need
To change the light bulb in your Kitchenaid freezer, you’ll need:
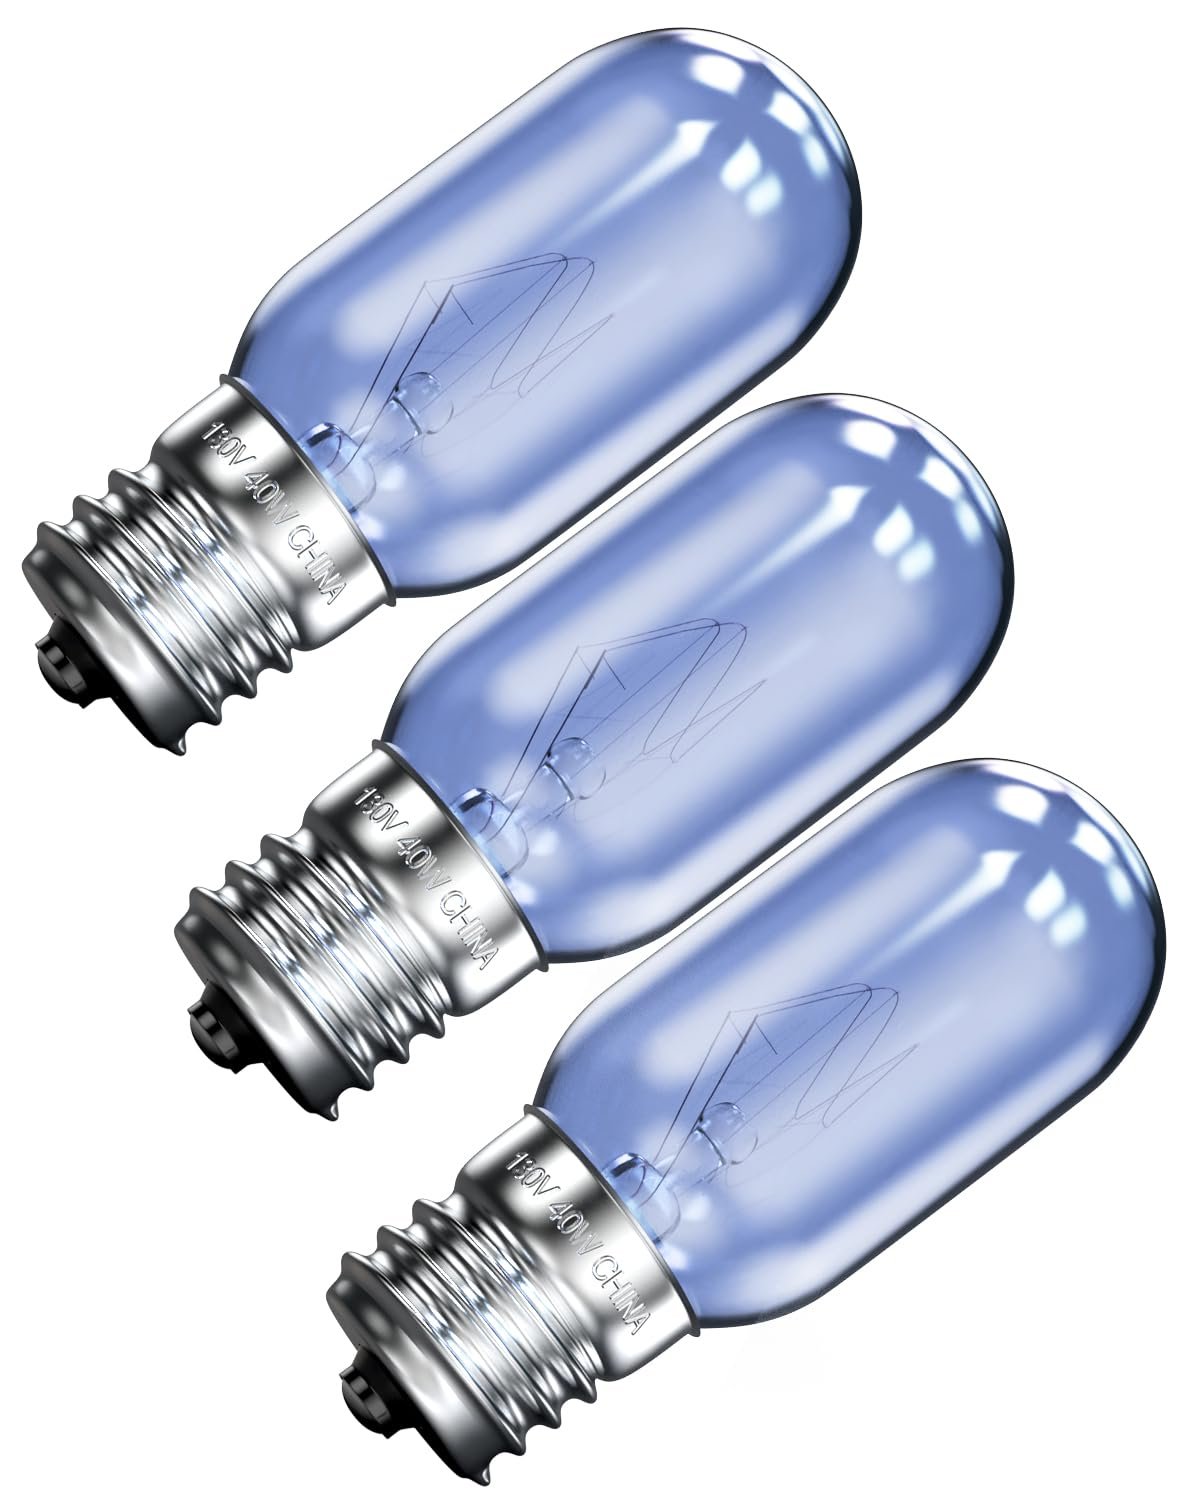
- A new bulb (make sure it matches the specifications required by your model, which is typically mentioned in the user manual)
- A screwdriver (if necessary, depending on your freezer model)
- Gloves or a cloth to handle the new bulb (to avoid getting oils from your skin on it)
Identifying the Right Bulb
Before you purchase a new bulb, it’s essential to identify the correct type required by your Kitchenaid freezer. Most models use a specific bulb that differs from your typical household bulbs.
- Check the User Manual: This is the most reliable source for finding the bulb specifications for your specific model.
- Model Number: Alternatively, you can look up the model number of your freezer online to find compatible bulb types. Websites like AppliancePartsPros or RepairClinic can be useful for this.
Steps to Replace the Bulb
1. Accessing the Bulb
The light bulb in your Kitchenaid freezer is usually protected by a cover. This cover can be snapped in place or screwed on. Here’s how you can access it:
- Remove the Cover: If it’s a snap-on, gently pry it off with a flat tool. If it’s screwed on, use a screwdriver to remove the screws. Be careful not to crack the plastic cover.
2. Removing the Old Bulb
Once the cover is off, you can easily see the bulb.
- Twist and Pull: Most freezer bulbs will unscrew like a standard household bulb. Turn it counterclockwise and pull it out gently.
3. Installing the New Bulb
Take your new bulb and install it where you removed the old one.
- Screw in the Bulb: Place the new bulb in the socket and twist it clockwise until it is secure. Avoid over-tightening to prevent damage.
4. Reassembling the Cover
Once the new bulb is in place, you need to put the cover back on.
- Secure the Cover: Align it and snap it back into place or replace the screws if necessary.
5. Testing the New Bulb
After everything is reassembled, plug the freezer back in and open the door to ensure the new bulb works properly.
Tips for Longevity
- Use High-Quality Bulbs: Opt for LED bulbs if compatible, as they last longer and are more energy-efficient.
- Keep Spare Bulbs: It’s always a good idea to keep spare bulbs specifically for your freezer in your home so you won’t have to rush to the store or wait for an online order when one burns out.
Disposing of Old Bulbs
Remember to dispose of your old bulbs responsibly. Many freezer bulbs contain substances that are not environmentally friendly.
- Recycling Centers: Check if your local waste management facilities accept bulbs for recycling.
- Hazardous Waste Collection: Some areas have specific collection days or facilities for hazardous waste. It’s worth checking this for bulb disposal.
Conclusion
Changing the light bulb in your Kitchenaid freezer is a simple process that you can do yourself with just a few tools and precautions. Regular maintenance, including bulb replacement, helps extend the life of your appliance and ensures it operates at its best.
Key Takeaways
- Safety First: Always unplug your freezer before beginning any maintenance.
- Proper Tools and Bulbs: Ensure you have the correct bulb type and tools before starting.
- Follow Steps Carefully: Accessing, removing, and replacing the bulb involves simple but precise steps.
- Test Your Work: Always test the new bulb after replacement to ensure functionality.
- Dispose Responsibly: Be mindful of how you dispose of the old bulb, considering environmental factors.
By following these steps and tips from TheKitchenApplianceDad.com, you can efficiently handle the light bulb change in your Kitchenaid freezer, keeping your appliance in top working order.