how-to-change-the-filter-in-samsung-fridge-freezer-a-step-by-step-guide

How To Change The Filter In Samsung Fridge Freezer: A Step-By-Step Guide

Maintaining your Samsung fridge freezer is crucial for ensuring it operates efficiently and keeps your food fresh and safe. One of the most important maintenance tasks is changing the water filter. Over time, the filter in your fridge can become clogged with various contaminants and impurities, affecting the taste and quality of your water and ice. In this detailed guide from TheKitchenApplianceDad.com, we will walk you through the steps to change the filter in your Samsung fridge freezer.

Understanding When to Change Your Filter

Frequency of Change: Samsung recommends changing the water filter every six months, or more often if you notice a decrease in water flow or an odd taste to the water or ice.

Check Filter Indicator: Many Samsung models feature a filter indicator light on the display panel, which will turn red or blink to let you know when it’s time for a replacement.
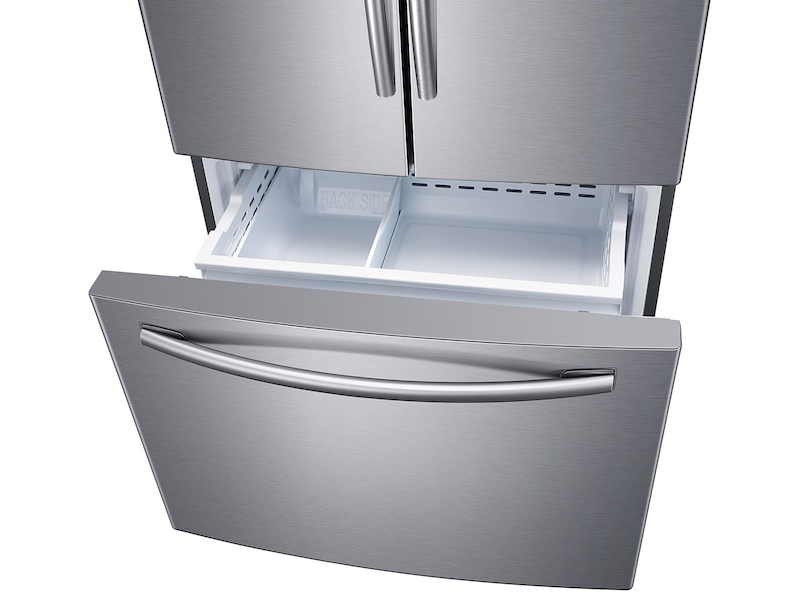
French Door Refrigerator with Ice Maker in Stainless Steel (RF260BEAESR) |  Samsung US

Step 1: Identifying Your Samsung Fridge Model

Before you purchase a new filter, it’s important to know the exact model of your Samsung fridge freezer as different models might require different types of filters. You can usually find this information on a sticker inside the fridge, often on the wall behind the crisper drawers.

Step 2: Purchasing the Correct Filter

Once you have your model number, you can purchase the correct filter. Make sure to buy genuine Samsung filters or a high-quality compatible version to ensure the best performance and to avoid any potential damage to your appliance.

  • Genuine Samsung Filters: You can buy them directly from Samsung’s website or from authorized retailers.
  • Compatible Filters: If opting for a compatible filter, ensure it meets Samsung’s performance standards. Websites like Amazon or specialized retailers like FiltersFast often provide a range of compatible options.

Step 3: Preparing to Change the Filter

Safety First: Always start by turning off the water supply to the refrigerator to avoid any leaks during the filter change.

Gather Necessary Tools: Typically, no tools are needed for changing a Samsung fridge filter, but it’s good to have a towel handy to catch any drips when removing the old filter.

Step 4: Locating and Removing the Old Filter

The location of the water filter can vary depending on your Samsung model. Here are common placements:

  • Upper Right-hand Corner: For many models, the filter is located inside the refrigerator in the upper right-hand corner. To remove it, either twist it counterclockwise or push and pull, depending on the model.
  • Between Crisper Drawers: In some models, the filter is positioned between the crisper drawers. For these, removal typically involves a gentle pull.

Once located, remove the old filter. If it’s tight, gently wiggle it while pulling to ease the removal process without applying excessive force.

Step 5: Installing the New Filter

  • Remove Protective Cap: New filters usually come with a protective cap. Remove this cap before installation.
  • Align and Insert: Align the new filter with the connector and insert it into the housing. For twist-on filters, you will need to rotate it clockwise until it locks into place. For push-in models, simply push until you hear a click.
  • Double Check: Make sure the filter is firmly in place to prevent any leaks.

Step 6: Flushing the New Filter

After installing the new filter, it’s important to flush out any impurities and carbon fines (fine black particles) from the carbon block.

  • Turn On Water Supply: Restore the water supply to the fridge.
  • Dispense Water: Use the water dispenser to run about 3-5 gallons of water through the new filter. This process helps to clear out the system and ensures that the water you drink is clean and clear.

Step 7: Resetting the Filter Indicator

Once the new filter is installed and flushed, don’t forget to reset the filter indicator light.

  • Resetting the Light: This is usually done by pressing and holding a specific button (such as “Ice Type” or “Filter Reset”) on the fridge’s control panel for about 3 seconds. The exact button can vary depending on the model, so refer to your user’s manual for detailed instructions.

Key Takeaways

  • Regular Maintenance: Change your Samsung fridge freezer filter every six months or when indicated by the filter light.
  • Correct Filter Type: Ensure you purchase the right type of filter for your specific Samsung model to avoid any issues.
  • Proper Installation: Follow the steps carefully to install the new filter and flush it before use to ensure optimal performance.
  • Indicator Reset: Don’t forget to reset the filter indicator light after replacing the filter.

Changing the water filter in your Samsung fridge freezer is a simple yet important task. By following these steps, you can ensure that your appliance continues to provide clean, fresh-tasting water and ice. Remember, regularmaintenance not only prolongs the life of your fridge freezer but also ensures the health and safety of your family. For more tips and advice on maintaining your kitchen appliances, keep following TheKitchenApplianceDad.com.

Meet

Dale

Hi, I'm Dale! With over ten years in high volume restaurants, my journey has taken me through the ins and outs of using, maintaining, and even repairing virtually every kitchen appliance imaginable.

I'm here to share simple, straightforward advice to help you choose and use your kitchen tools effectively. No fluff, just the essential info you need to cook up a storm.