Welcome to TheKitchenApplianceDad.com! Today, we’re tackling a topic that is crucial for anyone who owns a KitchenAid mixer. Whether you’re a baking enthusiast or a casual home chef, knowing how to properly adjust your KitchenAid mixer ensures that your appliance performs at its best. So, let’s dive into the simple steps of fine-tuning your mixer for optimal results.
Understanding the Need for Adjustment
KitchenAid mixers are known for their durability and precision, but even the best appliances may require a little tweaking to maintain their performance. The beater-to-bowl clearance is the key adjustment you’ll need to make. If the beater is too low, it can scrape the bottom of the bowl; if it’s too high, ingredients won’t be mixed thoroughly.

Checking Beater-to-Bowl Clearance
Before we adjust, let’s check the clearance:
- Unplug the Mixer: Safety first! Always unplug your mixer before making any adjustments.
- Attach the Beater: Place the flat beater on the mixer.
- Lower the Beater: If you have a tilt-head model, tilt the head down. For a bowl-lift model, raise the bowl so the beater is at the bottom.
- Visual Inspection: There should be a slight gap – about the thickness of a dime – between the beater and the bottom of the bowl.
Adjusting a Tilt-Head Model
If you own a tilt-head KitchenAid mixer, here’s how to adjust it:
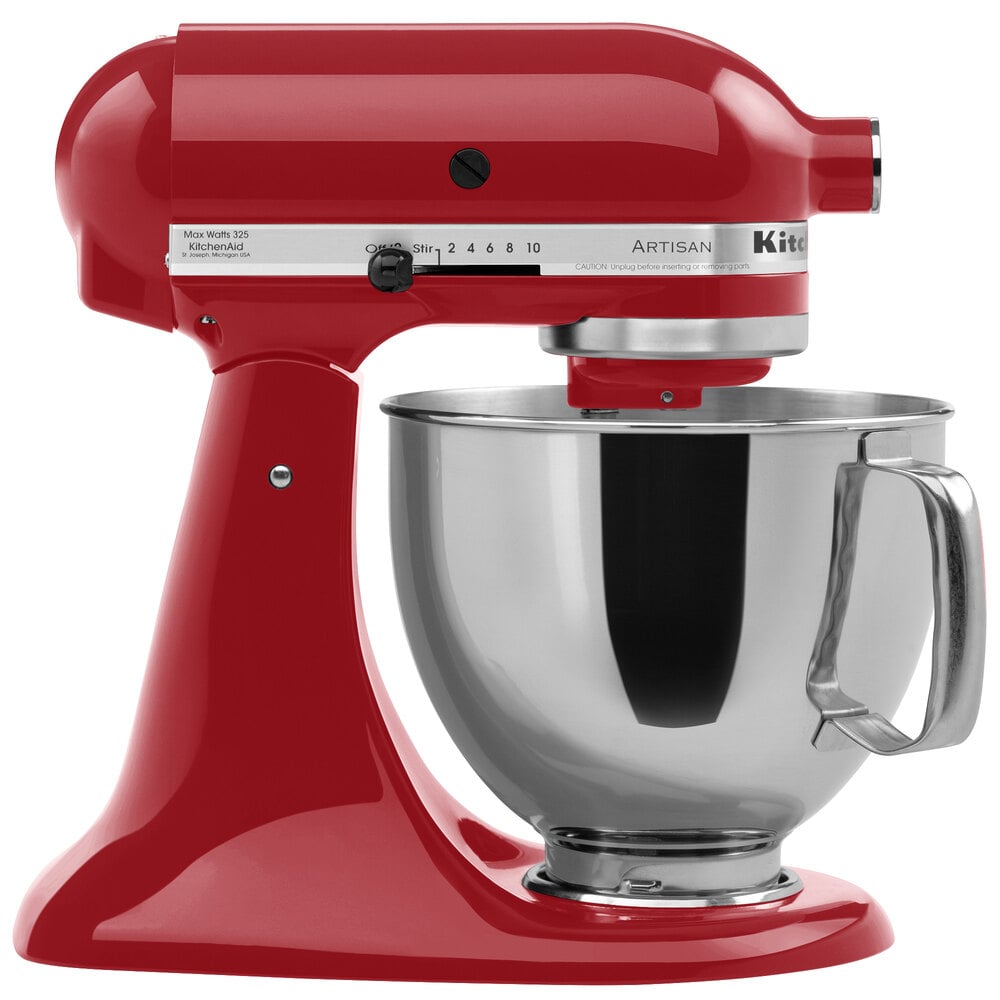
- Locate the Screw: There’s a small screw located where the head meets the stand (often referred to as the “hinge pin”).
- Adjusting the Screw: Use a flat-head screwdriver for this task. Turning the screw counterclockwise raises the beater, while turning it clockwise lowers it.
- Test the Adjustment: After a small adjustment, place the dime in the bowl, and see if the beater just barely touches it when you turn the mixer on a low speed. If it doesn’t touch, lower the beater slightly by turning the screw clockwise. If it touches too much, raise the beater by turning the screw counterclockwise.
- Repeat as Necessary: Continue making small adjustments and testing until the beater just grazes the dime.
Adjusting a Bowl-Lift Model
For those with a bowl-lift KitchenAid mixer, follow these steps:
- Locate the Screw: The adjustment screw is located on the lower portion of the stand, where the bowl lift arm meets the mixer.
- Adjusting the Screw: Again, use a flat-head screwdriver. Turning the screw slightly counterclockwise will raise the bowl, while turning it clockwise will lower the bowl.
- Test the Adjustment: Perform the same dime test as with the tilt-head model. Adjust and test until you’ve achieved the correct clearance.
After Adjustment
Once you’ve adjusted your KitchenAid mixer:
- Tighten the Screw: Ensure the screw is snug so that your adjustment stays in place.
- Listen: When you turn on your mixer, listen for any scraping sounds. If you hear any, you may need to re-adjust slightly.
- Clean Up: If the beater has scraped the bowl, you might have some metal residue. Clean the bowl with a good stainless steel cleaner, like Bar Keepers Friend (Bar Keepers Friend website).
Key Takeaways
- Safety First: Always unplug your KitchenAid mixer before adjusting.
- Know Your Model: Tilt-head and bowl-lift models have different adjustment screws.
- The Dime Test: Use a dime to check the beater-to-bowl clearance.
- Small Adjustments: Make slight turns of the adjustment screw and test frequently.
- Check for Scraping: Listen for any unusual sounds after adjustment.
- Maintenance: Regularly check and adjust your mixer for consistent performance.
Adjusting your KitchenAid mixer is a simple but important task to ensure the longevity and effectiveness of one of your most versatile kitchen appliances. With this guide, you now have the know-how to keep your mixer in tip-top shape.
For more tips, tricks, and guides on making the most of your kitchen appliances, keep visiting us at TheKitchenApplianceDad.com. Whether you’re perfecting your pizza dough or whipping up a meringue, proper mixer adjustment can make all the difference. Happy mixing!