Welcome to another delicious entry here at TheKitchenApplianceDad.com, where today we’re tackling a question that haunts many quick-meal enthusiasts: How long should you microwave Hot Pockets? Whether you’re in a rush, or just craving that comforting, cheesy goodness, knowing the right cooking time is crucial for achieving that perfect balance of crispy crust and molten filling without ending up with a cold center or an overcooked mess.
Understanding Hot Pockets
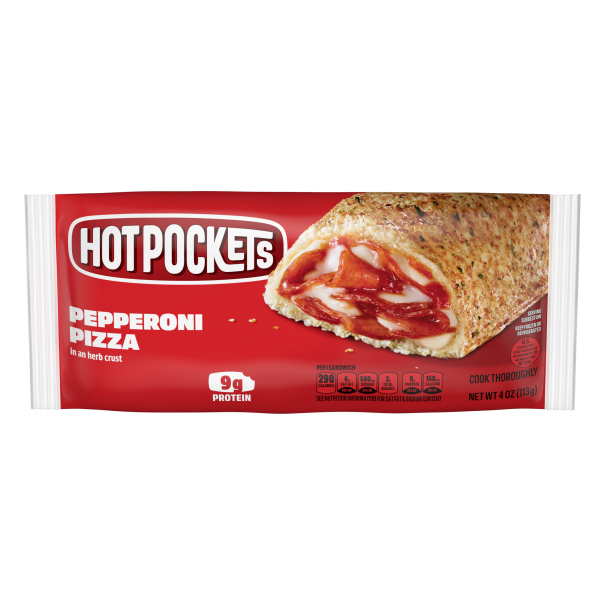
Before we dive into microwave times, let’s understand a bit more about Hot Pockets. These stuffed pockets of joy come in various flavors, from Pepperoni Pizza to Ham and Cheese, each wrapped in a crispy crust. They’re designed for convenience, typically frozen and packaged in a crisping sleeve that helps the crust get crunchy when microwaved.

General Microwave Instructions for Hot Pockets
Microwaving Hot Pockets is simple but requires attention to detail to avoid any kitchen mishaps or mouthfuls of lukewarm cheese. Here’s how you can do it:
Step-by-Step Guide:
- Remove the Hot Pocket from the wrapper: Unwrap your Hot Pocket and place it into its crispy sleeve.
- Place in microwave: Position the Hot Pocket along with the sleeve on a microwave-safe plate.
- Cooking time: The standard cooking time for most Hot Pockets in a microwave with about 1100 Watts of power is about 2 minutes for one Hot Pocket and around 4 minutes for two. However, this can vary slightly based on the specific microwave and the type of Hot Pocket.
Wattage Matters:
- Lower wattage microwaves: For microwaves under 1100 Watts, consider adding an additional 15-30 seconds to the cooking time.
- Higher wattage microwaves: If your microwave is more powerful, start checking the Hot Pocket a bit earlier to prevent overcooking.
Special Considerations
- Flavor variations: Some Hot Pockets, like those with meatballs or more filling, might require a bit longer, whereas leaner versions like the Deli-style Ham and Cheese might need slightly less.
- Frozen state: If your Hot Pocket has been left out to thaw, reduce the cooking time slightly as the initial temperature of the filling will be higher.
Safety and Quality Tips
- Even cooking: Halfway through cooking, pause the microwave and flip the Hot Pocket in its sleeve for more even heating.
- Post-cooking stand time: Let the Hot Pocket sit for about 2 minutes after microwaving. This allows the heat to distribute more evenly throughout the Hot Pocket, making it safer to eat and ensuring the filling heats through properly.
- Check the temperature: If unsure, checking the internal temperature with a food thermometer is a good practice. It should reach at least 165°F (74°C) to be considered safe to eat.
The Role of the Crisping Sleeve
The crisping sleeve, often referred to as a “crisper,” serves an important function. It’s designed to absorb some of the microwave’s energy and convert it into heat, which helps crisp the outer dough. Ensure the Hot Pocket is snugly placed within this sleeve for optimal results.
Troubleshooting Common Issues
- Soggy crust: If the crust isn’t crispy enough, try increasing the cooking time by 15 seconds, but keep a close eye to avoid burning.
- Cold spots in filling: This can happen if the Hot Pocket isn’t heated long enough or evenly. Ensure you’re flipping it halfway through cooking and letting it stand afterward.
Key Takeaways
- Cooking time: Generally, microwave one Hot Pocket for about 2 minutes on high power. Adjust time for multiple pockets or different microwave wattages.
- Even heating: Flip the Hot Pocket halfway through cooking and use the crisping sleeve.
- Safety first: Ensure the internal temperature reaches at least 165°F.
By following these tips, you’ll ensure that your Hot Pockets are heated thoroughly and safely, providing a quick, satisfying meal without much hassle. Remember, all microwaves vary, so adjustments might be necessary based on your specific appliance and the results you’re achieving. Happy microwaving!