how-long-should-you-freeze-a-kitchenaid-ice-cream-bowl

How Long Should You Freeze a Kitchenaid Ice Cream Bowl?

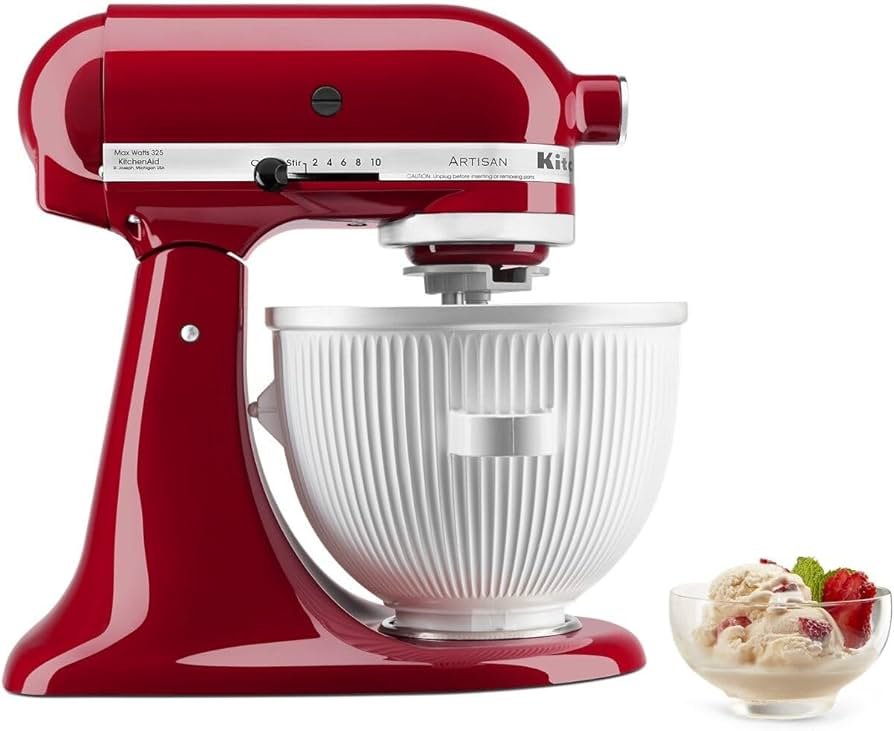
Making homemade ice cream can be a delightful and rewarding experience. If you own a KitchenAid stand mixer, you may have the KitchenAid Ice Cream Maker attachment, which includes a special bowl that needs to be frozen before use. At TheKitchenApplianceDad.com, we love diving into the details of how to get the most out of your kitchen appliances, so let’s talk about the proper way to freeze your KitchenAid Ice Cream Bowl to ensure perfect ice cream every time.

The Importance of a Properly Frozen Ice Cream Bowl

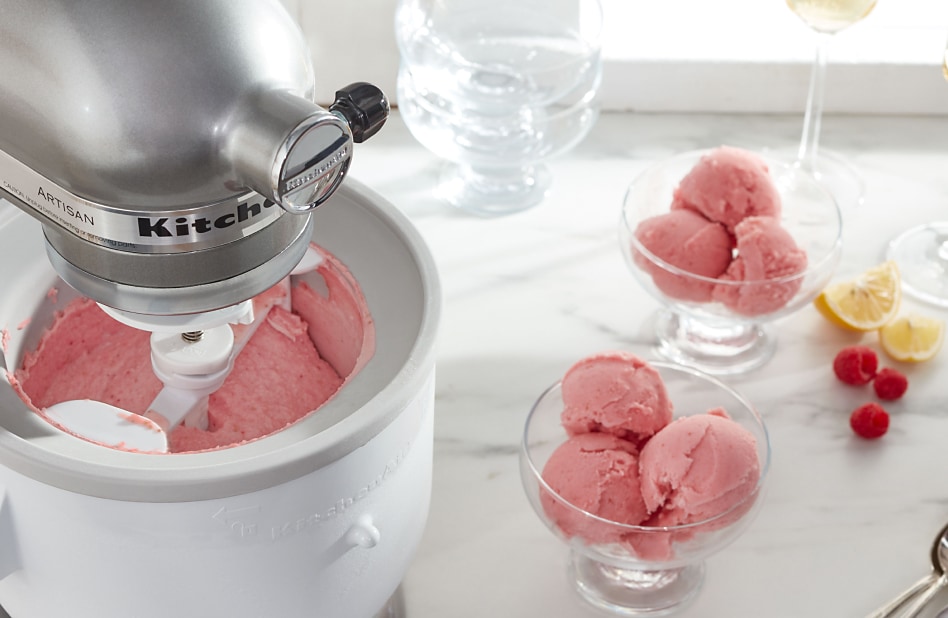
The KitchenAid Ice Cream Maker attachment relies on a pre-frozen bowl to chill and churn your ice cream mixture into a creamy frozen dessert. The liquid within the double walls of the bowl must be completely frozen to achieve the right consistency in your ice cream. If the bowl isn’t frozen enough, your ice cream may not thicken and can remain too liquidy.

How To Use a KitchenAid® Ice Cream Attachment | KitchenAid

Freezing Duration for Optimal Results

Recommended Time

KitchenAid recommends freezing the ice cream bowl for at least 15 hours before use. This duration is generally sufficient for the liquid within the bowl’s walls to fully freeze. However, there are several factors that can influence how long you should actually freeze your bowl:

  • Freezer Temperature: Most freezers should be set to 0°F (-18°C) or lower. If your freezer is set to a higher temperature, it may take longer for the bowl to freeze completely.
  • Freezer Fullness: A fuller freezer retains cold better than an empty one. If your freezer is relatively empty, it might take longer for the bowl to freeze thoroughly.
  • Bowl Temperature: If you’ve recently washed the bowl or it’s been sitting out at room temperature, it may require additional time in the freezer to cool down before the freezing process begins.

Advanced Preparation

To ensure your bowl is adequately frozen, it’s a good idea to place it in the back of your freezer where it’s coldest, at least 24 hours ahead of when you plan to make ice cream. This extra time acts as a buffer to account for any variables that might require a longer freezing time.

Checking Readiness

To check if the bowl is completely frozen, simply shake it. If you do not hear any liquid moving inside, it’s ready to go. If you do hear liquid, it needs more time in the freezer.

Tips for Freezing the Ice Cream Bowl

  • Avoid Rushing the Process: Don’t try to speed up the freezing by adjusting the freezer to a colder setting. This can cause the compressor to work harder than necessary and may not freeze the bowl any faster.
  • Maintain Freezer Efficiency: Keep the freezer door closed as much as possible. Repeatedly opening the door can increase the temperature and affect how quickly the bowl freezes.
  • Store the Bowl in the Freezer: If you have space, store the ice cream bowl in the freezer even when it’s not in use. This way, it’s always ready for an impromptu ice cream making session.

Key Takeaways

  • Always freeze the KitchenAid Ice Cream Bowl for at least 15 hours, but preferably 24 hours, before making ice cream.
  • Ensure your freezer is set to 0°F (-18°C) or lower for the bowl to freeze properly.
  • Check the bowl’s readiness by shaking it; if no liquid can be heard, it’s ready to use.
  • Store the ice cream bowl in the freezer to keep it ready for use at any time.

By following these guidelines, you’ll have a thoroughly frozen ice cream bowl that’s ready to churn up delicious homemade ice cream whenever the craving strikes. Remember, a little patience in the freezing process can lead to a sweet and satisfying reward! Enjoy your ice cream making adventures with the peace of mind that comes from properly prepared equipment, courtesy of TheKitchenApplianceDad.com.

Meet

Dale

Hi, I'm Dale! With over ten years in high volume restaurants, my journey has taken me through the ins and outs of using, maintaining, and even repairing virtually every kitchen appliance imaginable.

I'm here to share simple, straightforward advice to help you choose and use your kitchen tools effectively. No fluff, just the essential info you need to cook up a storm.