guide-to-replacing-a-ge-freezer-flapper

Step-by-Step Guide to Replacing a GE Freezer Flapper

Introduction

Welcome back to TheKitchenApplianceDad.com! Today, we’ll dive into a handy guide on replacing a GE freezer flapper. It’s a common issue that many homeowners face, and while it might seem daunting at first, replacing a freezer flapper can actually be a fairly straightforward DIY project. Whether your flapper has deteriorated over time or simply stopped functioning correctly, this guide will help you through the steps needed to install a new one, ensuring your freezer operates efficiently once again.

What is a Freezer Flapper?

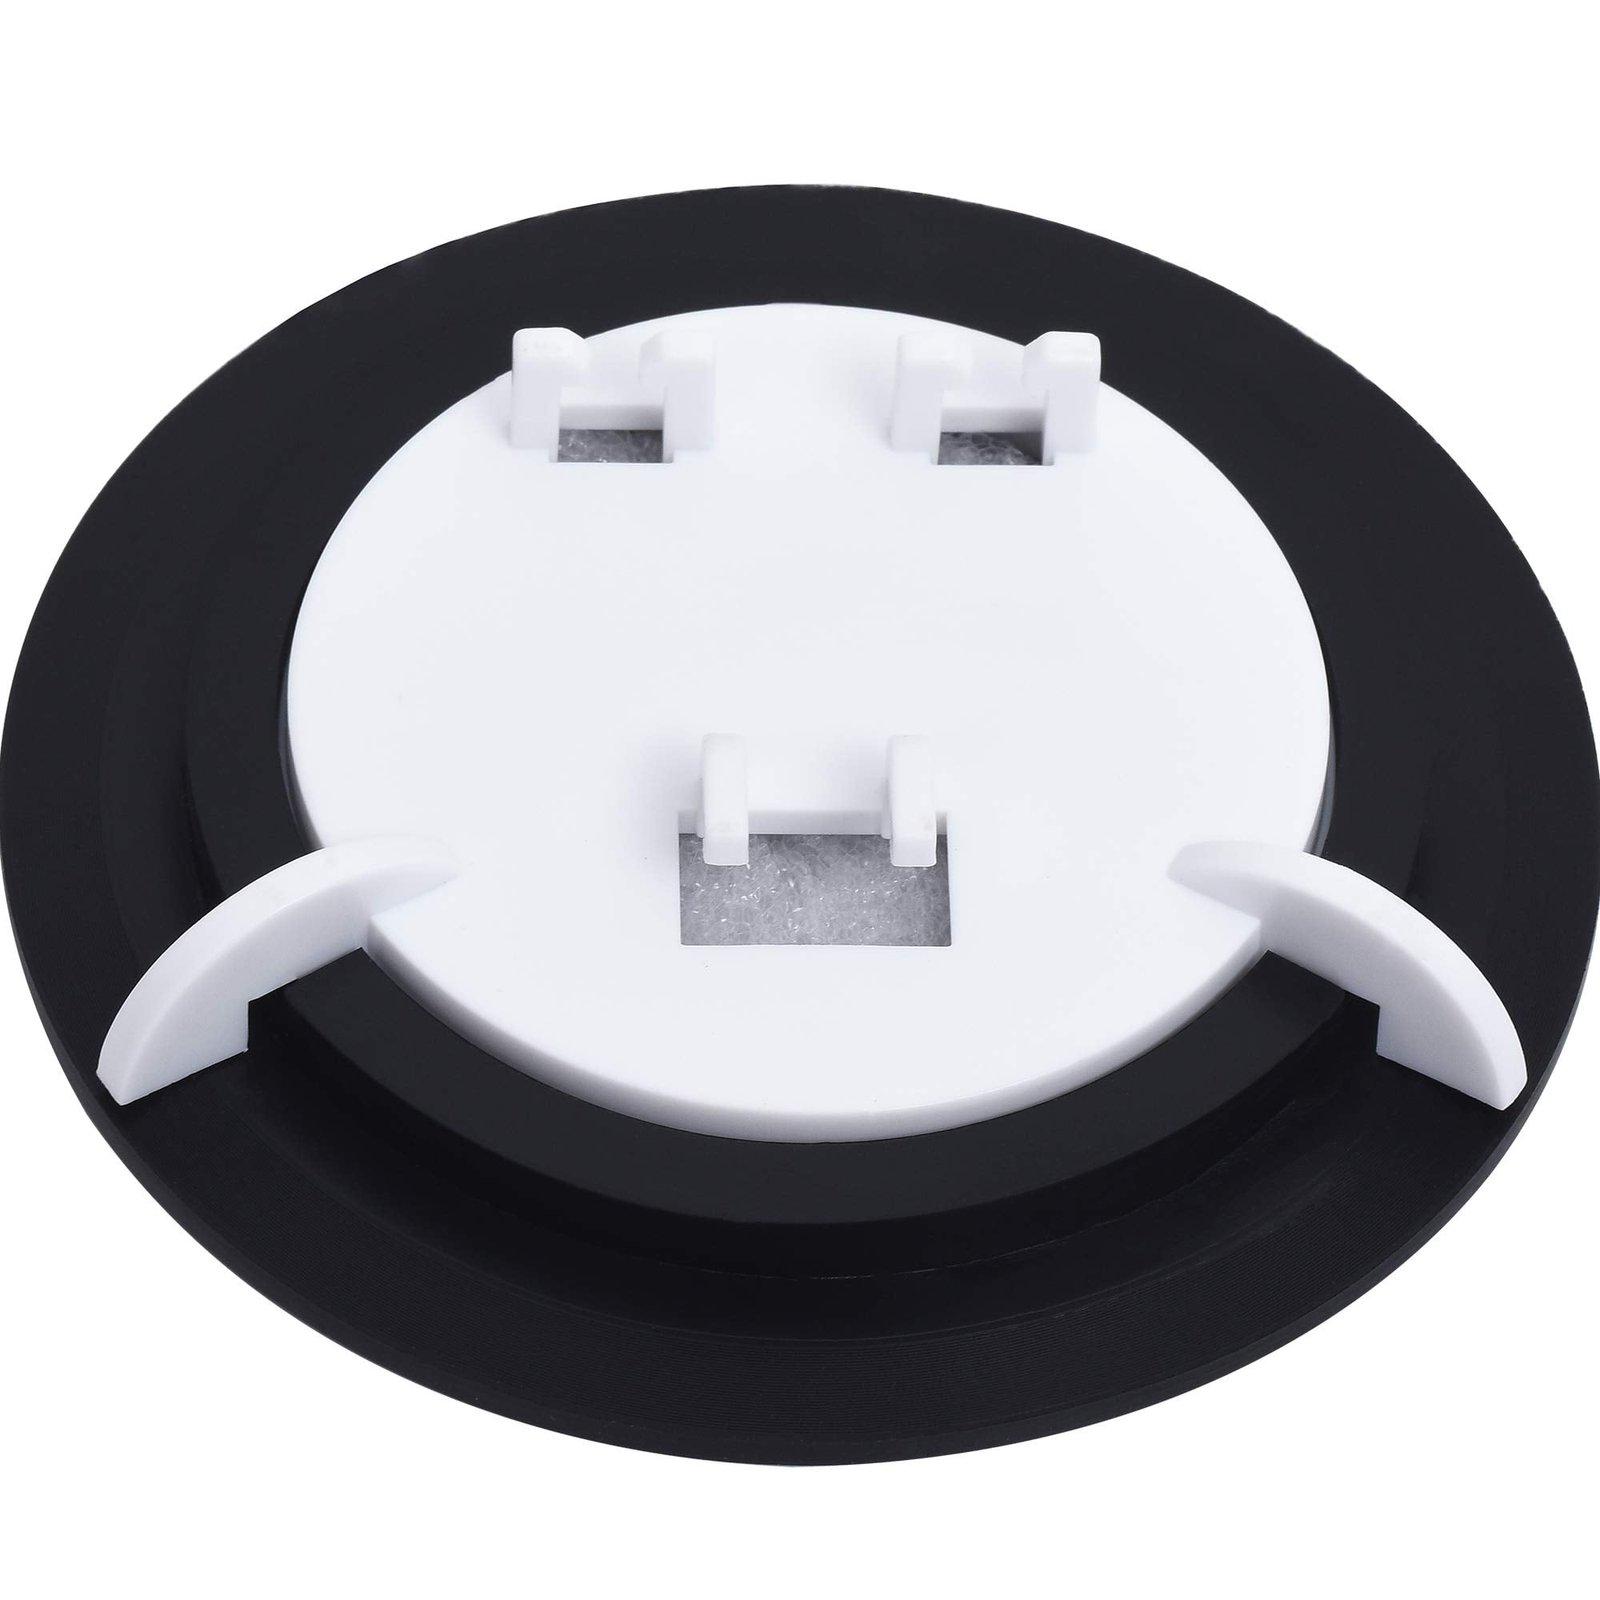
A freezer flapper is an essential component of a side-by-side refrigerator. It’s the small door that allows air to circulate between the freezer and ice dispenser. When functioning properly, it opens to dispense ice and closes tightly to maintain the freezer’s temperature. A malfunctioning flapper can lead to increased energy consumption and a drop in freezer efficiency.

WR17X11653 Electronic Refrigerator Dispenser Door Flap Exact Fit For G

Tools and Materials Needed

Before you begin, ensure you have the following tools and materials ready:

  • New freezer flapper (ensure it is compatible with your GE model)
  • Screwdriver (Phillips or flat-head depending on your model)
  • Nut driver (if applicable)
  • Gloves (to protect your hands)
  • Flashlight (for better visibility)

You can usually find the correct freezer flapper model for your appliance on the GE Appliances parts website or at a local appliance repair shop.

Step-by-Step Guide to Replacing a GE Freezer Flapper

Step 1: Unplug Your Refrigerator

For safety, always start any appliance repair by unplugging the unit from the power source. This prevents any electrical accidents and ensures your safety throughout the repair process.

Step 2: Access the Freezer Flapper

Open the freezer door and locate the ice dispenser mechanism. The freezer flapper is typically situated behind the ice bin. You might need to remove the ice bin to access it, which usually just lifts straight out.

Step 3: Remove the Old Flapper

Once you have clear access:

  1. Remove any screws holding the flapper in place. These are usually on the sides or top of the flapper assembly.
  2. Carefully detach the flapper from any hooks or clips holding it to the dispenser mechanism.
  3. Disconnect any wiring if your model has an electronic control for the flapper.

Step 4: Install the New Flapper

  1. Connect the wiring to the new flapper (if applicable).
  2. Attach the new flapper to the hooks or clips you detached the old one from.
  3. Secure the flapper with screws you removed earlier, ensuring it is tightly fixed and correctly aligned.

Step 5: Test the Flapper Functionality

Before putting everything back together:

  1. Plug in the refrigerator.
  2. Test the dispenser to ensure the new flapper opens and closes properly.
  3. Check for any signs of misalignment or air leaks, which could affect the freezer’s efficiency.

Step 6: Reassemble and Final Testing

Once you confirm the flapper is working correctly:

  1. Replace the ice bin and any other components you removed.
  2. Ensure everything is firmly in place.
  3. Do a final test by trying to dispense ice and observing the functionality.

Key Maintenance Tips

Maintaining your freezer flapper can extend its life and improve your refrigerator’s efficiency. Here are a few tips:

  • Regularly clean the ice dispenser mechanism to prevent build-up that can obstruct the flapper’s movement.
  • Check the seals around the flapper for wear and tear and replace them if necessary to ensure a good seal.
  • Listen for unusual noises from the dispenser area, which can indicate a problem with the flapper or other components.

Conclusion

Replacing a GE freezer flapper is a manageable task that you can do yourself with some basic tools and a bit of patience. Not only does this save you the cost of a professional repair, but it also helps ensure that your appliance continues to perform at its best.

Key Takeaways

  • Safety first: Always unplug your refrigerator before beginning any repairs.
  • Correct parts: Ensure the replacement flapper is the right model for your GE appliance.
  • Testing is crucial: Always test the new flapper after installation to ensure functionality and efficiency.
  • Maintain regularly: Keep the flapper and its components clean and in good condition to prolong the life of your freezer.

By following this guide, you should feel confident in tackling the replacement of a freezer flapper and maintaining the optimal performance of your refrigerator. Remember, a little DIY can go a long way in keeping your appliances running smoothly. Visit us again at TheKitchenApplianceDad.com for more useful tips and guides!

Meet

Dale

Hi, I'm Dale! With over ten years in high volume restaurants, my journey has taken me through the ins and outs of using, maintaining, and even repairing virtually every kitchen appliance imaginable.

I'm here to share simple, straightforward advice to help you choose and use your kitchen tools effectively. No fluff, just the essential info you need to cook up a storm.