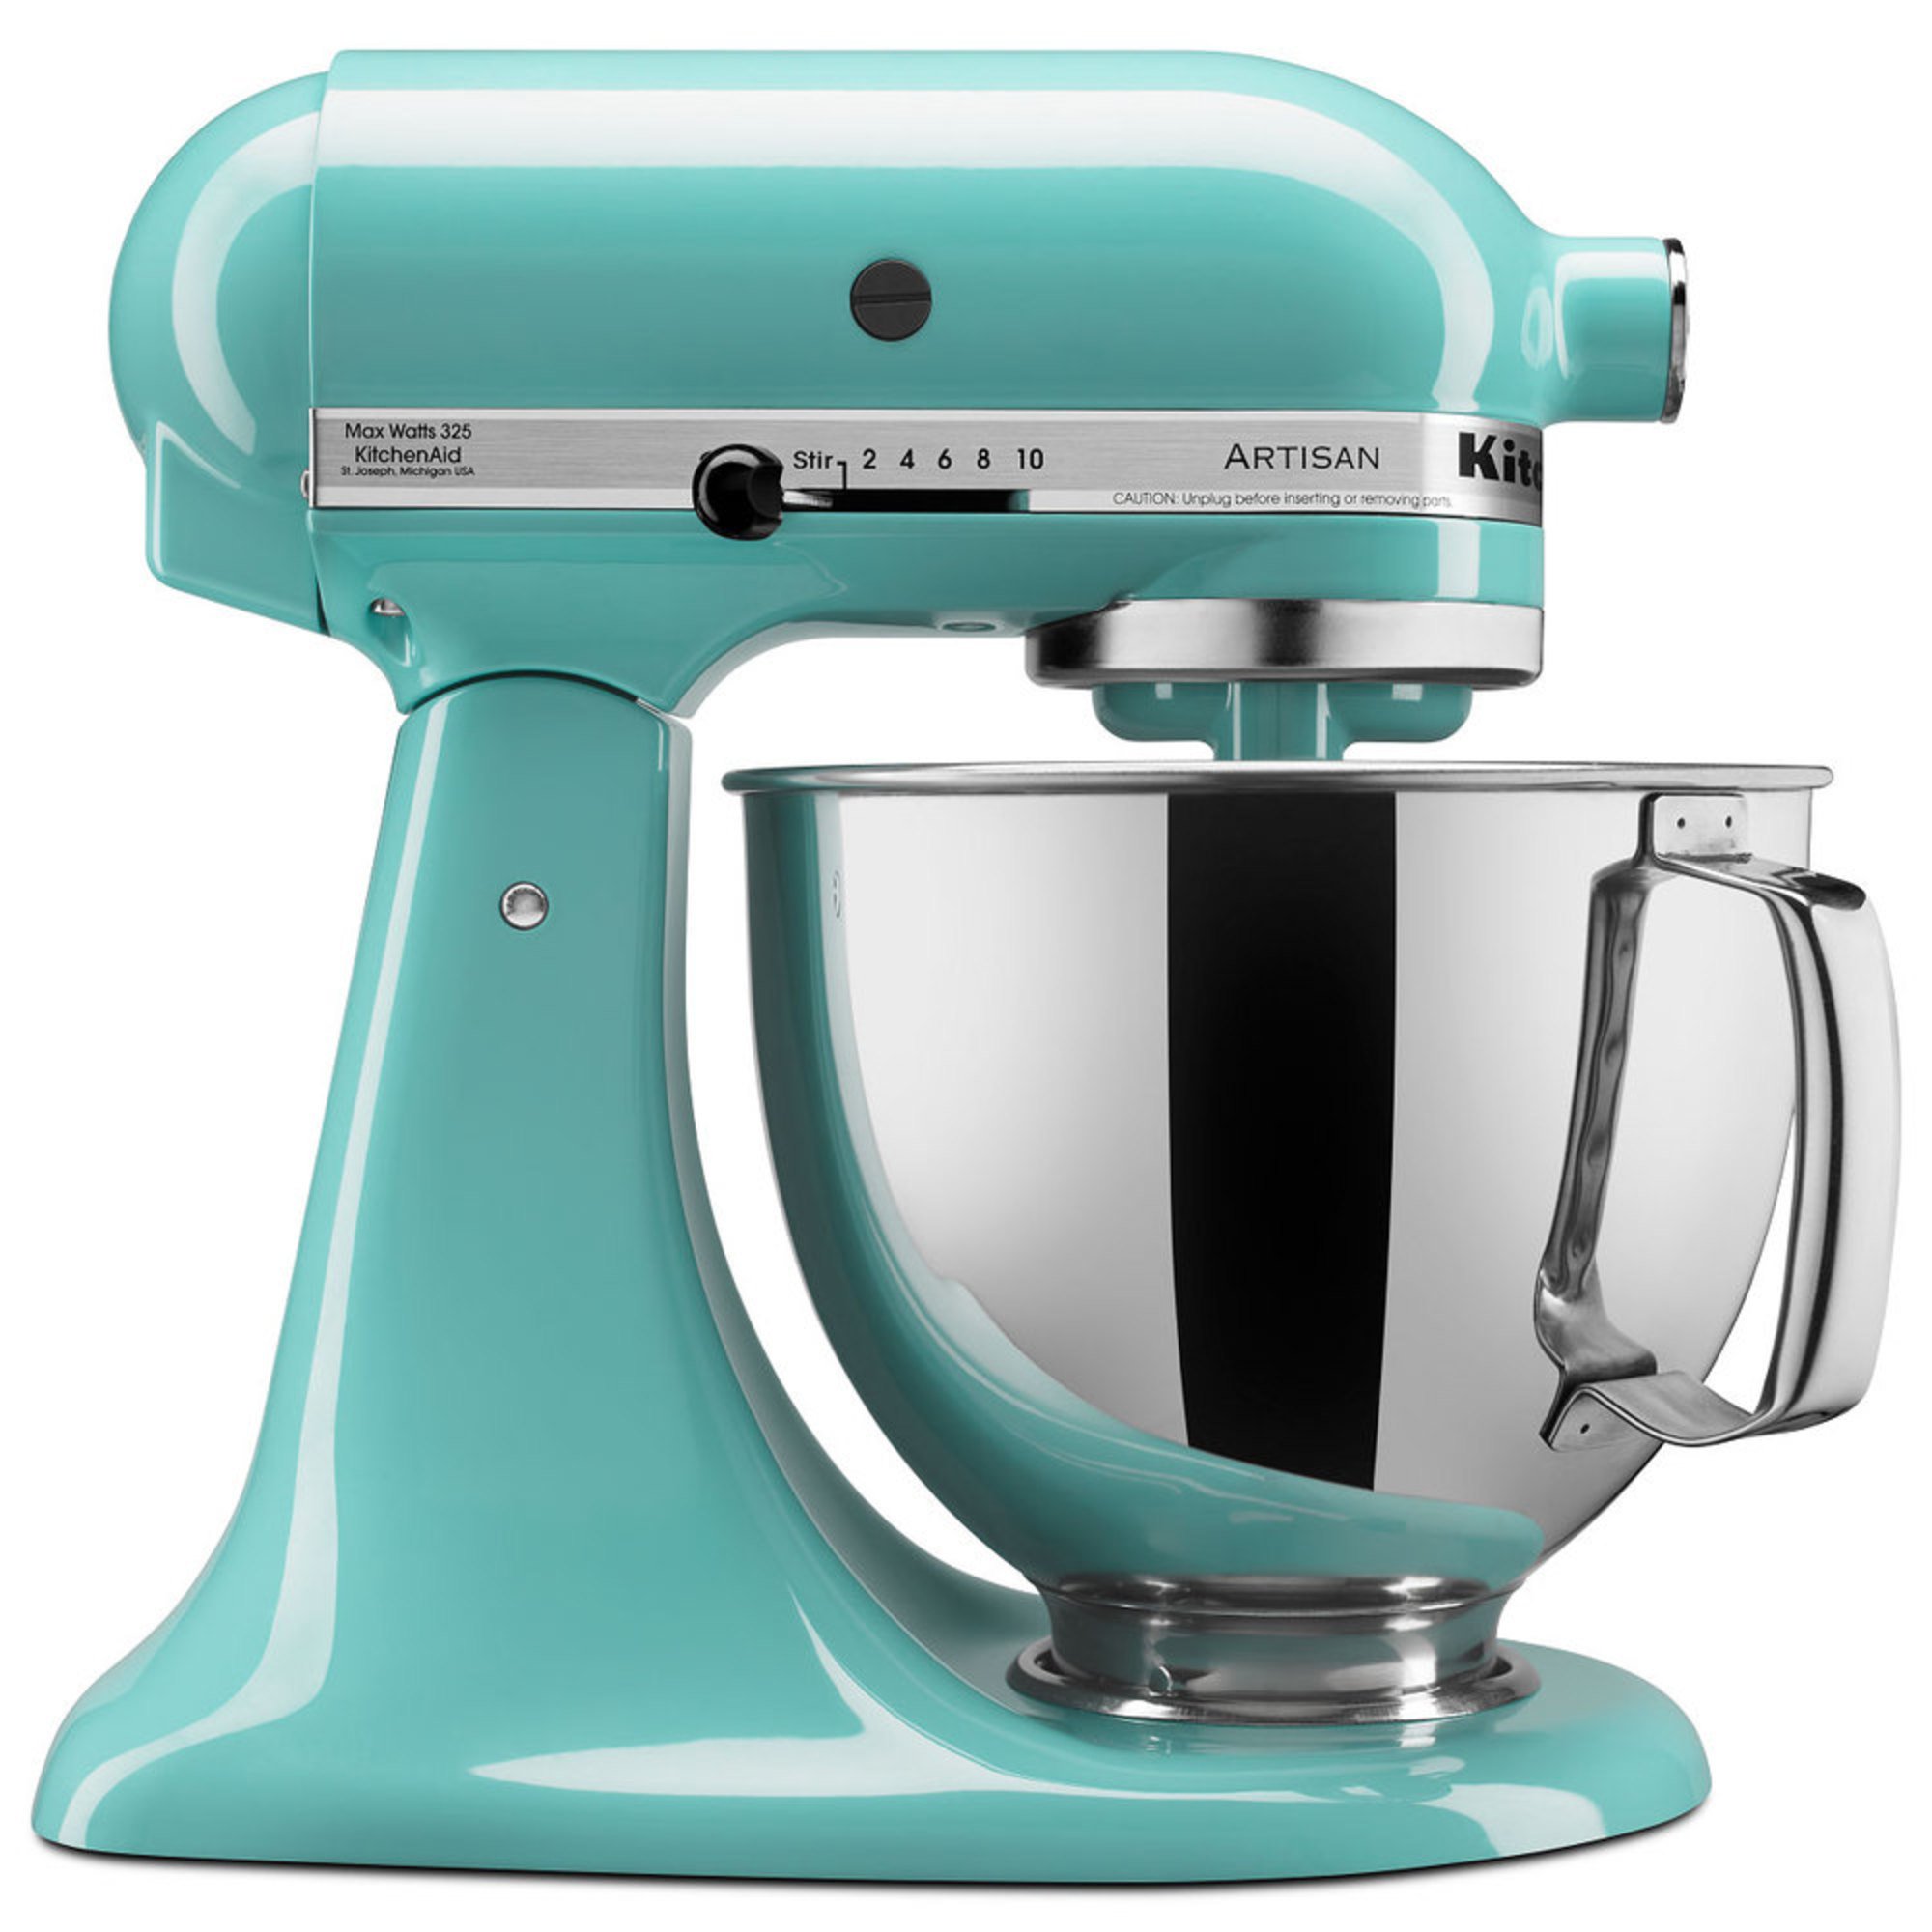
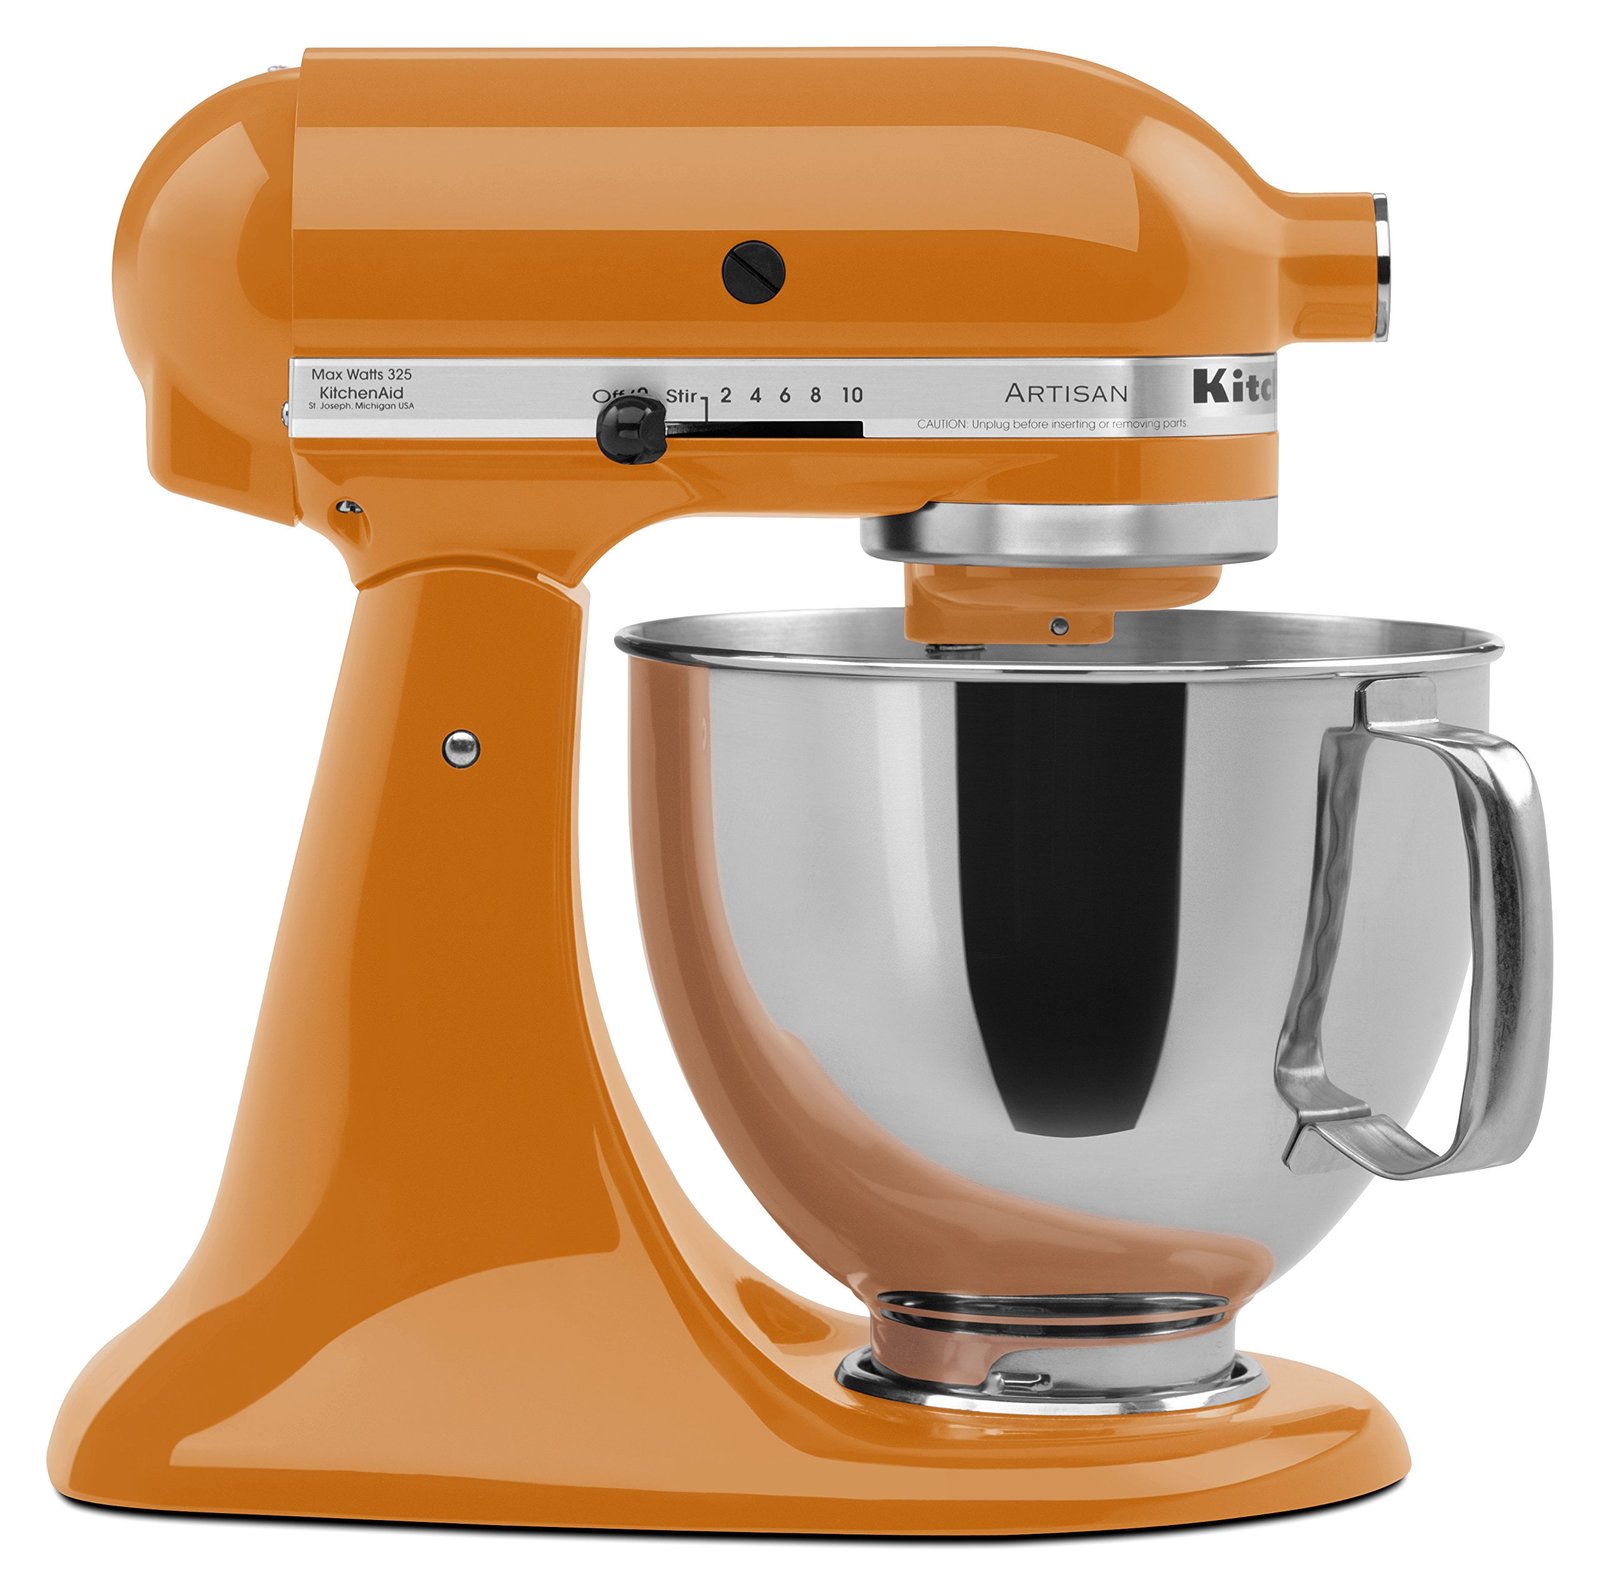
Greetings, home bakers and kitchen enthusiasts! It’s your go-to source for all things appliance-related, TheKitchenApplianceDad.com. Today, we’re rolling up our sleeves (figuratively speaking, of course) to tackle a task that’s essential to the longevity of your beloved KitchenAid mixer – greasing. Keeping your mixer well-lubricated is crucial for its performance and durability, but it can be a messy job. Fear not! I’m here to guide you through the process of greasing your KitchenAid mixer without turning into a grease monster.
Before we get into the nitty-gritty, let’s quickly discuss why greasing is important. Your KitchenAid mixer has a lot of moving parts, and over time, the grease that keeps everything running smoothly can break down or become contaminated with food particles. This can lead to a noisy mixer or, worse, a mixer that doesn’t work at all.

Safety first! Always unplug your mixer before you start any maintenance work. Then, remove any attachments and the bowl, and set your mixer on a flat surface with plenty of room to work.
Using your putty knife or screwdriver, gently pry open the cover where the grease resides. For most KitchenAid mixers, this will be the top part of the mixer’s head. Refer to your mixer’s manual for the exact location and instructions on how to open it.
Take your clean cloths or paper towels and start removing the old grease from inside the mixer. You may need to use cotton swabs or a toothbrush to get into smaller spaces. Be thorough but gentle; you don’t want to damage any parts inside.
Now it’s time to apply the new grease. If you’re wearing gloves, this will help keep your hands clean. Take a generous amount of food-grade grease on your fingers or a clean tool and apply it to the gears inside the mixer. Make sure to cover them well, but don’t overdo it; excess grease can leak out and cause a mess later on.
Once you’ve applied the new grease, close up the mixer and wipe away any excess grease that may have gotten on the outside. Use a clean cloth to give your mixer a final wipe-down, ensuring it’s clean and shiny.
Plug your mixer back in and run it for a minute or two to make sure everything sounds and feels right. Listen for any strange noises and ensure the mixer is running smoothly. If all sounds good, you’ve successfully greased your mixer without the mess!
Greasing your KitchenAid mixer doesn’t have to be a dirty job. With the right preparation and a little bit of know-how, you can keep your mixer in top condition without covering yourself in grease. Remember, a well-maintained mixer is a happy mixer, and it will reward you with years of reliable service.
Key Takeaways:
Maintenance like this can seem daunting, but with these tips, you’re ready to tackle the task with confidence and cleanliness. And remember, for more advice, tips, and appliance wisdom, keep coming back to TheKitchenApplianceDad.com. Happy mixing# How to Grease Your KitchenAid Mixer Without Getting Filthy
Hello, fellow culinary creators and welcome back to TheKitchenApplianceDad.com! Today, we’re addressing a task that even the most enthusiastic kitchen connoisseurs might shy away from due to the potential mess: greasing your KitchenAid mixer. Fear not, for I’m here to share the cleanest method to ensure your mixer keeps running smoothly without turning your kitchen (or yourself) into a slip ‘n slide.
First things first, why do you need to grease your mixer? Well, KitchenAid mixers contain gears that require lubrication to function efficiently. Over time, the grease can break down or become contaminated, leading to a louder operation or, in the worst case, a breakdown. Regular greasing helps prolong the life of your mixer and ensures it runs quietly and effectively.
As always, safety first – unplug the mixer. Clear and clean your workspace, remove any attachments, and have all your tools and materials within reach.
Carefully use your screwdriver or putty knife to pry open the top of your mixer where the gears are housed. This varies by model, so check your user manual for specific instructions.
Donning your disposable gloves, use clean cloths or paper towels to remove the old grease. Use the cotton swabs or toothbrush to clean off any residue on the gears or in hard-to-reach areas.
Take your food-grade grease and apply it to the gears. Ensure even coverage without overdoing it – a thin, even layer is what you’re aiming for. Over-greasing can lead to leaks and splatters when you run your mixer later.
Once you’ve applied the new grease, carefully reassemble the housing. Use a clean cloth to wipe away any grease that may have escaped during the process.
Plug your mixer back in and run it at a low speed for a few minutes to ensure the grease is evenly distributed and there are no strange noises.
Greasing your KitchenAid mixer is an essential maintenance task that shouldn’t be avoided due to the fear of getting dirty. By following these straightforward steps and prep tips, you’ll keep your mixer in prime condition — and your hands clean! Remember, a little preventive care goes a long way in ensuring your mixer remains a reliable kitchen companion for years to come.
Key Takeaways:
Keep these tips in mind, and you’ll be mastering the art of a mess-free greasing process in no time. For more kitchen appliance tips and tricks, stay tuned to TheKitchenApplianceDad.com — your guide to savvy kitchen maintenance and culinary excellence. Happy mixing!

