A faulty or worn-out gasket on your GE freezer can lead to a range of problems, from increased energy consumption to spoiled food. Replacing the gasket on your freezer is an essential maintenance task that can help ensure your appliance operates efficiently and preserves your food under optimal conditions. In today’s guide on TheKitchenApplianceDad.com, I’ll walk you through the steps to replace the gasket on a GE freezer, ensuring that you can perform this task with confidence and ease.
What is a Freezer Gasket?
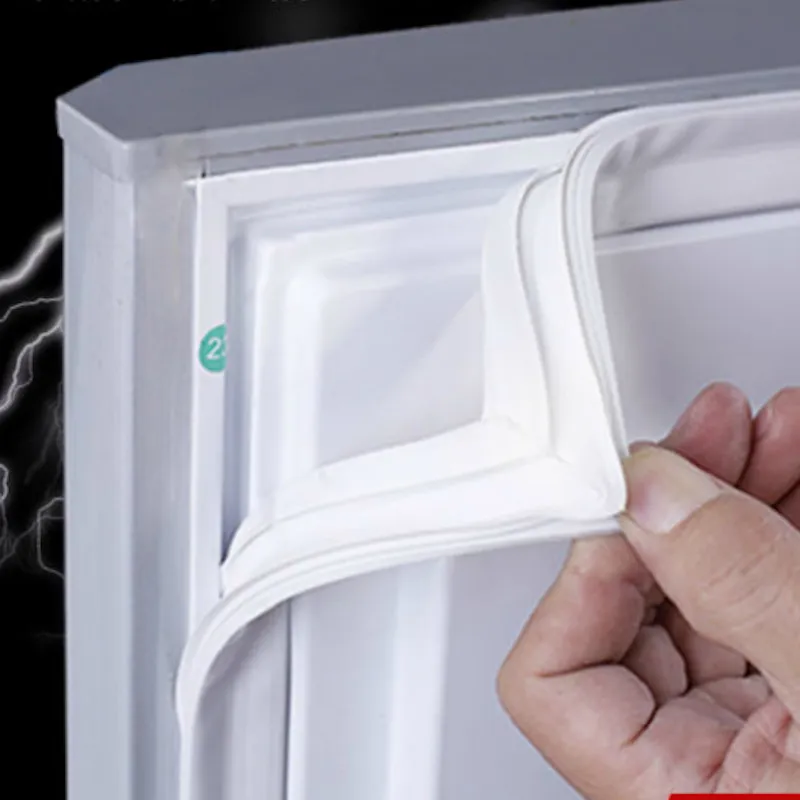
The gasket is the rubber seal that outlines the edge of your freezer door. Its primary function is to keep the cold air inside the freezer by creating an airtight seal when the door is closed. Over time, gaskets can wear out, crack, or lose their elasticity, leading to air leaks and an overworked appliance.
Signs You Need to Replace Your GE Freezer Gasket
Before diving into the replacement process, let’s identify some common signs that indicate a need for a new gasket:
- Condensation or frost: Buildup around the edge of the freezer door suggests that air is escaping.
- Difficulty closing the freezer door: A worn gasket might not allow the door to shut properly.
- Visible wear or damage: Cracks or stiffness in the gasket material are clear indicators that it’s time for a replacement.

Tools and Materials Needed
- Replacement gasket: Ensure it is the correct model for your GE freezer. You can find this information in your freezer’s manual or by searching the model number online.
- Screwdriver: Needed if the gasket is held in place with screws.
- Soap and water: For cleaning the gasket area before installation.
- Towel: To dry off the cleaned area.
Step 1: Purchase the Correct Replacement Gasket
It’s crucial to buy the correct replacement gasket for your specific GE freezer model. You can purchase these directly from GE’s official parts website or other reputable appliance parts retailers. Make sure to have your freezer’s model number handy when ordering to avoid compatibility issues.
Step 2: Remove the Old Gasket
- Open the freezer door: This will give you complete access to the gasket.
- Inspect how the gasket is attached: Some gaskets are tucked into a groove, while others might be screwed in place.
- Remove the gasket: If it’s in a groove, gently pull it out starting from one corner. If screwed, use a screwdriver to remove the screws and then take out the gasket.
Step 3: Clean the Gasket Area
Once the old gasket is removed, it’s important to clean the area where the gasket seats. This ensures that the new gasket will fit snugly and securely.
- Mix mild soap with warm water: Create a cleaning solution.
- Scrub the gasket area: Use a cloth soaked in the soapy water to thoroughly clean the groove or surface.
- Dry the area: Wipe it down with a towel to ensure it’s completely dry before installing the new gasket.
Step 4: Install the New Gasket
Installing the new gasket is generally the reverse process of removing the old one.
- Align the gasket: Carefully align the new gasket with the groove or lip on the door.
- Press into place: Start from one corner and work your way around the door, pressing the gasket firmly into place.
- Secure the gasket: If your model uses screws to hold the gasket, replace them to ensure the gasket is tightly secured.
Step 5: Check the Seal
After installing the new gasket, it’s important to check that it provides a proper seal.
- Close the freezer door: Make sure it closes easily and securely.
- Inspect for gaps: Look around the edges to ensure there are no gaps. A common method to test the seal is to close the door on a piece of paper; if the paper pulls out easily, the seal might not be tight enough.
Step 6: Monitor Freezer Performance
In the days following the gasket replacement, keep an eye on your freezer’s performance. Check for signs of frost buildup or unusual cooling patterns, and ensure that the temperature inside the freezer remains consistent.
Key Takeaways
- Identify the need for replacement: Recognize signs like condensation, difficulty closing the door, or visible wear.
- Get the right materials: Purchase the correct model-specific gasket and gather necessary tools.
- Clean and replace: Properly clean the seating area and install the new gasket correctly.
- Check your work: Ensure the freezer door seals properly without gaps.
Replacing a freezer gasket is a straightforward process that can significantly improve the efficiency and functionality of your GE freezer. By following these detailed steps, you can ensure your appliance continues to operate at its best, keeping your food perfectly frozen and reducing energy waste. Remember, maintaining appliances like your freezer not only extends their lifespan but also contributes to the overall energy efficiency of your home. Happy fixing from all of us at TheKitchenApplianceDad.com!