Understanding GE Freezer Brackets: Installation, Maintenance, and Troubleshooting
When it comes to ensuring your appliances operate efficiently, small components like the GE freezer bracket play a crucial role. At TheKitchenApplianceDad.com, we understand that dealing with appliance parts can sometimes be daunting. That’s why we’ve put together a comprehensive guide on GE freezer brackets, helping you handle installation, maintenance, and troubleshooting with ease.
What is a GE Freezer Bracket?
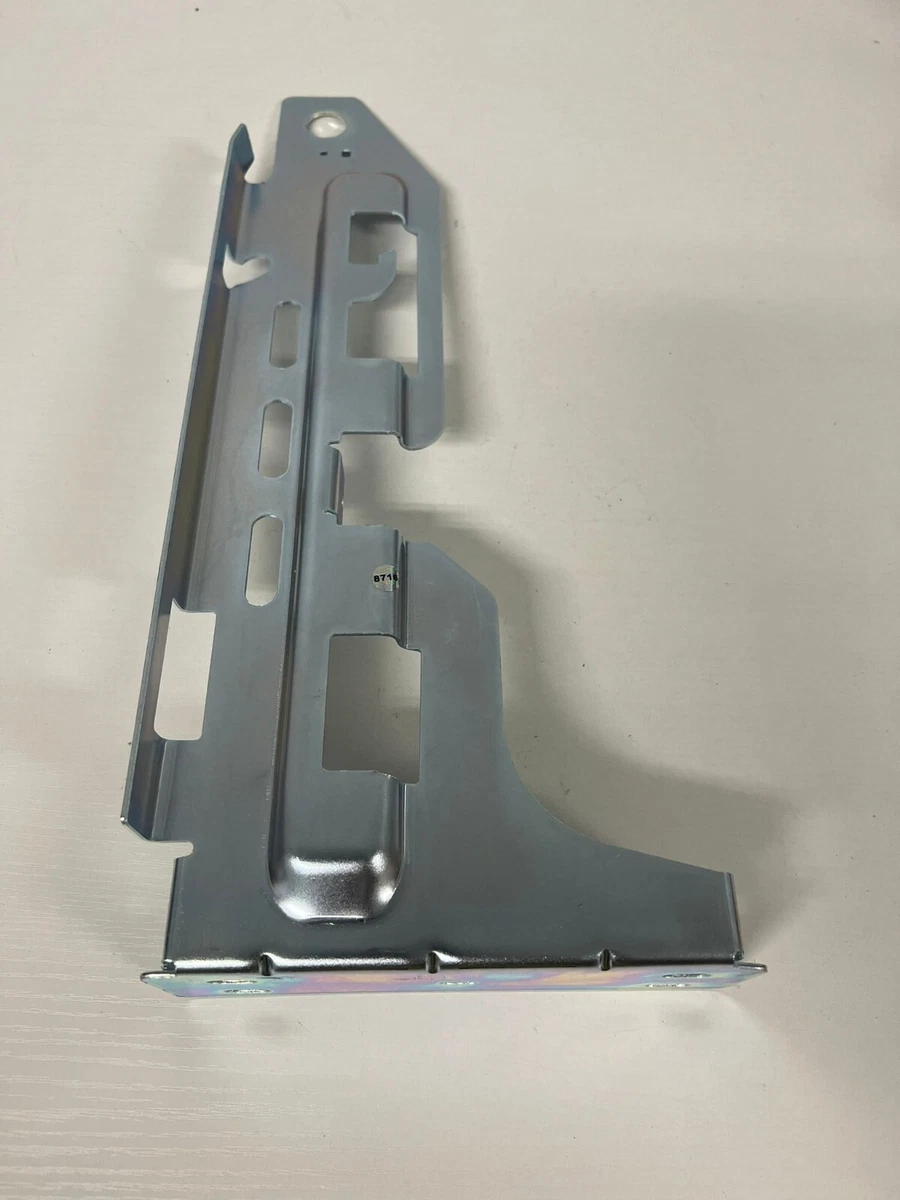
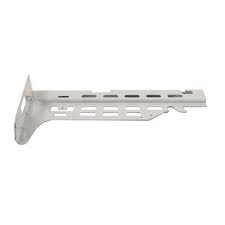
A GE freezer bracket is a component used in General Electric (GE) freezers to help secure and support various parts within the unit. These brackets are typically used to hold components such as the evaporator coil, fan, and other internal mechanisms in place. They are crucial for the proper functioning of your freezer, helping to ensure that it operates at optimal efficiency and maintains the appropriate temperature to keep your food frozen and safe.

Installation of a GE Freezer Bracket
Tools and Materials Needed
Before you begin the installation process, ensure you have the following tools and materials:
- Screwdriver (Phillips or flathead depending on the screw types)
- New GE freezer bracket (ensure it’s the correct model for your freezer)
- Gloves (to protect your hands)
- Flashlight (for better visibility)
Step-by-Step Installation Guide:
- Unplug the Freezer: Safety first! Always unplug your appliance before starting any repair.
- Remove the Freezer Contents: Take out all the food and any removable shelves or drawers.
- Access the Faulty Bracket: Locate the faulty bracket. You might need to remove other components or panels to access it.
- Remove the Old Bracket: Unscrew the old bracket using the appropriate screwdriver. Keep the screws as you might need them to install the new bracket.
- Install the New Bracket: Place the new bracket in the same position as the old one and screw it in place securely.
- Reassemble the Freezer: Replace any components or panels you had to remove.
- Plug in and Test the Freezer: After the installation is complete, plug the freezer back in and check if it’s functioning properly.
Maintenance Tips for GE Freezer Brackets
To ensure longevity and optimal performance of your GE freezer brackets, follow these maintenance tips:
- Regular Inspection: Periodically check the brackets for any signs of wear or damage such as rust or loosening. Early detection can prevent more serious issues down the line.
- Tighten Loose Screws: If you notice any screws beginning to loosen, tighten them to prevent the bracket from coming off.
- Clean Around the Brackets: While cleaning your freezer, gently wipe around the brackets to remove any dust or debris that might accumulate and cause the brackets to corrode or weaken.
Troubleshooting Common Issues with GE Freezer Brackets
Problem: Bracket is Loose or Makes Noise
- Solution: Check and tighten the screws on the bracket. If the bracket is damaged, replace it with a new one.
Problem: Freezer Not Cooling Properly
- Possible Cause: If a bracket holding the evaporator fan or coil is loose or broken, it might hinder the effectiveness of these components.
- Solution: Inspect the brackets for any damage and ensure they are holding the components firmly in place. Replace if necessary.
Problem: Frost Build-up
- Possible Cause: A misaligned bracket can lead to improper sealing of the freezer doors or misalignment of internal components, causing frost buildup.
- Solution: Ensure all brackets are correctly installed and that doors and components are aligned properly.
Where to Buy GE Freezer Brackets
GE freezer brackets can be purchased from a variety of sources:
- Official GE Appliance Parts Store: GE Appliance Parts
- Online Retailers: Websites like Amazon or eBay often have a wide range of appliance parts available.
- Local Appliance Repair Shops: These can be a great resource for both parts and advice.
Key Takeaways
- Understand the Role: GE freezer brackets are essential for the stability and functionality of internal components in your freezer.
- Installation Requires Care: Follow the step-by-step guide to ensure correct installation.
- Maintenance is Crucial: Regular inspections and cleaning around the brackets can extend their life and prevent issues.
- Troubleshoot with Precision: Identify and solve common issues related to freezer brackets to keep your appliance running smoothly.
- Purchase Options: Brackets can be sourced from official stores, online platforms, or local shops.
Here at TheKitchenApplianceDad.com, we hope this guide helps you manage your GE freezer brackets effectively, ensuring your appliance performs well and lasts longer. Whether you’re installing a new bracket or maintaining existing ones, proper care can make all the difference.