Welcome back to TheKitchenApplianceDad.com, where we delve into the nitty-gritty details of keeping your kitchen appliances running smoothly. Today, we’re tackling a common issue that can be a real headache for many homeowners: an air leak in the GE freezer ice dispenser. Not only can an air leak lead to frost buildup and a decrease in efficiency, but it can also impact the quality of your ice. Let’s go through the steps to diagnose and fix this problem effectively.
Before we dive into the solutions, it’s crucial to understand what causes an air leak in your GE freezer’s ice dispenser. Typically, air leaks occur when the seals around the ice dispenser door become worn out or damaged. This allows warm air to enter the freezer compartment, causing the temperature to fluctuate. As a result, the freezer works harder to maintain the required coldness, leading to increased energy consumption and potential damage in the long run.
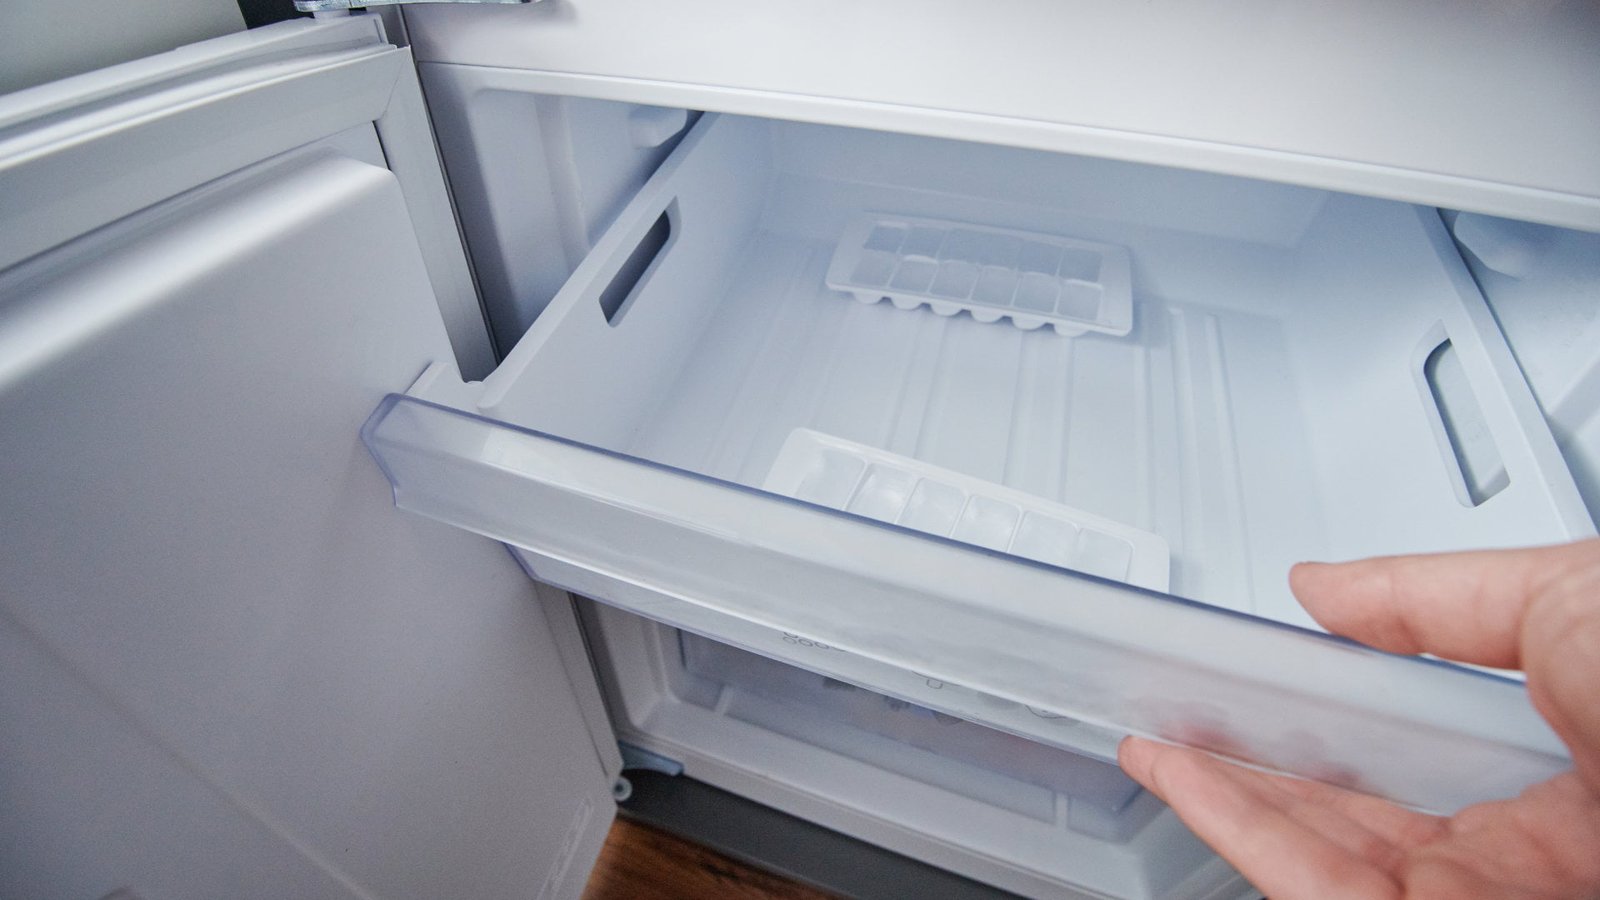
First, you need to confirm that the problem is indeed an air leak. A simple way to check this is by looking for excessive frost buildup around the ice chute or ice bin. If you notice frost or ice crystals in these areas, it’s a strong indicator that warm air is entering through the dispenser.
The ice dispenser flap is a common culprit for air leaks. To inspect it, remove the ice bin and shine a flashlight up into the dispenser. If you see any light coming through around the flap, there is an air gap that needs to be addressed.
Tools Needed:
If you find that the flap is not sealing properly, the seal around it may need to be repaired or replaced. Check the condition of the seal and look for any tears or deformities. Replacement seals can be purchased online or from a local appliance parts store.
Where to Buy:
The solenoid controls the opening and closing of the ice dispenser flap. Over time, the solenoid can become misaligned or fail, preventing the flap from closing completely. Inspect the solenoid for any signs of wear or damage. If necessary, replace the solenoid or adjust it to ensure proper operation.
After making the necessary repairs or adjustments, reassemble the dispenser and test it to ensure that the flap is closing tightly. No light should be visible around the flap, and the frost buildup should decrease significantly after a few hours.
Prevention is always better than cure, especially when it comes to appliance maintenance. Here are some tips to prevent future air leaks in your GE freezer ice dispenser:
While many issues with ice dispensers can be resolved at home, some might require professional attention. If you’ve tried the above steps and the problem persists, or if you’re uncomfortable performing any of these tasks, it’s wise to call a qualified technician. This ensures that your appliance is handled safely and effectively, and it can prevent further damage.
Fixing an air leak in your GE freezer’s ice dispenser can seem daunting, but with the right tools and a bit of patience, it’s a manageable task. Remember, maintaining your kitchen appliances not only helps in their optimal functioning but also contributes to their longevity. For more tips and tricks on appliance maintenance, keep visiting us here at TheKitchenApplianceDad.com.