For nearly a century, KitchenAid mixers have held a reputation as sturdy, reliable kitchen companions, helping everyone from novice bakers to professional chefs whip up delightful creations. But like any well-loved kitchen appliance, they may develop issues over time. A common problem that occurs is a loose head on a KitchenAid stand mixer. This can cause the mixer to shake, produce a knocking noise, or even affect the quality of your mixing.
Fortunately, this is often a simple fix that you can do at home without needing to call in the professionals. In this post from TheKitchenApplianceDad.com, we’ll guide you through the steps to quickly tighten the head of your KitchenAid mixer and get back to your culinary projects in no time.
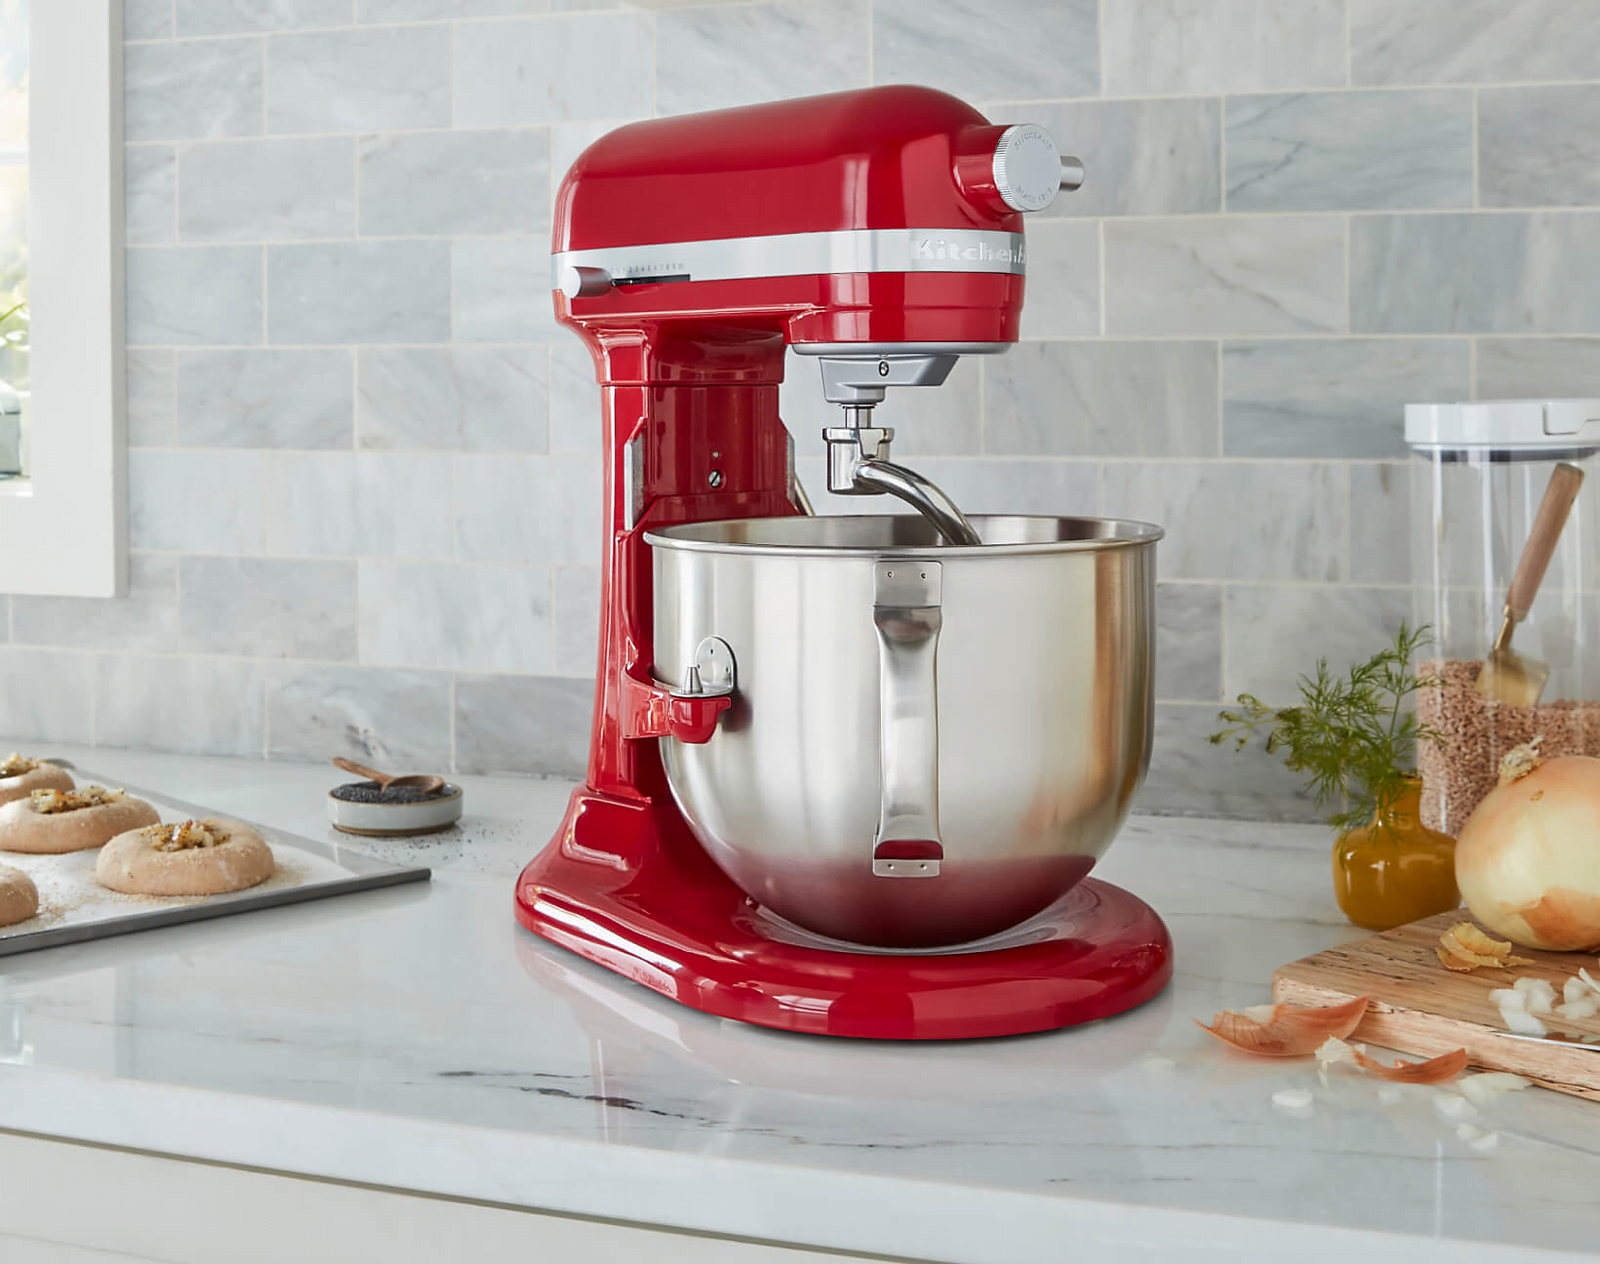
Before we delve into fixing the loose head, it’s important to understand your mixer’s design. KitchenAid mixers generally come in two styles: tilt-head and bowl-lift. The tilt-head design allows the head of the mixer to tilt back, making it easier to access the bowl, while the bowl-lift design has a stationary head, with arms to raise and lower the bowl. The following instructions will focus on the tilt-head design, which is more commonly associated with a loose head issue.

Before you start any repair, safety must be your priority:
Locate the adjustment screw. On tilt-head models, you’ll find a small screw located just beneath the area where the head meets the stand when in the tilted position. This is the screw that will tighten the hinge, securing the head of your mixer.
Tilt back the head of the mixer to reveal the screw. Clean any food debris or dust from around the screw area. This is where the putty knife or old credit card can come in handy, allowing you to scrape away any stubborn residue without damaging the mixer.
Using your flathead screwdriver, turn the screw clockwise to tighten it. A good rule of thumb is to start with a quarter turn and then check for stability. Be cautious not to over-tighten, as this could strip the screw or damage the hinge.
Lower the head back into position and test for stability. If the head still has some movement, repeat the tightening process with small increments until the head feels secure.
Once the head feels stable, it’s time to perform a function test. Plug in the mixer and run it at a low speed to ensure there isn’t excessive vibration or any unusual noises. If all sounds and feels right, you’ve successfully tightened the head of your mixer.
While you have your tools out, it’s a good time to perform some preventative maintenance on your KitchenAid mixer:
If after tightening the screw, your KitchenAid mixer head is still loose or if the problem recurs frequently, it may be indicative of a more complex issue, such as a worn-out hinge pin or a problem within the gear mechanism. In such cases, it’s advisable to consult with a professional or contact KitchenAid’s customer support for further guidance or to arrange for a repair.
In conclusion, while a loose head on your KitchenAid mixer can be a minor annoyance, it’s often a quick fix that you can tackle on your own. Following the steps outlined above, you should be able to secure the head of your mixer and return to your baking and cooking projects with confidence. Remember, regular maintenance can prevent many common appliance issues, so give your mixer a little TLC now and then.
As the KitchenApplianceDad always says, “A well-maintained kitchen appliance is a reliable partner in your culinary adventures!” Keep this guide handy, and your KitchenAid mixer will likely serve you well for many years to come.
By following these guidelines, you’ll have your KitchenAid mixer back in top shape, ready to tackle your favorite recipes. Happy mixing!