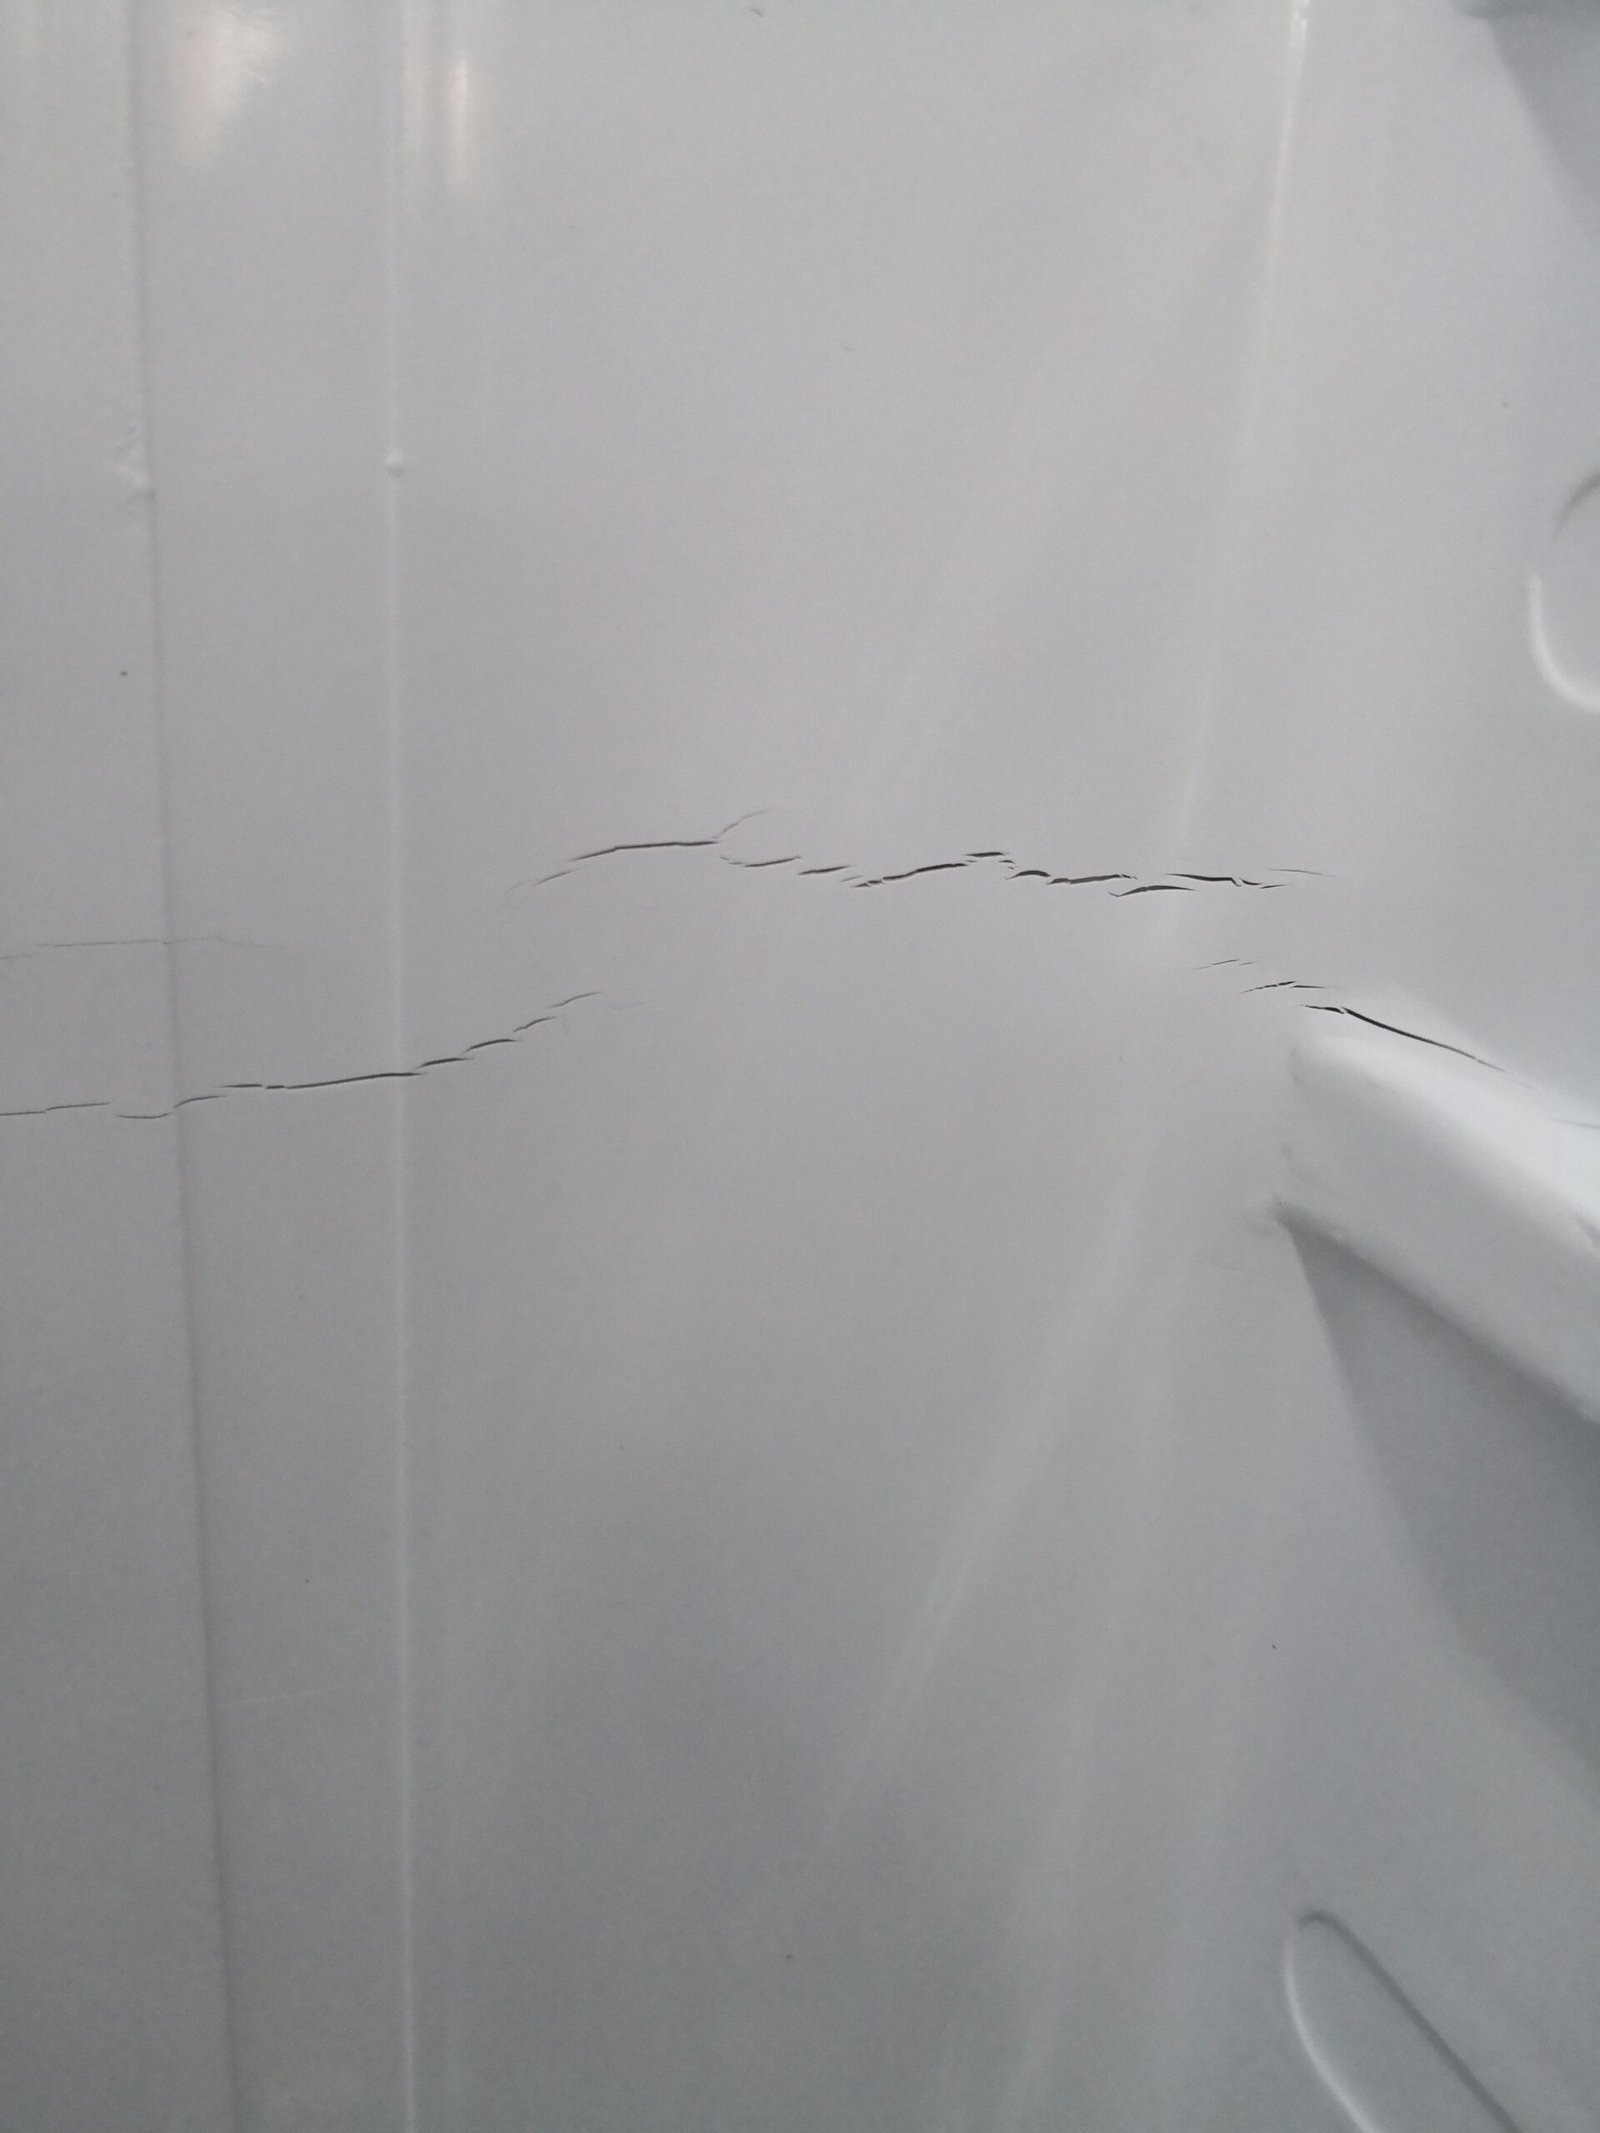
Welcome back to TheKitchenApplianceDad.com! Today, we’re tackling a common household problem that can cause a lot of headaches if not addressed properly: fixing a crack in your GE freezer liner. Whether it’s a hairline fracture or a more significant split, understanding how to deal with this issue effectively can save you from future troubles and unnecessary expenses.

Before we dive into the fixes, let’s understand a bit more about what the freezer liner is and why it might crack. The liner is the inner surface of your freezer that helps contain the cold air, playing a crucial role in the appliance’s insulation system. Cracks can occur due to various reasons:
These cracks not only harm the aesthetic appeal of your freezer but can also compromise its efficiency, leading to increased energy use and reduced cooling effectiveness.
Before you start the repair, make sure you have the following materials:
Safety first! Ensure you unplug your freezer to avoid any electrical hazards. Remove all items from your freezer so you can access the crack easily. This is also a good opportunity to defrost your freezer if there’s significant ice buildup.
Using a cloth and a mild detergent mixed with warm water, clean the area around the crack thoroughly. This will help the silicone adhesive to bond properly with the surface. Make sure the area is dry before proceeding to the next step.
Using a hairdryer or heat gun, gently apply heat to the cracked area. This step is crucial as it makes the liner’s plastic more flexible and easier to repair. Be cautious not to overheat the area, as it can warp the plastic or cause further damage.
Apply a bead of silicone adhesive directly into the crack. Make sure the adhesive is food-grade if it comes into contact with areas where food is stored. Using a putty knife, spread the adhesive evenly inside the crack, ensuring it fills completely. If the crack is large, you may consider applying tape on the outer side of the liner to hold the adhesive in place as it dries.
Let the silicone adhesive cure as per the instructions on the packaging, usually around 24 hours. Avoid using the freezer during this time to ensure the adhesive sets properly.
Once the adhesive is fully cured, gently press around the repaired area to ensure it’s sealed tightly. No air or moisture should escape from the crack.
Remove any masking tape if used. Clean the area again to remove any residue or dust. Now, you can plug the freezer back in, reload your frozen goods, and resume normal operation.
To avoid future cracks in your GE freezer liner, consider these tips:
While minor cracks can be handled with DIY solutions, larger cracks or those that keep reappearing might signify a deeper issue. In such cases, it’s advisable to contact a professional. You can always reach out to GE Appliances for support or to schedule a service visit (GE Appliances Support).
Fixing a crack in your GE freezer liner doesn’t have to be a daunting task. With the right tools and a bit of patience, you can restore the functionality and efficiency of your freezer, ensuring it serves you well for many more years. Remember that at TheKitchenApplianceDad.com, we’re here to help you with practical tips and solutions for all your appliance concerns.

