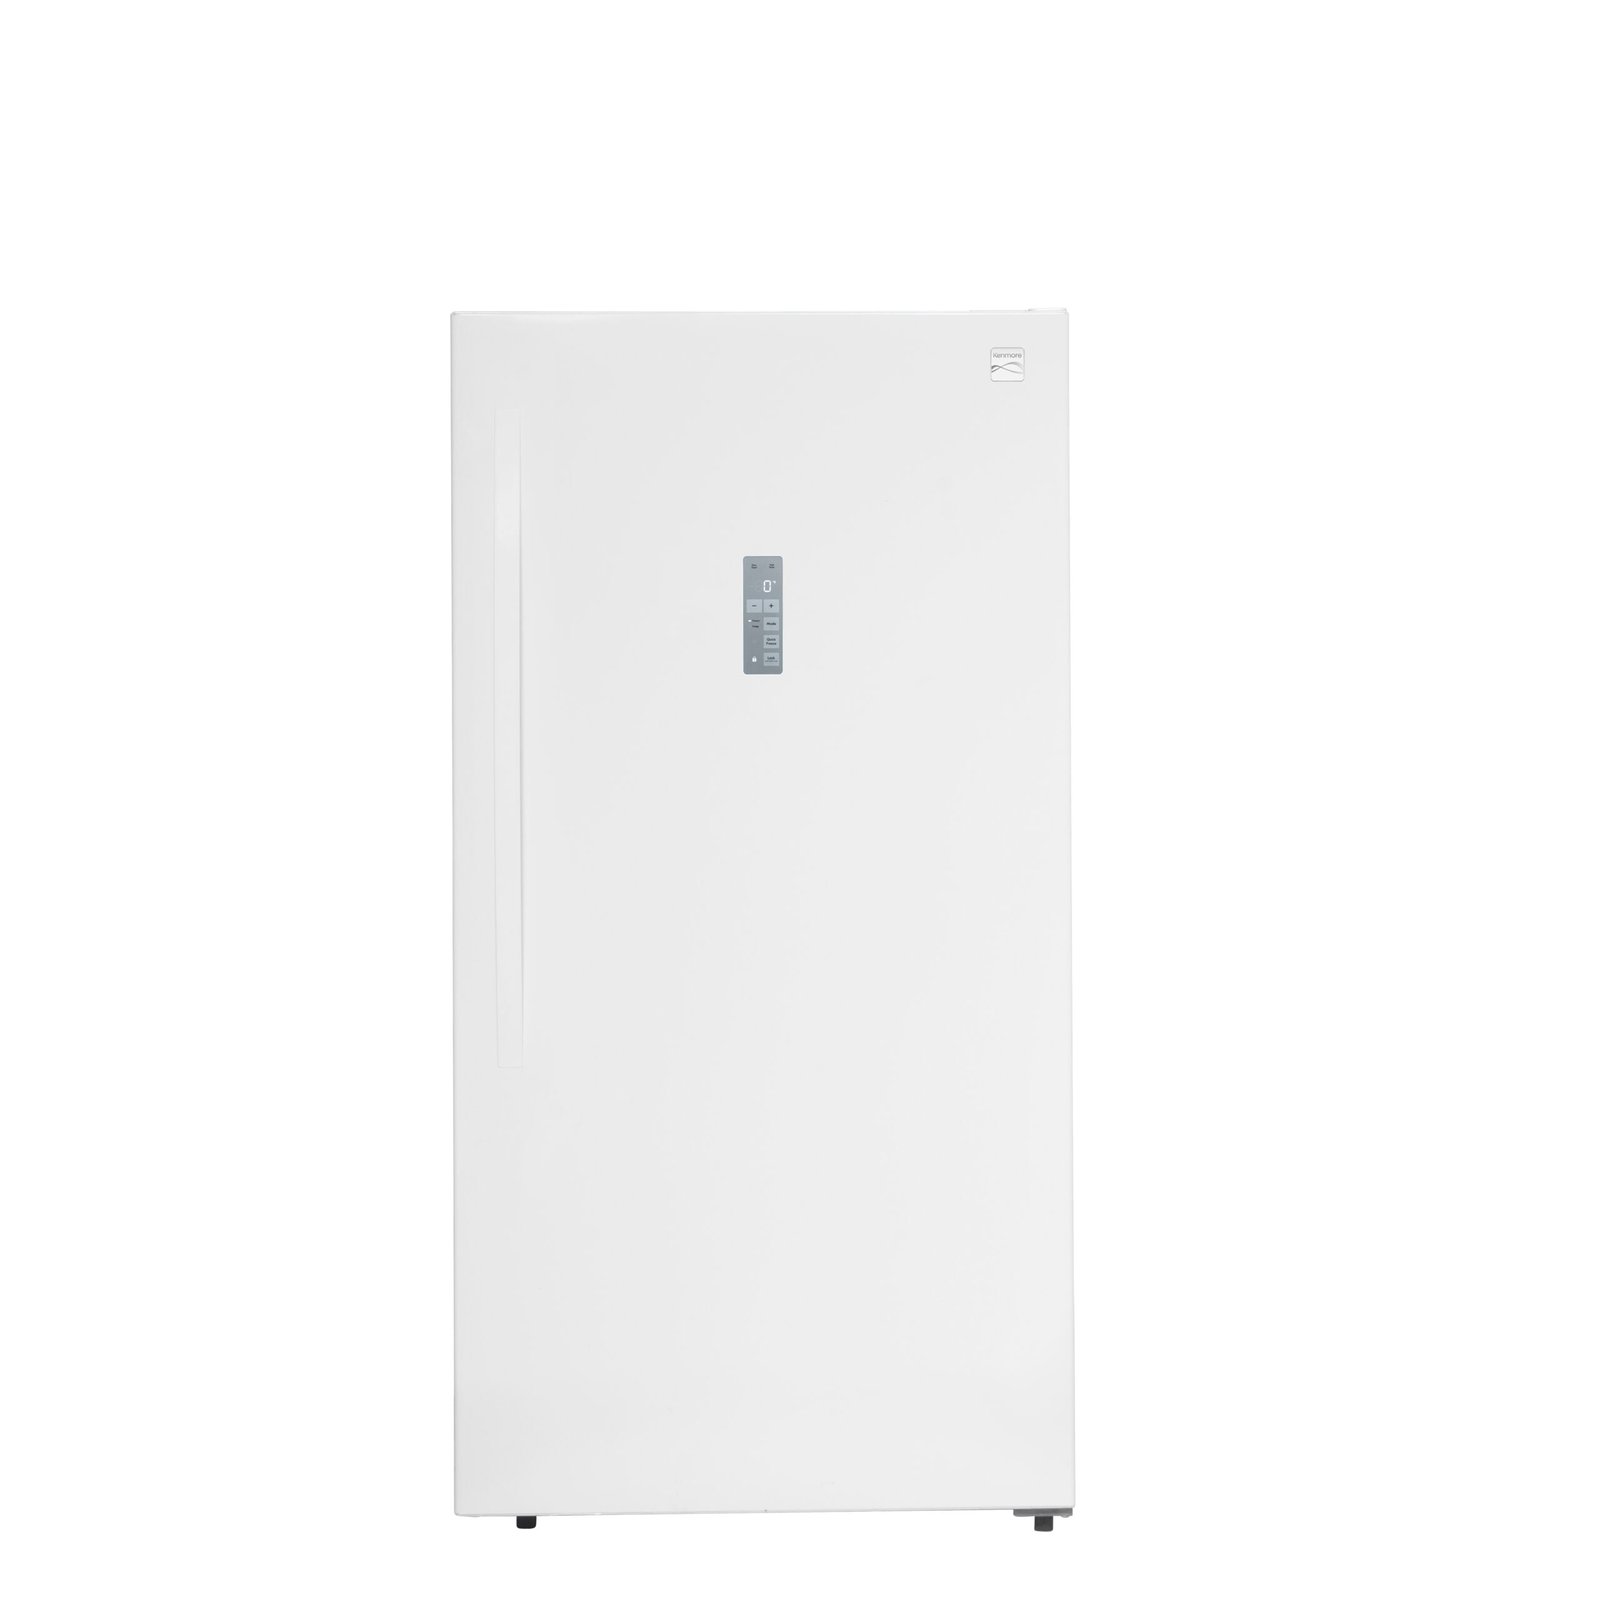
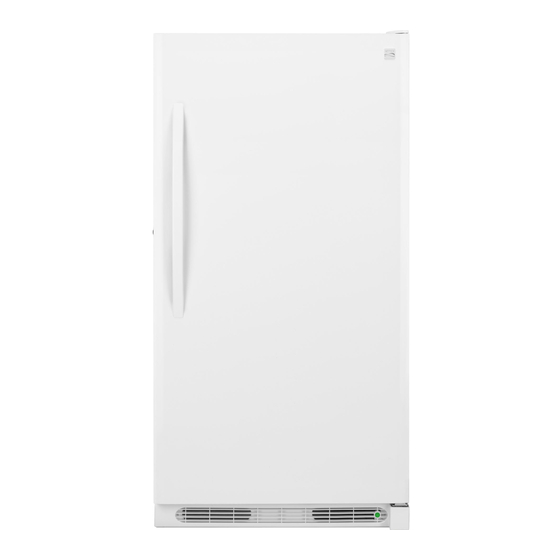
When it comes to maintaining your Kenmore stand-alone freezer, one essential task is defrosting it periodically. The process not only helps in keeping your freezer running efficiently but also extends its life. Central to defrosting your freezer effectively is knowing how to find and use the drain plug. This feature is designed to make the defrosting process cleaner and more straightforward by allowing melted ice to exit the freezer without creating a mess. Today, at TheKitchenApplianceDad.com, we’re going to guide you through the steps of locating and using the drain plug on your Kenmore stand-alone freezer, ensuring you can manage this maintenance task like a pro!
Before diving into the specifics, it’s crucial to understand why the drain plug in your freezer is so important. During the defrosting process, the ice built up inside your freezer melts. Without a proper outlet, this meltwater can pool inside the appliance, refreeze, or even leak out onto your floor, causing potential slip hazards and water damage. The drain plug serves as a controlled exit for this water, directing it into a designated pan or drain, thus keeping the process neat and manageable.
Step 1: Unplug Your Freezer
Safety first! Ensure that your freezer is unplugged before you start working on locating the drain plug. This precaution prevents any electrical hazards while you’re working with the internal components of the freezer.
Step 2: Empty the Freezer
Remove all food items from your freezer. It’s wise to have coolers on hand to store your frozen goods while you defrost the unit. This step provides you clear access to all parts of the freezer, making it easier to identify and access the drain plug.
Step 3: Remove the Interior Panels (if applicable)
In some Kenmore models, the drain plug can be obscured by panels or shelves. Carefully remove any components that obstruct your view or reach to the freezer’s floor. Keep all screws and components organized so you can easily reassemble them later.
Step 4: Identify the Drain Plug
Typically, the drain plug in a stand-alone freezer is located at the lowest point of the freezer floor. Look for a small circular or rectangular plug. Some models may have it labeled, but if not, it should be evident as the only removable part on the freezer’s floor.
Step 1: Prepare the Area
Place towels around the base of the freezer or have a mop ready. Even though the drain plug directs water, some spillage might occur, especially if the water flows out vigorously.
Step 2: Remove the Drain Plug
Gently remove or unscrew the drain plug. Some models might require a basic tool like pliers or a screwdriver, but many are designed to be hand-operated to facilitate easy usage.
Step 3: Let the Water Drain
Allow the water to flow out of the drain hole. You can direct the water into a shallow pan or a floor drain if your freezer is positioned in a garage or basement with a drainage system. For those without a drain nearby, consider using a hose attachment to direct the water to a suitable location.
Step 4: Clean the Drain Hole
Once all the water has drained out, it’s a good opportunity to clean the drain hole. Debris or ice can sometimes clog this area, preventing efficient water flow. Use a small brush or a cloth to remove any buildup.
Step 5: Replace the Drain Plug
After cleaning, replace the drain plug securely to prevent any leaks. Make sure it’s fitted well and that there are no gaps for air to enter.
Step 6: Turn On the Freezer
After you’ve replaced the drain plug and reassembled any internal components, you can plug the freezer back in. Allow it to reach its optimal temperature before restocking it with food.
Maintaining your Kenmore stand-alone freezer doesn’t have to be a daunting task. By following these steps, you can effectivelyuse the drain plug, streamline the defrosting process, and extend the longevity of your appliance. Remember, regular maintenance not only preserves your freezer but also ensures it operates efficiently, saving you on energy costs and preventing unexpected breakdowns. For more useful tips and appliance advice, keep tuned to TheKitchenApplianceDad.com. Whether you’re a seasoned home cook or just starting out, we’re here to help you make the most of your kitchen appliances!