Welcome to another practical guide from TheKitchenApplianceDad.com. Today, we’re diving into a common issue many homeowners face with their GE freezer doors—the water line. Over time, the water line that feeds your freezer’s ice maker and water dispenser can become clogged, cracked, or leaky. Fortunately, replacing it is a straightforward task that you can handle on your own with a little guidance. Let’s get started!
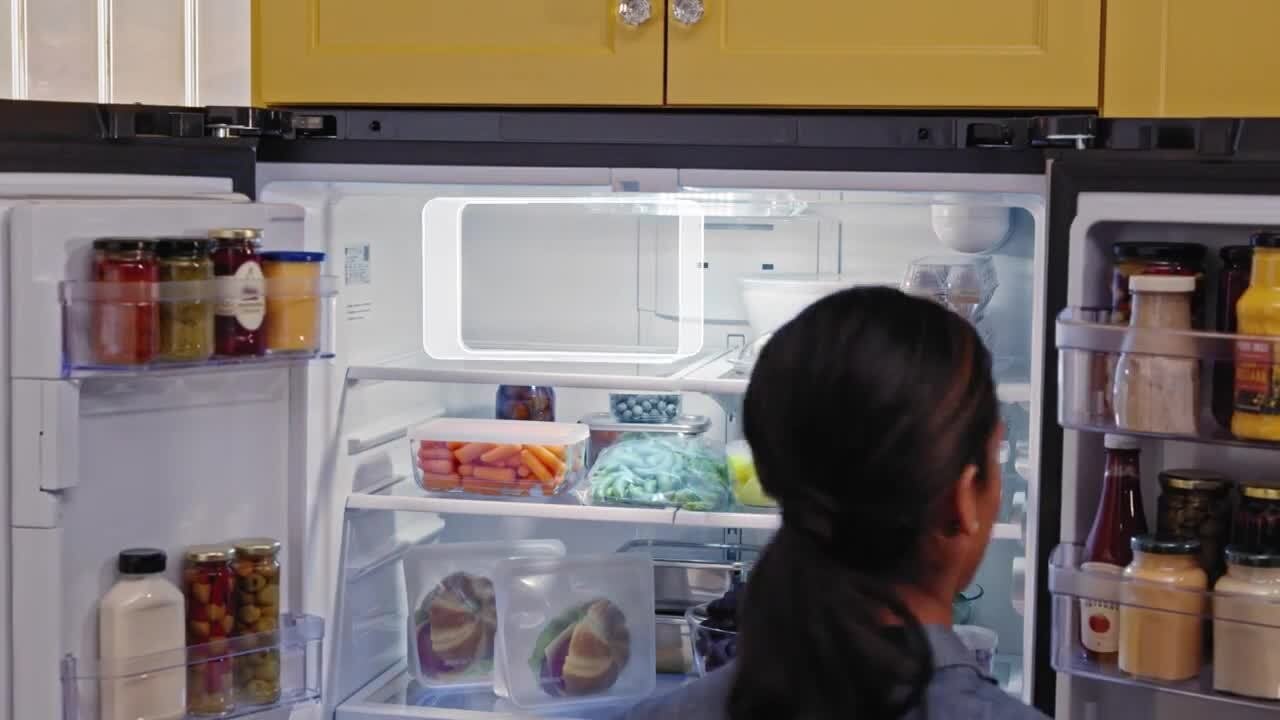
Before we delve into the replacement process, it’s crucial to understand how the water line in your GE freezer door works. This line is responsible for supplying water to your freezer’s ice maker and water dispenser. Typically, it runs from a connection at the bottom or back of the refrigerator, up through the door hinge, and into the door itself.

To successfully replace the water line in your GE freezer door, you will need the following tools and materials:
Safety first! Unplug your refrigerator to avoid any electrical hazards. Pull it away from the wall to give yourself enough room to work. It’s also wise to remove any items stored in the door shelves.
Depending on your GE model, you’ll either find the water line connection behind the fridge or under the front grille. Use your screwdrivers to remove the necessary panels. Once you locate the connection, use a wrench or pliers to disconnect the old water line.
Trace the path of the old water line up to where it enters the door hinge. You might need to remove additional screws or panels to free the line completely. Take careful note of how the line is routed so you can replicate it with the new line.
Take the new water line and route it the same way the old one was configured. Make sure it’s not twisted or kinked as you feed it through the necessary channels and door hinge. Once in place, connect it to the main water supply line. Use your wrench or pliers to ensure a tight fit but be careful not to overtighten and damage the line.
Reattach any panels or screws that you had to remove during the process. Move your refrigerator back into place and plug it back in. Before putting food back in the door, test the water dispenser. Let the water run for a minute to clear out any air in the line. Check around the connections for any leaks.
To prevent future issues with your GE freezer’s water line:
By following this guide, you should feel confident in replacing the water line in your GE freezer door. Not only does this save you a potentially expensive service call, but it also ensures that your appliance continues to function efficiently and safely. For more DIY tips and appliance advice, keep visiting us here at TheKitchenApplianceDad.com. Happy fixing!