
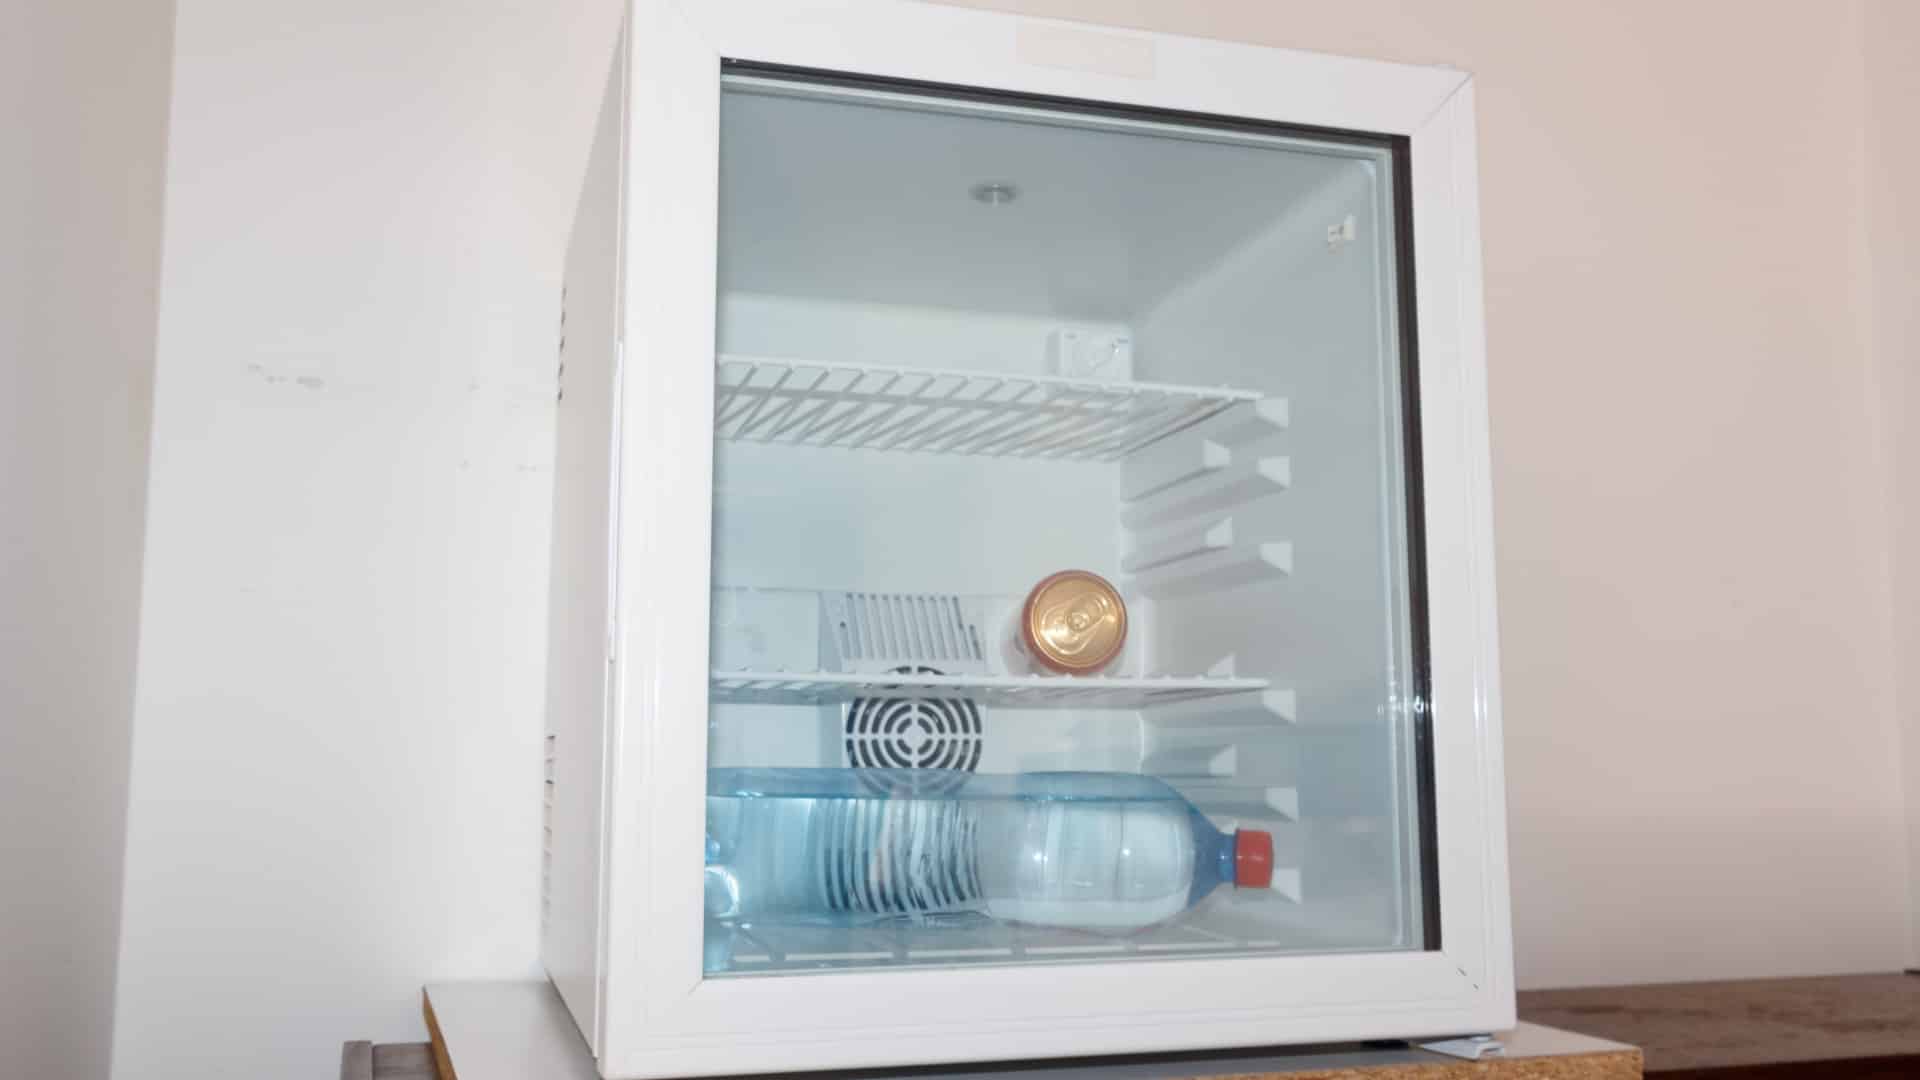
When your trusty mini fridge starts acting up, it can be a real inconvenience, especially if it’s your go-to appliance for keeping beverages cold or storing extra snacks in a small space. Before you consider replacing it or calling in a professional, you might be surprised to learn that many common mini fridge issues can be resolved with a bit of DIY know-how. Here at TheKitchenApplianceDad.com, we’re all about empowering you with the knowledge to tackle appliance repairs confidently. So, let’s dive into how you can fix some of the most frequent mini fridge problems.
One of the most common issues with mini fridges is a loss of cooling efficiency. Several factors can contribute to this problem, but here are a few steps you can take to troubleshoot and possibly fix the issue:
Ensure that your mini fridge is properly plugged in and that the outlet is functioning. You can test the outlet by plugging in another appliance to see if it works.
Sometimes, the fridge might not be cooling because the thermostat is set too high. Make sure it’s turned to an appropriate cooling setting. If adjusting the thermostat doesn’t help, it might be faulty and need replacing.
Dirty coils can lead to poor cooling performance. Unplug the fridge, locate the coils (usually at the back or beneath the unit), and use a coil brush or a vacuum to remove dust and debris.
If your mini fridge is freezing everything inside, it could also be due to issues with the thermostat or temperature control:
Start by lowering the fridge’s temperature setting. If adjustments don’t change the internal temperature, the control might be broken.
Using a multimeter, you can check the thermostat for continuity. If it lacks continuity at any setting, it needs to be replaced.
A noisy mini fridge can be annoying. These sounds often come from either the compressor or fans.
Ensure that the condenser and evaporator fans are not obstructed and spin freely. Clean off any dust and check if any noise persists once turned back on.
A rattling or buzzing compressor can indicate it’s either failing or loose. Check if the mounting screws are tight. If the noise continues, the compressor might need professional attention or replacement.
Leaking water is not just messy; it can also be harmful to your fridge’s operation.
Most mini fridges have a drain hole that can get clogged. Locate the hole, usually found at the back of the refrigerator section, and use a small tool to clear out any blockages.
If the seals are worn out, they can allow warm air inside, which leads to condensation and leaks. Inspect the seals for any tears or gaps and replace them if necessary.
Before you start your DIY mini fridge repair, make sure you have the right tools and replacement parts on hand. Here’s a basic list:
Make sure to purchase parts that are compatible with your specific mini fridge model. You can usually find these through the manufacturer’s website or specialized appliance parts retailers.
While many issues with your mini fridge can be resolved through DIY methods, there are times when it’s best to call in a professional. If you encounter complex electrical problems, refrigerant issues, or compressor malfunctions, these typically require specialized knowledge and tools for safe and effective repair. Furthermore, attempting to fix refrigerant problems on your own can be illegal if you’re not certified, as it involves handling substances that are hazardous to the environment.
Repairing a mini fridge doesn’t have to be daunting. With a little patience and the right approach, you can resolve common issues and extend the life of your appliance. Remember, regular maintenance, such as cleaning the coils and checking the temperature settings, can prevent many problems from occurring in the first place.
Remember, TheKitchenApplianceDad.com is here to guide you through not just the joys of cooking but also the practicalities of appliance maintenance and repair. Happy fixing!

