Welcome to another comprehensive guide from TheKitchenApplianceDad.com! Today, we’re diving into a task that might seem daunting at first but is quite manageable with the right instructions: detaching and reinstalling the ice maker in your Frigidaire freezer. This process can be essential for troubleshooting issues, performing deep cleaning, or replacing a malfunctioning unit. Let’s break down the steps and ensure you can handle this task like a pro.
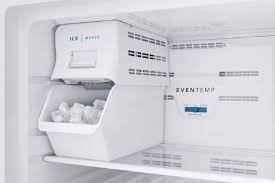
Before you begin, it’s crucial to understand a bit about the ice maker in your Frigidaire freezer. Most Frigidaire models come with a built-in ice maker located in the freezer compartment. It is typically attached to the freezer with a few screws and connected to the water supply line.
Model Variations: Keep in mind that the specific model of your Frigidaire freezer might alter some steps slightly. Always refer to your user manual for model-specific instructions, which can be found on the Frigidaire website.
Before you start the detachment process, gather the necessary tools and take necessary safety precautions.
Tools Needed:
Safety Precautions:
Ensure the freezer is unplugged and the water valve is shut off. Pull out any shelves or bins that might obstruct your access to the ice maker.
Locate the mounting screws that hold the ice maker in place. These are typically found on the upper and lower sides of the unit. Use your Phillips head screwdriver to loosen and remove these screws. Keep them in a safe place as you will need them for reinstallation.
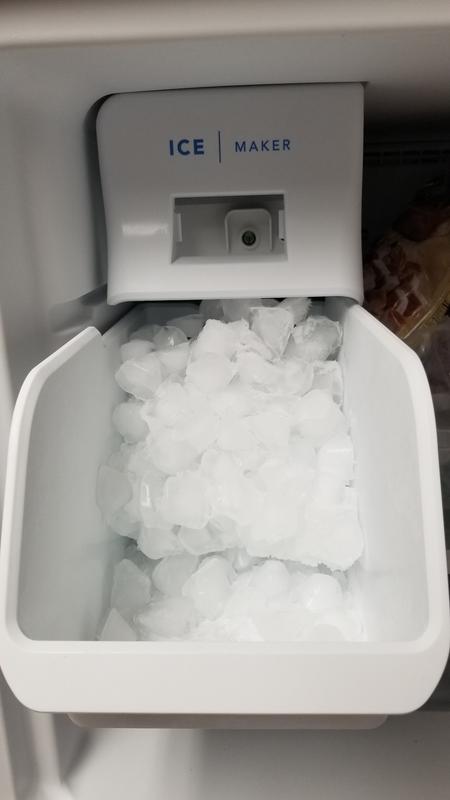
Find the wiring harness connector, usually located behind the ice maker. You might need to remove a cover plate or a piece of tape to access it. Gently pull the harness connector apart to disconnect.
After the screws and wiring are disconnected, carefully slide the ice maker out. Be mindful of the water fill tube that might still be threaded through a part of the ice maker. Place it on a towel to catch any residual water.
Cleaning Tips:
Replacement Tips:
If you’re replacing the ice maker rather than just reinstalling the same unit, ensure that the new ice maker is compatible with your Frigidaire model. This information can be obtained from Frigidaire’s official parts website or from trusted appliance repair shops.
Carefully slide the ice maker back into its original position. Ensure the water fill tube aligns correctly with the water inlet on the ice maker.
Reconnect the wiring harness. Make sure the connection is secure.
Replace and tighten the screws that you previously removed. Ensure the ice maker is firmly attached to the freezer wall.
Plug your freezer back in and turn on the water supply. Check for any leaks and ensure the ice maker is functioning correctly.
Troubleshooting and Maintenance: Understanding how to detach and reinstall your ice maker is crucial for troubleshooting and regular maintenance.
Safety First: Always disconnect power and water supply before starting your work to avoid any accidents.
Proper Tools: Having the right tools on hand, primarily a Phillips head screwdriver, will make the process smoother and quicker.
Check for Compatibility: If replacing, double-check that your new ice maker is compatible with your Frigidaire model.
Test After Installation: Always perform a test run to ensure everything is working correctly and there are no leaks.
Handling the ice maker in your Frigidaire freezer doesn’t have to be a professional-only job. With these steps, you’re now equipped to manage this task safely and effectively. For more insightful guides and appliance tips, keep your tabs open at TheKitchenApplianceDad.com. Happy fixing!