

Defrosting your Whirlpool integrated fridge freezer is an essential maintenance task that not only ensures the efficiency of your appliance but also helps extend its lifespan. While the task might seem daunting, it’s actually quite straightforward when you follow the right steps. Today at TheKitchenApplianceDad.com, we’re going to walk you through the entire process of defrosting your Whirlpool integrated fridge freezer, ensuring you can handle this task like a pro.
Why Defrost? Your fridge freezer works tirelessly to keep your food fresh and frozen. Over time, ice can build up in the freezer compartment, which can reduce the efficiency of the appliance by making it work harder to maintain the right temperatures. This not only leads to increased energy consumption but can also strain the appliance, potentially leading to malfunctions or a shorter lifespan.
Plan your defrosting process for a time when you have minimal perishable food stored in the appliance. This could be before a major grocery shopping trip or when your stocks are low.
Before you start, it’s crucial to switch off your fridge freezer. Disconnect it from the power supply to ensure safety and prevent any electrical issues.
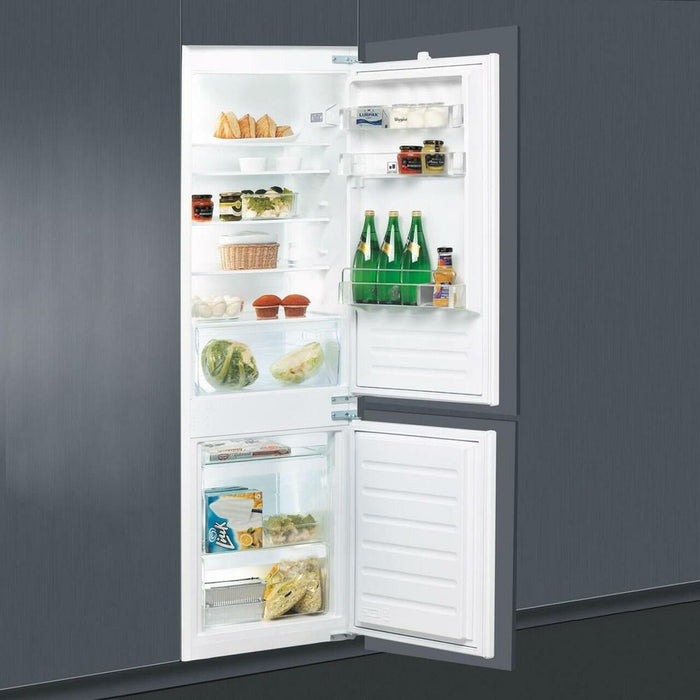
Take out all the food items from your fridge and freezer. Store them in a cool place or in a secondary freezer if you have one. Use insulated coolers for items that need to remain frozen or refrigerated during the defrosting process.
As the ice melts, there will be water. Prepare for this by placing towels around the base of the appliance and having a mop or sponge ready to deal with any spillage. Some models have a drain hose to channel the water directly into a basin or bucket, so check if yours includes this feature.
Once you have everything set up, open the freezer door and let the ice melt naturally. Avoid using sharp objects to chip away at the ice, as this can damage the interior of your freezer. If you want to speed up the melting process, you can place a pot of hot water inside the compartment or use a fan to circulate warm air into the freezer.
After all the ice has melted, it’s a good time to clean the inside of your fridge freezer. Use a mild detergent and warm water to wipe down the walls, shelves, and bins. Avoid using abrasive cleaners or tools that could scratch the surfaces. Rinse with clean water and dry with a soft cloth.
Once everything is clean and dry, reconnect your fridge freezer to the power supply. Turn it on and wait for it to reach its optimal operating temperatures before restocking it with food. This usually takes a few hours, so be patient.
Defrosting your Whirlpool integrated fridge freezer doesn’t have to be a chore. With these steps, you can ensure that your appliance continues to operate efficiently, keeping your food fresh and safe. Remember, regular maintenance not only helps in energy conservation but also enhances the performance and life of your appliance. Happy defrosting from all of us here at TheKitchenApplianceDad.com!
