Welcome back to another practical guide from TheKitchenApplianceDad.com. Today, we’re diving into a common but pesky problem that many freezer owners face: a clogged drain in a Kenmore freezer. Whether you’re experiencing leaks, seeing ice build-ups, or just performing routine maintenance, understanding how to clear the drain on your Kenmore freezer can save you from future headaches and potential damage.
Before we dive into the steps for unclogging the drain, it’s crucial to understand the role of the drain system in your freezer. The drain system in a freezer is designed to collect and channel away the water that results from the defrost cycle. This water runs down into a drain pan where it eventually evaporates. However, if this drain becomes clogged with food particles, ice, or debris, it can lead to water backing up, leading to leaks and ice buildups.

Safety first! Always unplug your appliance before performing any maintenance. This prevents any accidental electrical shock or damage to the freezer.
Clear out all the items in your freezer. You might want to store them in a cooler to keep them frozen while you work on the drain.
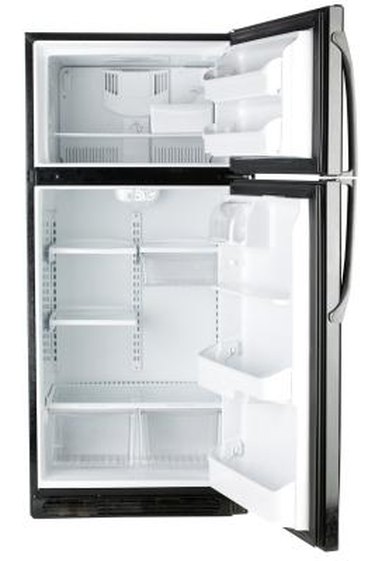
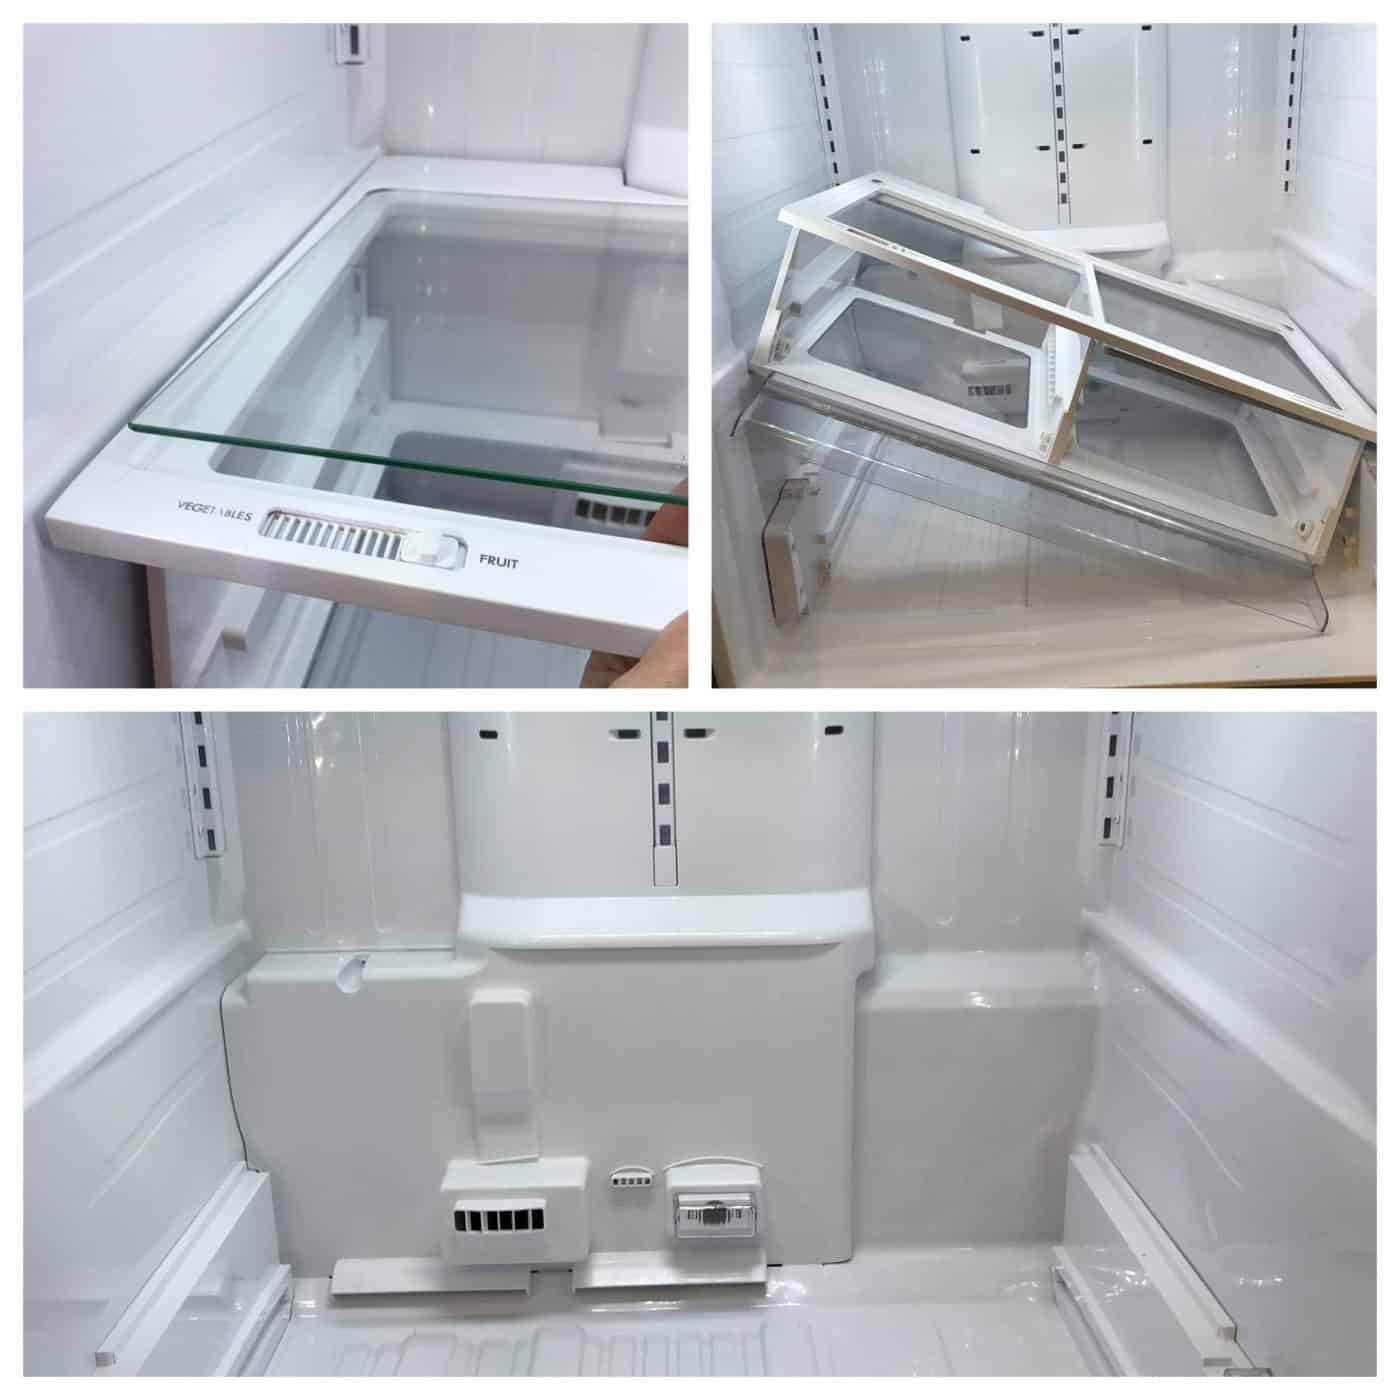
The drain hole in most Kenmore freezers is located at the bottom of the freezer compartment. You might need to remove the back panel inside the freezer or the bottom floor panel to access it.
If there’s any ice clogging the drain hole, gently remove it. You can use a hairdryer (on a low setting) to melt the ice or pour small amounts of hot water to expedite the melting. Be careful not to use sharp objects to chip at the ice as this can damage the freezer.
Using a turkey baster or small funnel, pour hot water down the drain hole. This helps to melt any remaining ice inside the drain line and flush out any debris.
After flushing with hot water, insert a pipe cleaner or a stiff wire into the drain hole. Gently push it up and down a few times to remove any clogs or debris stuck in the pipe. Be careful not to puncture the pipe.
Pour more hot water down the drain to check if it freely flows to the drain pan below. If it doesn’t, repeat steps 5 and 6 until the water flows smoothly.
Dry any water that has spilled inside the freezer using towels. Once you’re sure the drain is working correctly, replace any components you removed and restore the contents of your freezer.
Plug your freezer back in and monitor it over the next few hours to ensure that the drain is working correctly and that there are no leaks.
To keep your Kenmore freezer drain functioning properly, here are a few tips:
By following these steps, you can effectively clear the drain on your Kenmore freezer and prevent future issues related to clogging. Remember, a little maintenance goes a long way in extending the life of your appliances. Stay tuned to TheKitchenApplianceDad.com for more helpful tips and tricks to keep your kitchen running smoothly!

