Proper maintenance of your Kenmore upright freezer is essential for its optimal performance, longevity, and energy efficiency. One key aspect of maintenance that is often overlooked is cleaning the coils. At TheKitchenApplianceDad.com, we understand the importance of helping you keep your appliances in top shape, so today, we’re diving deep into the process of cleaning the coils on your Kenmore upright freezer.
Efficiency: Dirty coils can significantly impact the efficiency of your freezer. Dust, dirt, and pet hair can accumulate on the coils, reducing the appliance’s ability to dissipate heat. This inefficiency can lead to higher energy consumption and increased electric bills.
Longevity: Regular cleaning helps extend the life of your freezer. When coils are dirty, your freezer has to work harder, which can lead to quicker wear and tear and potentially costly repairs or premature replacement.
Performance: Clean coils contribute to better overall performance. A well-maintained freezer maintains temperatures more consistently, which helps keep your food fresher longer.
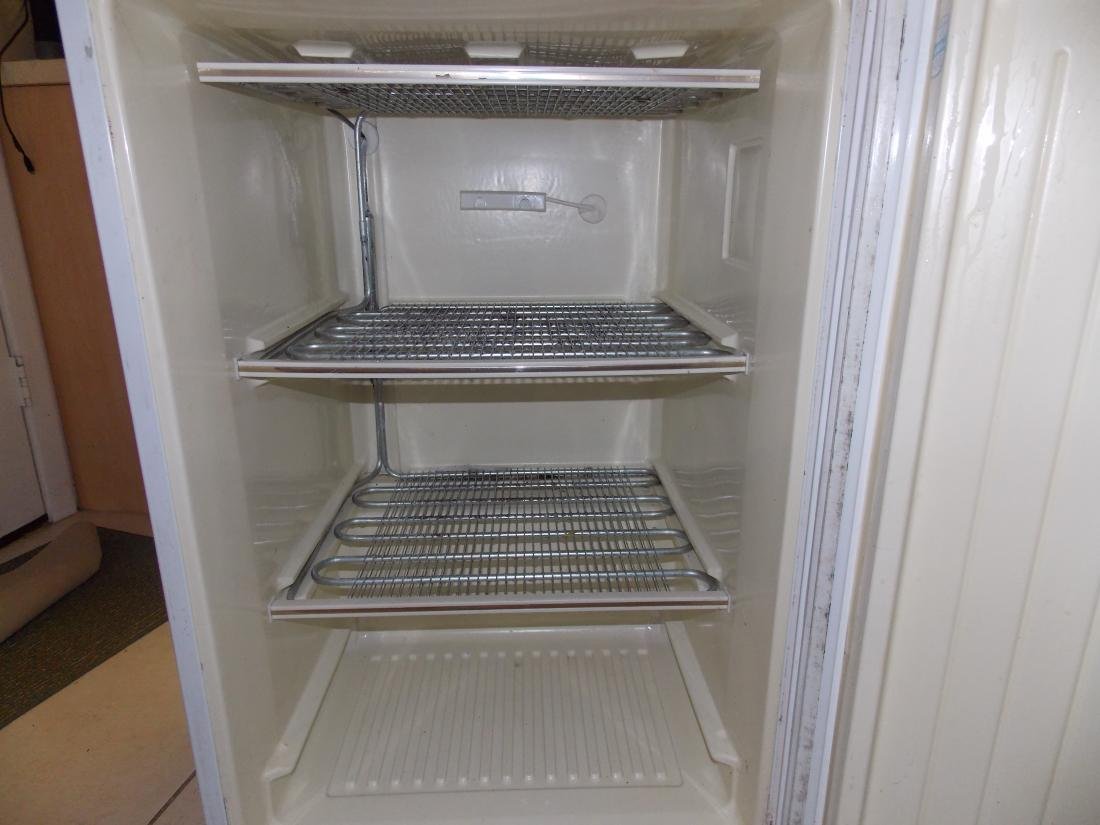
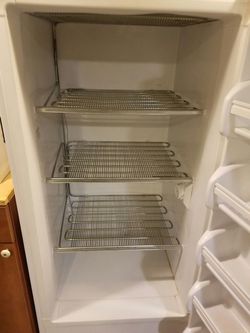
Before you start the cleaning process, it’s important to know where the coils are located on your Kenmore upright freezer. Typically, the coils are found at the back or beneath the freezer unit. Consult your freezer’s manual for specific details (you can usually find digital versions online on Kenmore’s official website if you don’t have a physical copy).
Unplug Your Freezer: Always start by unplugging your freezer. This is a crucial step to ensure your safety from any electrical hazards.
Gather Your Tools: You’ll need a refrigerator coil brush (which is specifically designed to clean these coils without causing damage), a vacuum cleaner with a hose attachment, and a flashlight to help you see more clearly.
Depending on your model, you might need to remove a kick plate or a rear access panel. Use a screwdriver if necessary. Keep all screws in a safe place so you don’t lose them.
Use the refrigerator coil brush to gently remove dust and debris from the coils. Be careful not to bend or damage the coils as you clean. This brush is designed to get between the tight spaces.
After loosening the debris with the brush, use your vacuum cleaner’s hose attachment to suck up all the dirt. Be thorough, as residual dust can still impede the performance of your freezer.
While you’re at it, check the condition of the fan (if accessible). Ensure it’s free of debris and rotates freely, as the fan plays a crucial role in dispersing heat from the coils.
Once everything is clean and intact, replace any panels you had to remove and screw them back in place. Then, plug your freezer back in. It’s advisable to check if it’s functioning properly before putting food back in.
While cleaning your freezer coils is a straightforward DIY task, there are times when it might be best to call in a professional. If you notice any of the following issues, consider contacting a service technician:
By following these steps, you can help ensure that your Kenmore upright freezer runs efficiently and effectively for years to come. For more tips on appliance maintenance and kitchen wisdom, keep reading TheKitchenApplianceDad.com.