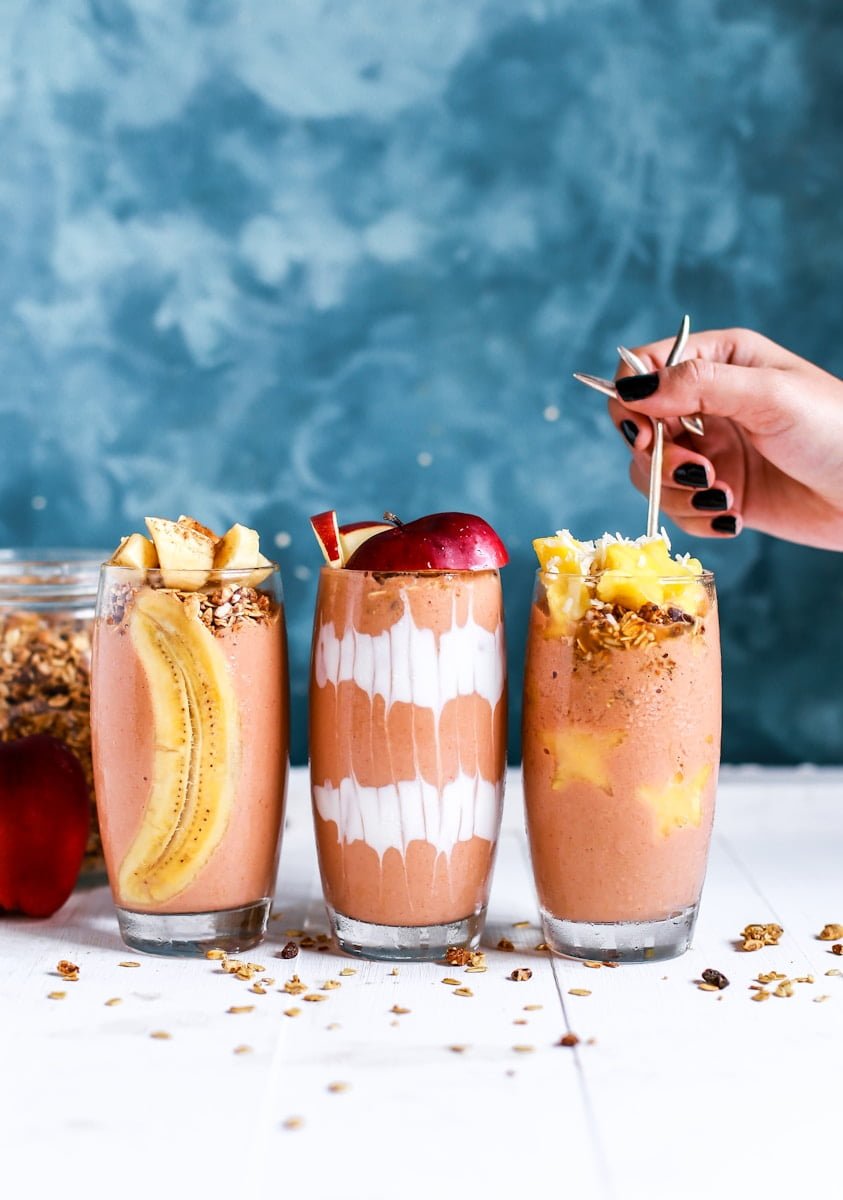
Smoothies are an integral part of many health-conscious individuals’ diets, offering a delicious way to consume a variety of fruits, vegetables, and other nutritious ingredients. However, anyone who’s ever made a cherry smoothie might have encountered the pesky issue of cherry pits. Not only can they be a nuisance, but they can also pose a risk to your blender’s blades and motor. Here at TheKitchenApplianceDad.com, we understand the frustration and we’re here to offer a quick fix to ensure your smoothie remains a refreshing treat rather than a source of stress.
Cherries are a delicious and healthful addition to any smoothie, but their pits can cause trouble if they’re not removed properly before blending. Cherry pits are hard and can damage the blades of your blender, leading to costly repairs or replacements. Moreover, accidentally ingesting cherry pits can be harmful, as they contain amygdalin, which can release cyanide when metabolized. It’s crucial to ensure that no pits make their way into your smoothie.

Before we get into our quick fix for those forgotten pits, let’s talk about how to properly pit cherries. Ideally, you’d want to pit your cherries before they go anywhere near your blender.
Using a Cherry Pitter:
The most straightforward method is to use a cherry pitter. This handy tool easily removes pits with a simple press. There are many models available, from handheld pitters to larger, countertop devices that can handle multiple cherries at once.
Manual Methods:
If you don’t have a cherry pitter, you can use a straw or a chopstick to push the pit out. Place the cherry on top of an empty bottle, and push the pit into the bottle using your tool of choice. It’s a bit more time-consuming but gets the job done.
If you’ve already blended your cherries and realized too late that you missed a pit or two, don’t panic. Your smoothie can still be salvaged with a little extra effort.
Step 1: Strain Your Smoothie
Pour your smoothie through a fine-mesh sieve or cheesecloth over a bowl. Use a spatula or spoon to help push the liquid through. This will catch any cherry pits or large fragments that could be lurking in your drink.
Step 2: Inspect and Remove Pits
Once you’ve strained your smoothie, inspect the contents caught in the sieve. Carefully remove any cherry pits and discard them. If you find only fragments, you may have caught the issue in time before any significant damage was done to your blender.
Step 3: Blend Again if Necessary
If straining your smoothie has significantly affected its texture, return the strained liquid to your blender and blend again to restore its creamy consistency.
To avoid the hassle of dealing with cherry pits in your smoothie, consider implementing the following tips:
Encountering cherry pits in your blender can be a wake-up call to pay more attention to its care. Here’s how to keep your blender in top condition:
Cherry pits don’t have to put a damper on your smoothie-making experience. With these quick fixes and preventive measures, you can ensure that your blender remains pit-free and your smoothies stay delicious and safe to drink. Remember that a little extra preparation goes a long way in preserving the life of your blender and the quality of your creations.
At TheKitchenApplianceDad.com, we’re dedicated to helping you navigate the little challenges of kitchen appliance use so that you can enjoy the process of making healthy, homemadefood without the worry. Stay tuned for more tips, tricks, and advice to make the most out of your kitchen appliances.
Remember, while cherries are a fantastic source of nutrients and a flavorful addition to smoothies, it’s essential to handle them properly to protect both your health and your blender. With the advice from TheKitchenApplianceDad.com, you’ll be whipping up pit-free cherry smoothies like a pro in no time!