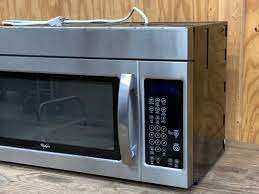
Welcome back to TheKitchenApplianceDad.com, the go-to hub for all your kitchen appliance queries and fixes. Today, we’re shining a light on a common issue that many of us face in our day-to-day kitchen escapades – changing the light in a Whirlpool microwave. Whether your microwave light has fizzled out or you’re just looking to upgrade to a brighter bulb, this guide will walk you through the process step by step.
Before we delve into the nitty-gritty of bulb replacement, it’s crucial to understand the model of your Whirlpool microwave. Each model may have a slightly different configuration, so knowing your microwave’s specifications can help you purchase the correct replacement bulb and understand where the bulb is located.
The light inside your microwave serves more than just an aesthetic purpose. It helps you monitor the cooking process without opening the door, which can interrupt cooking times and temperatures. A functioning light is also a safety feature, allowing you to see whether food is bubbling or spilling over, potentially preventing messes or even fires.
Before we proceed, it’s important to prioritize safety.
The best starting point for finding the correct bulb is your microwave’s user manual. Whirlpool often specifies the bulb type you need and may even offer a part number, which you can use to order the bulb directly from Whirlpool’s parts website or find a compatible bulb at a hardware store.
If you’ve misplaced your user manual, don’t fret – Whirlpool provides digital copies of their manuals online. Simply search for your model number on the Whirlpool support page to find the information you need.
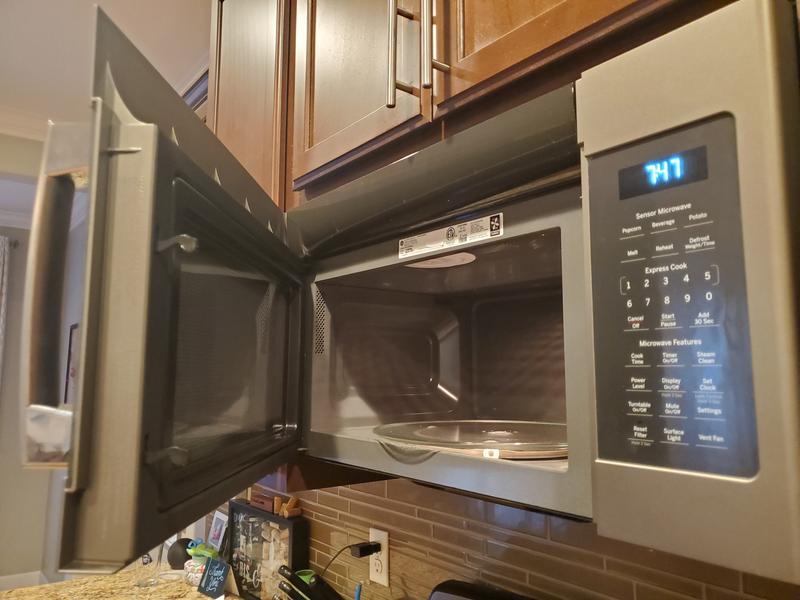
Most Whirlpool microwaves have an accessible light bulb cover inside the cooking chamber or on the exterior, depending on the model. Look for a small panel or cover that is typically secured with a screw or snap.
Using a screwdriver, carefully remove the screws holding the cover in place, if applicable. If the cover snaps into place, gently pry it open using a flat tool, being cautious not to break the tabs that hold it in place.
Once you’ve exposed the bulb, grasp it firmly and unscrew it by turning it counterclockwise. If the bulb is stuck or you are unable to grip it well, use a dry cloth to help you get a better hold.
Take your new bulb and screw it into the socket clockwise until it is secure. Ensure that you do not over-tighten the bulb, as this could damage the socket or the bulb itself.
After the new bulb is in place, reattach the cover by reversing the process you used to remove it. If it was screwed in, replace and tighten the screws without over-tightening. If it snapped in, press it firmly until the tabs click into place.
Before you put your tools away, plug your microwave back in and test the new bulb. Open the microwave door or start a cooking cycle, depending on when your model’s light activates, to ensure that it lights up properly.
Remember to dispose of the old bulb responsibly. Check your local waste management guidelines for instructions on disposing of light bulbs, as they may contain materials that are not suitable for regular trash.
If your new bulb isn’t working after installation, here are a few things you can check:
Changing the light bulb in your Whirlpool microwave is a simple task that can be done in a matter of minutes. By following this guide, you can ensure that you’re never left squinting into the dim cavity of your microwave, wondering whether your popcorn is ready or if your leftovers are heated through. Remember to visit TheKitchenApplianceDad.com for more useful tips, tricks, and appliance know-how. Keep your kitchen bright and your appliances running smoothly!