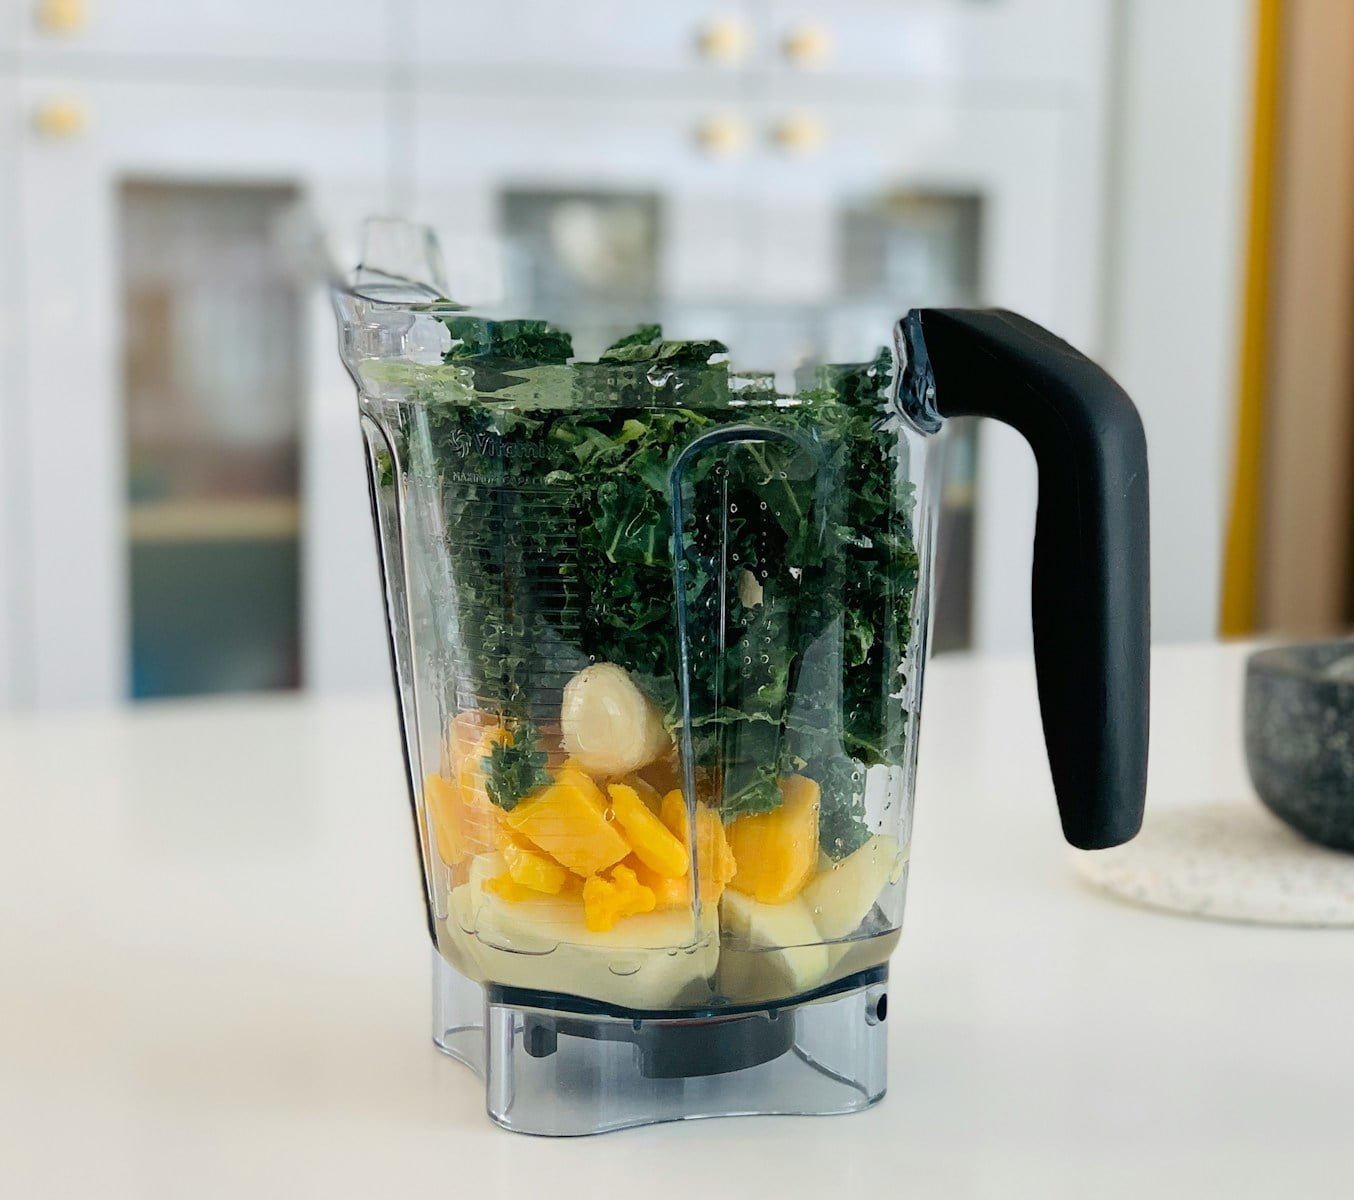
When you’re in the middle of preparing your favorite smoothie or pureeing a soup and your blender starts acting up, it can be frustrating. The blades are spinning, but nothing’s blending. You can hear the motor whirring, but the contents remain unscathed. At TheKitchenApplianceDad.com, we understand the importance of a functioning kitchen appliance, especially when it’s something as essential as a blender. In this post, I’ll guide you through a quick fix to get your blender back in action.
Before we dive into the solution, it’s important to understand why a blender might be spinning without effectively blending.
If the motor is running but the blades aren’t moving, the issue is likely mechanical. The coupling, which is the part that connects the motor to the blade assembly, might be worn out or broken.
In cases where the blade is spinning yet not blending, the issue could be due to the ingredients sticking to the sides of the blender jar, an overloaded blender, or dull blades.

Now, let’s tackle the problem with a step-by-step approach to troubleshoot and resolve the issue.
Safety first! Always unplug your blender before inspecting it. Check the blender’s jar and the blade assembly. Make sure there’s no obstruction or foreign object caught in the blades.
Inspect the coupling on both the motor base and the blade assembly. If you notice any wear or damage, it’s likely that you’ll need to replace this part. For many blenders, replacing the coupling is a relatively simple and inexpensive fix.
Dull blades can be a culprit. If the blades aren’t sharp enough, they’ll struggle to cut through the ingredients. Sharpening blender blades can be tricky, but it’s sometimes possible with the right tools and care. However, it might be easier and safer to replace the blade assembly.
Check the blender jar for any damage or cracks that might be causing leakage or affecting the blending process. If the jar is damaged, replacing it is the best course of action.
If everything else seems fine, the problem might be the motor. Though a motor replacement is more complex and expensive, it’s sometimes necessary. If your blender is still under warranty, contact the manufacturer for support.
Sometimes, the issue is not with the blender itself but with how it’s being used. Overloading the blender or not using enough liquid can cause the contents to stick to the sides and not blend properly. Make sure to follow the manufacturer’s guidelines for the amount and type of ingredients.
After troubleshooting, give your blender a test run with water or a small amount of ingredients to see if it’s blending properly. If it works, you’re ready to go back to making your favorite recipes.
To avoid future issues, here are some tips for maintaining your blender:
If you’ve gone through all the steps and your blender is still not functioning correctly, it might be time to call a professional. Search for a local appliance repair service or reach out to the manufacturer for assistance. It’s also worth considering if the cost of repair is worth it compared to purchasing a new blender.
A blender that spins without blending can be a source of frustration, but it’s often an issue that can be resolved with a bit of troubleshooting. By following the steps outlined above, you can quickly identify and fix the problem, or determine if professional help is needed.
At TheKitchenApplianceDad.com, we value the importance of keeping your kitchen appliances running smoothly. Remember, regular maintenance and proper use can go a long way in extending the life of your blender and avoiding disruptions in your culinary creations.
Remember, a well-maintained blender is a key ingredient in the recipe for a smooth kitchen experience. Keep blending, and keep those delicious concoctions coming!
For more tips, tricks, and appliance advice, stay tuned to TheKitchenApplianceDad.com, where we’re always ready to help you make the most of your kitchen adventures.

