Welcome back to TheKitchenApplianceDad.com, where we delve into the delightful world of kitchen gadgets and share tips to make your culinary adventures a breeze. Today, let’s whisk ourselves into the airy realm of egg whites and how to whip them to perfection with the help of a Kitchenaid mixer.
Before we start, it’s essential to understand what we’re dealing with. Egg whites are a marvel of nature, composed primarily of water and protein. When beaten, these proteins unfold and form a network that traps air, resulting in a foam that can range from soft and fluffy to stiff and glossy, depending on how long they’re whipped.

Achieving stiff peaks when beating egg whites is often a critical step in recipes like meringues, soufflés, and angel food cakes. Stiff peaks ensure that the structure will hold, providing volume and lightness to these delicacies.
The first step is separating the egg whites from the yolks. For the best results, do this carefully, ensuring no yolk contaminates the whites, as the fat in the yolk can prevent the whites from whipping properly. Pro tip: separate each egg into a small bowl first before adding it to the mixer bowl, this way if a yolk breaks you won’t ruin the whole batch.
Begin whipping the egg whites on a low speed. This helps to break them down gently and start forming small, stable bubbles. Patience is key in the initial stage.
After a minute or two, once the egg whites are broken up and starting to foam, increase the speed to medium. This will start to build the structure of the foam.
If you’re using a stabilizer like cream of tartar or salt, now’s the time to sprinkle it in. Add it when the eggs are foamy but before the peaks start to form.
Continue whipping and increase the speed to high. This is where the magic happens. As the whisk moves through the egg whites, it incorporates air, and the proteins continue to stretch and create a network, capturing the air in bubbles.
Soft peaks are the stage before stiff peaks. They will gently fold over when the whisk is lifted. If your recipe calls for soft peaks, you can stop here. But for stiff peaks, keep going.
Continue to whip the egg whites on high speed. You’ll know you’ve reached stiff peaks when you lift the whisk and the peaks stand straight up without collapsing. The foam will be shiny and firm.
Be vigilant as it’s possible to over-beat egg whites. If they start to look grainy or begin to separate, you’ve gone too far. Unfortunately, there’s no coming back from this, so you’d have to start over.
Even experienced cooks can run into issues when whipping egg whites. Here are some tips for common problems:
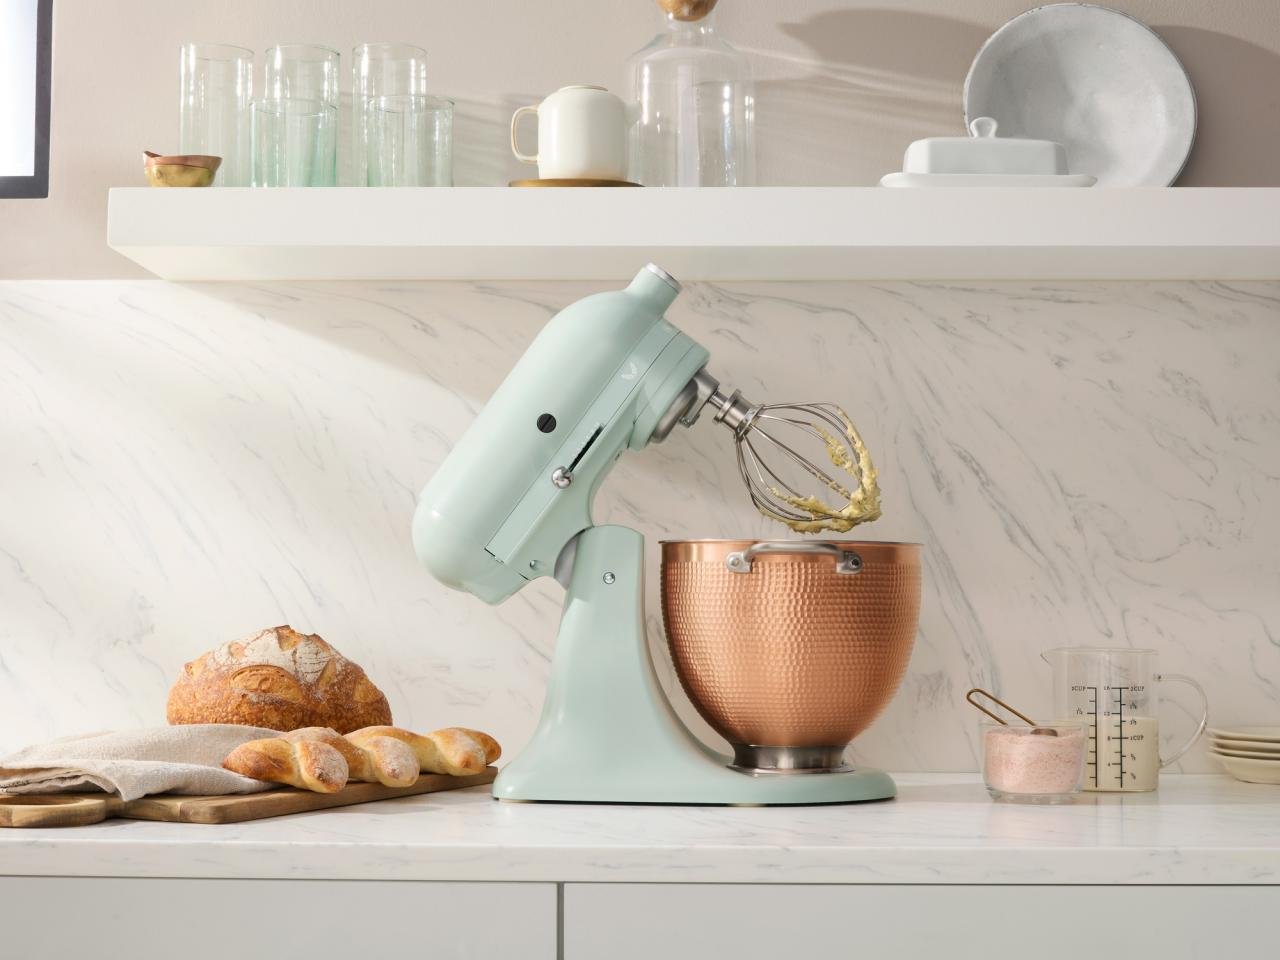
A Kitchenaid mixer is an ideal tool for this job due to its powerful motor and efficient whisk attachment. It provides consistent speed and power that can be tough to replicate by hand or with less robust mixers. Plus, having a stand mixer allows you to prepare other parts of your recipe simultaneously, making the whole process more efficient.
Now that you’ve mastered stiff peaks, what can you do with them? Here are a few ideas to get you started:
After your whipping task, it’s important to keep your Kitchenaid mixer in top shape. Here’s a quick guide to cleaning and maintenance:
By taking good care of your Kitchenaid mixer, it will remain a reliable ally in your culinary quests for years to come.
Whipping egg whites to stiff peaks using a Kitchenaid mixer is a satisfying culinary skill that opens the door to a wide array of delicious recipes. With the right technique and a bit of practice, you’ll be on your way to creating everything from ethereal meringues to the most delicate soufflés. Happy whisking, and remember to check back with TheKitchenApplianceDad.com for more kitchen wisdom and appliance insights!