quick-guide-how-to-beat-eggs-with-a-kitchenaid-stand-mixer

Quick Guide: How To Beat Eggs With A KitchenAid Stand Mixer

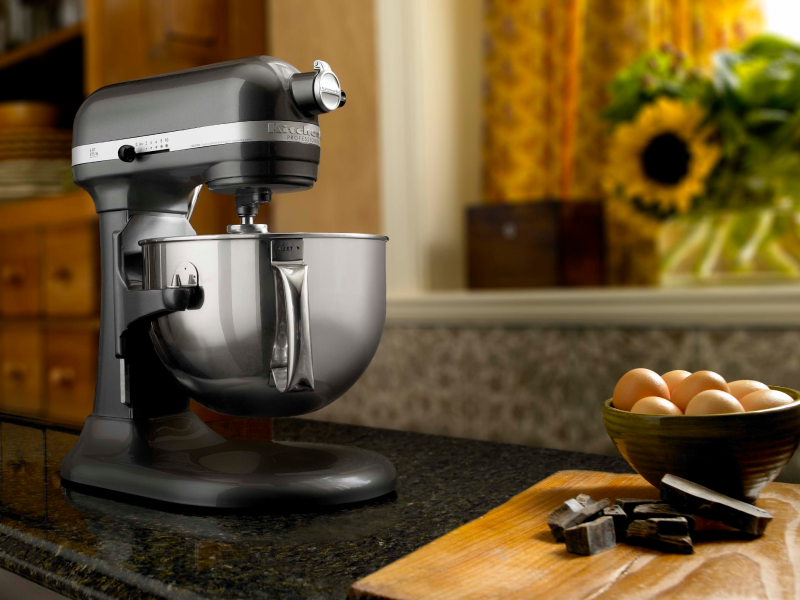
Beating eggs might seem like a simple task, but doing it correctly can make a world of difference in your cooking and baking. With a KitchenAid stand mixer, this process becomes effortless and precise. Whether you’re making an airy meringue or just adding eggs to cake batter, knowing how to properly beat eggs with your mixer is key. Here at TheKitchenApplianceDad.com, we’ve crafted a quick guide to help you achieve perfect results every time.

Preparing the Mixer

Before you begin, ensure that your KitchenAid stand mixer is clean and ready to use. Attach the bowl securely, and choose the appropriate attachment for beating eggs.

How to Whip Egg Whites to Soft, Firm or Stiff Peaks | KitchenAid

Selecting the Right Attachment

For beating eggs, you have two main options:

  • Whisk Attachment: This is ideal for whipping egg whites or whole eggs when you want to incorporate a lot of air, such as for meringues or fluffy omelets.
  • Flat Beater: Use this for recipes where eggs need to be thoroughly mixed into batter, like cakes or cookies.

Step-by-Step Guide to Beating Eggs

Step 1: Crack the Eggs

Crack the eggs into a separate bowl to ensure there are no shells. Then, pour them into your KitchenAid stand mixer’s bowl.

Step 2: Attach the Bowl and the Beater

Place the bowl onto the mixer and attach either the whisk or flat beater, depending on your needs.

Step 3: Start at a Low Speed

Begin mixing on the lowest speed setting (“Stir” or Speed 1) to prevent splashing.

Step 4: Gradually Increase Speed

Once the eggs are broken up, gradually increase the speed. For lightly beaten eggs, go up to Speed 2 or 4. For more thoroughly beaten eggs, such as those needed for cake batters, increase to Speed 4 or 6.

Step 5: Check the Consistency

Keep an eye on the eggs as they mix. Stop the mixer when you’ve reached the desired consistency. This could be anywhere from frothy to stiff peaks, depending on your recipe.

Step 6: Use the Splash Guard

If you’re working at higher speeds or with a large volume of eggs, use the splash guard attachment to prevent making a mess.

Step 7: Clean the Beater

Once finished, lift the beater out of the bowl and let the excess egg drip off before wiping it clean.

Tips for Whipping Egg Whites

If your aim is to whip egg whites to stiff peaks, perhaps for a meringue or soufflé, here are some additional tips:

  • Ensure that the bowl and whisk are completely clean and dry.
  • Any trace of fat or yolk can prevent the whites from whipping properly.
  • Start on a low speed until the whites become frothy, then gradually increase to Speed 8 or 10 until you achieve stiff peaks.
  • Add a small amount of cream of tartar or a few drops of lemon juice to help stabilize the whipped egg whites.

Key Takeaways

  • Choose the whisk attachment for airy results or the flat beater for thorough mixing.
  • Always start on a low speed to avoid splashing, then increase speed gradually.
  • Monitor the eggs closely to stop mixing at the right consistency.
  • Use the splash guard for higher speeds or large volumes of eggs to keep your workspace clean.
  • For whipping egg whites, ensure your equipment is clean and fat-free.

With these easy steps from TheKitchenApplianceDad.com, you’ll be beating eggs like a pro with your KitchenAid stand mixer in no time. Whether you’re prepping for breakfast or baking a show-stopping dessert, your KitchenAid will help you get it just right. Happy mixing!

Meet

Dale

Hi, I'm Dale! With over ten years in high volume restaurants, my journey has taken me through the ins and outs of using, maintaining, and even repairing virtually every kitchen appliance imaginable.

I'm here to share simple, straightforward advice to help you choose and use your kitchen tools effectively. No fluff, just the essential info you need to cook up a storm.