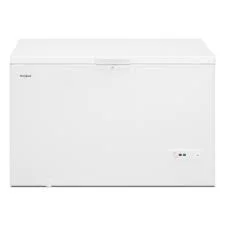
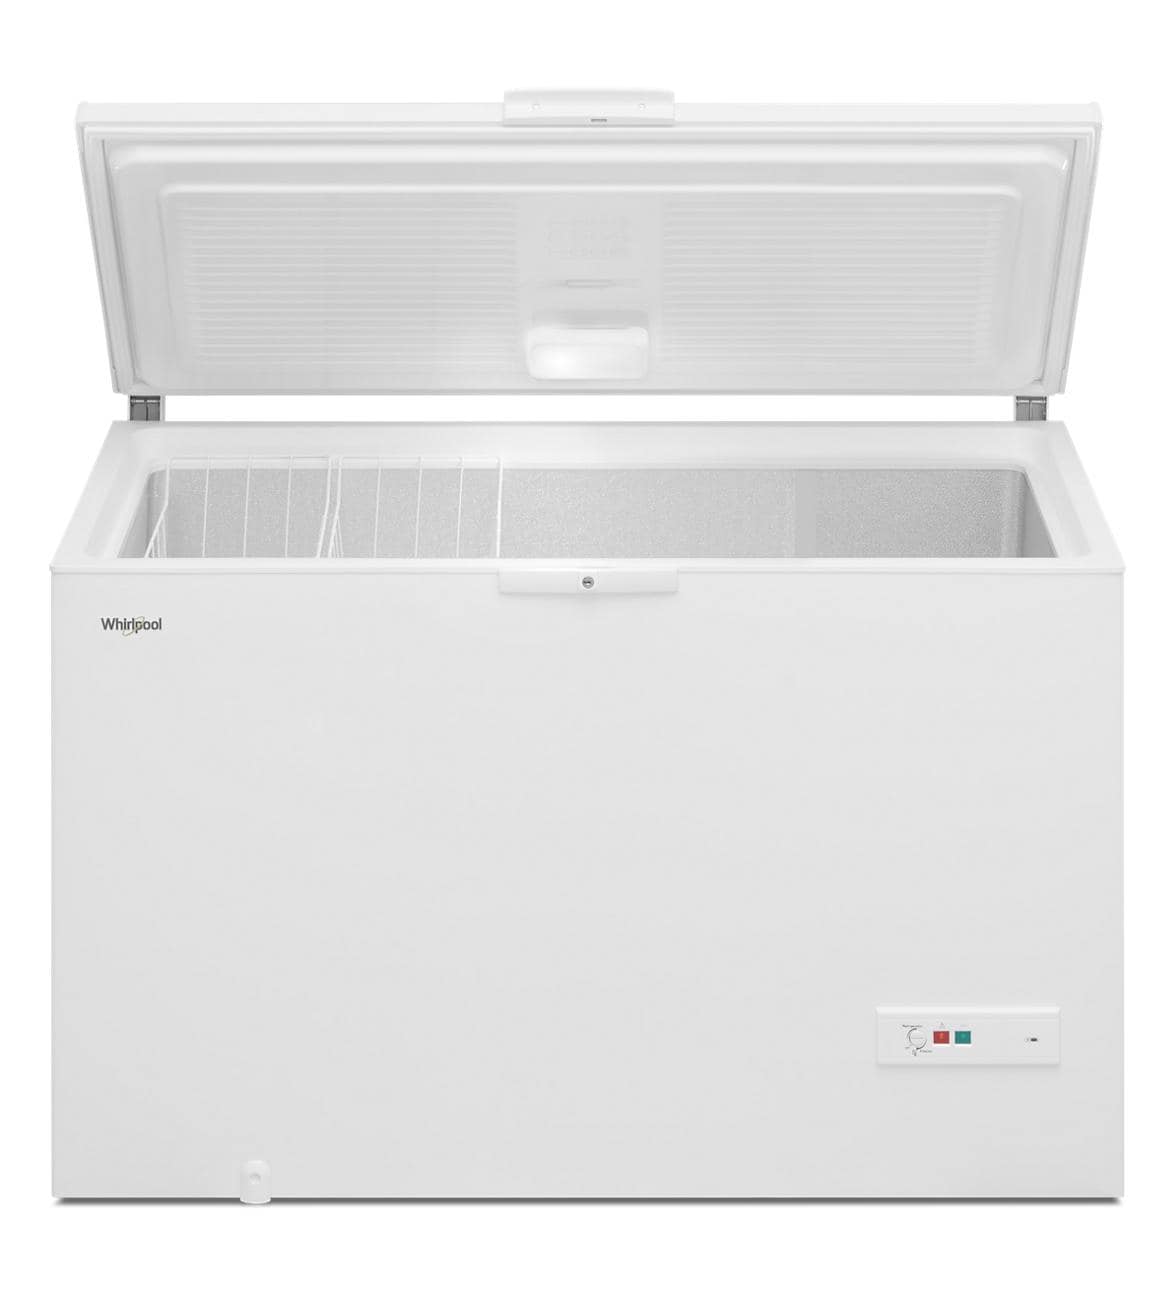
Welcome to another practical guide from TheKitchenApplianceDad.com. Today, we’re venturing slightly outside the kitchen to the often-overlooked area of appliance mobility. Specifically, we’ll be focusing on how to add casters to a Whirlpool chest freezer. This enhancement is not just about making your freezer portable but also about adding convenience and functionality to your appliance management.
Adding casters to your freezer can significantly ease the process of moving it around, whether for cleaning, reorganization, or relocation purposes. Let’s dive into the step-by-step process.
Before we get into the “how,” let’s briefly discuss the “why.” Casters can transform a stationary chest freezer into a versatile appliance, enhancing its usability. With casters:
There are two main types of casters: swivel and rigid. Swivel casters allow 360-degree movement, offering the most maneuverability, which is ideal for tight spaces. Rigid casters, on the other hand, move in a straight line, which might be suitable if you only need to move your freezer back and forth in a direct line.
It’s crucial to select casters that can support the weight of your freezer plus the contents inside. Typically, a chest freezer can be quite heavy, especially when full. Look for casters that can handle at least 250 pounds each. A set of four should then comfortably support a fully loaded freezer.
Casters come in various materials including rubber, polyurethane, and nylon. Rubber casters are quieter and absorb shocks better, making them ideal for home environments. Polyurethane casters are durable and provide good floor protection.
Opt for casters with a locking mechanism to keep the freezer stable when stationary. This feature is crucial for safety and convenience.
Unplug and empty your Whirlpool chest freezer. Ensure it’s defrosted and clean before starting the work. This not only makes the freezer lighter and easier to handle but also prevents any water from interfering with the installation process.
Flip the freezer to access its base. Using your measuring tape, find the best points to attach the casters. It’s typically best to place them at each corner for even weight distribution. Use a marker or pencil to indicate where the screws will go.
If your freezer has pre-drilled holes, align the casters’ mounting holes with these points. If not, you may need to drill holes based on your markings. Attach each caster securely using screws and nuts, ensuring they are tightened properly with a screwdriver or drill and wrench or pliers. If the base of your freezer is thin, consider mounting a piece of wood inside the base for additional support before attaching the casters.
Once all casters are installed, carefully flip the freezer back to its upright position. Test the mobility in various directions to ensure the casters swivel freely and the locking mechanisms function correctly.
Perform a final safety check to make sure all casters are securely attached and that the freezer is stable. Adjust the brakes on the locking casters and ensure the freezer doesn’t move when they are engaged.
By following these steps, you can successfully add casters to your Whirlpool chest freezer, enhancing its functionality and convenience. Remember, the mobility added by installing casters not only makes cleaning easier but also transforms your freezer into a more versatile appliance. Whether you’re rearranging the garage or simply need to move your freezer for a quick mop-up, these wheels will quite literally take the load off your shoulders.
Feel free to explore more appliance tips and guides right here at TheKitchenApplianceDad.com. Happy DIY-ing!