Greetings, fellow culinary enthusiasts! Today on TheKitchenApplianceDad.com, we’re addressing a common kitchen conundrum: a leaking Ninja blender. While we can’t promise a literal five-second fix—safety and thoroughness are key—we will guide you through the quickest and simplest solutions to get your blender back in action without any drips or spills. So, let’s roll up our sleeves and tackle those leaks.
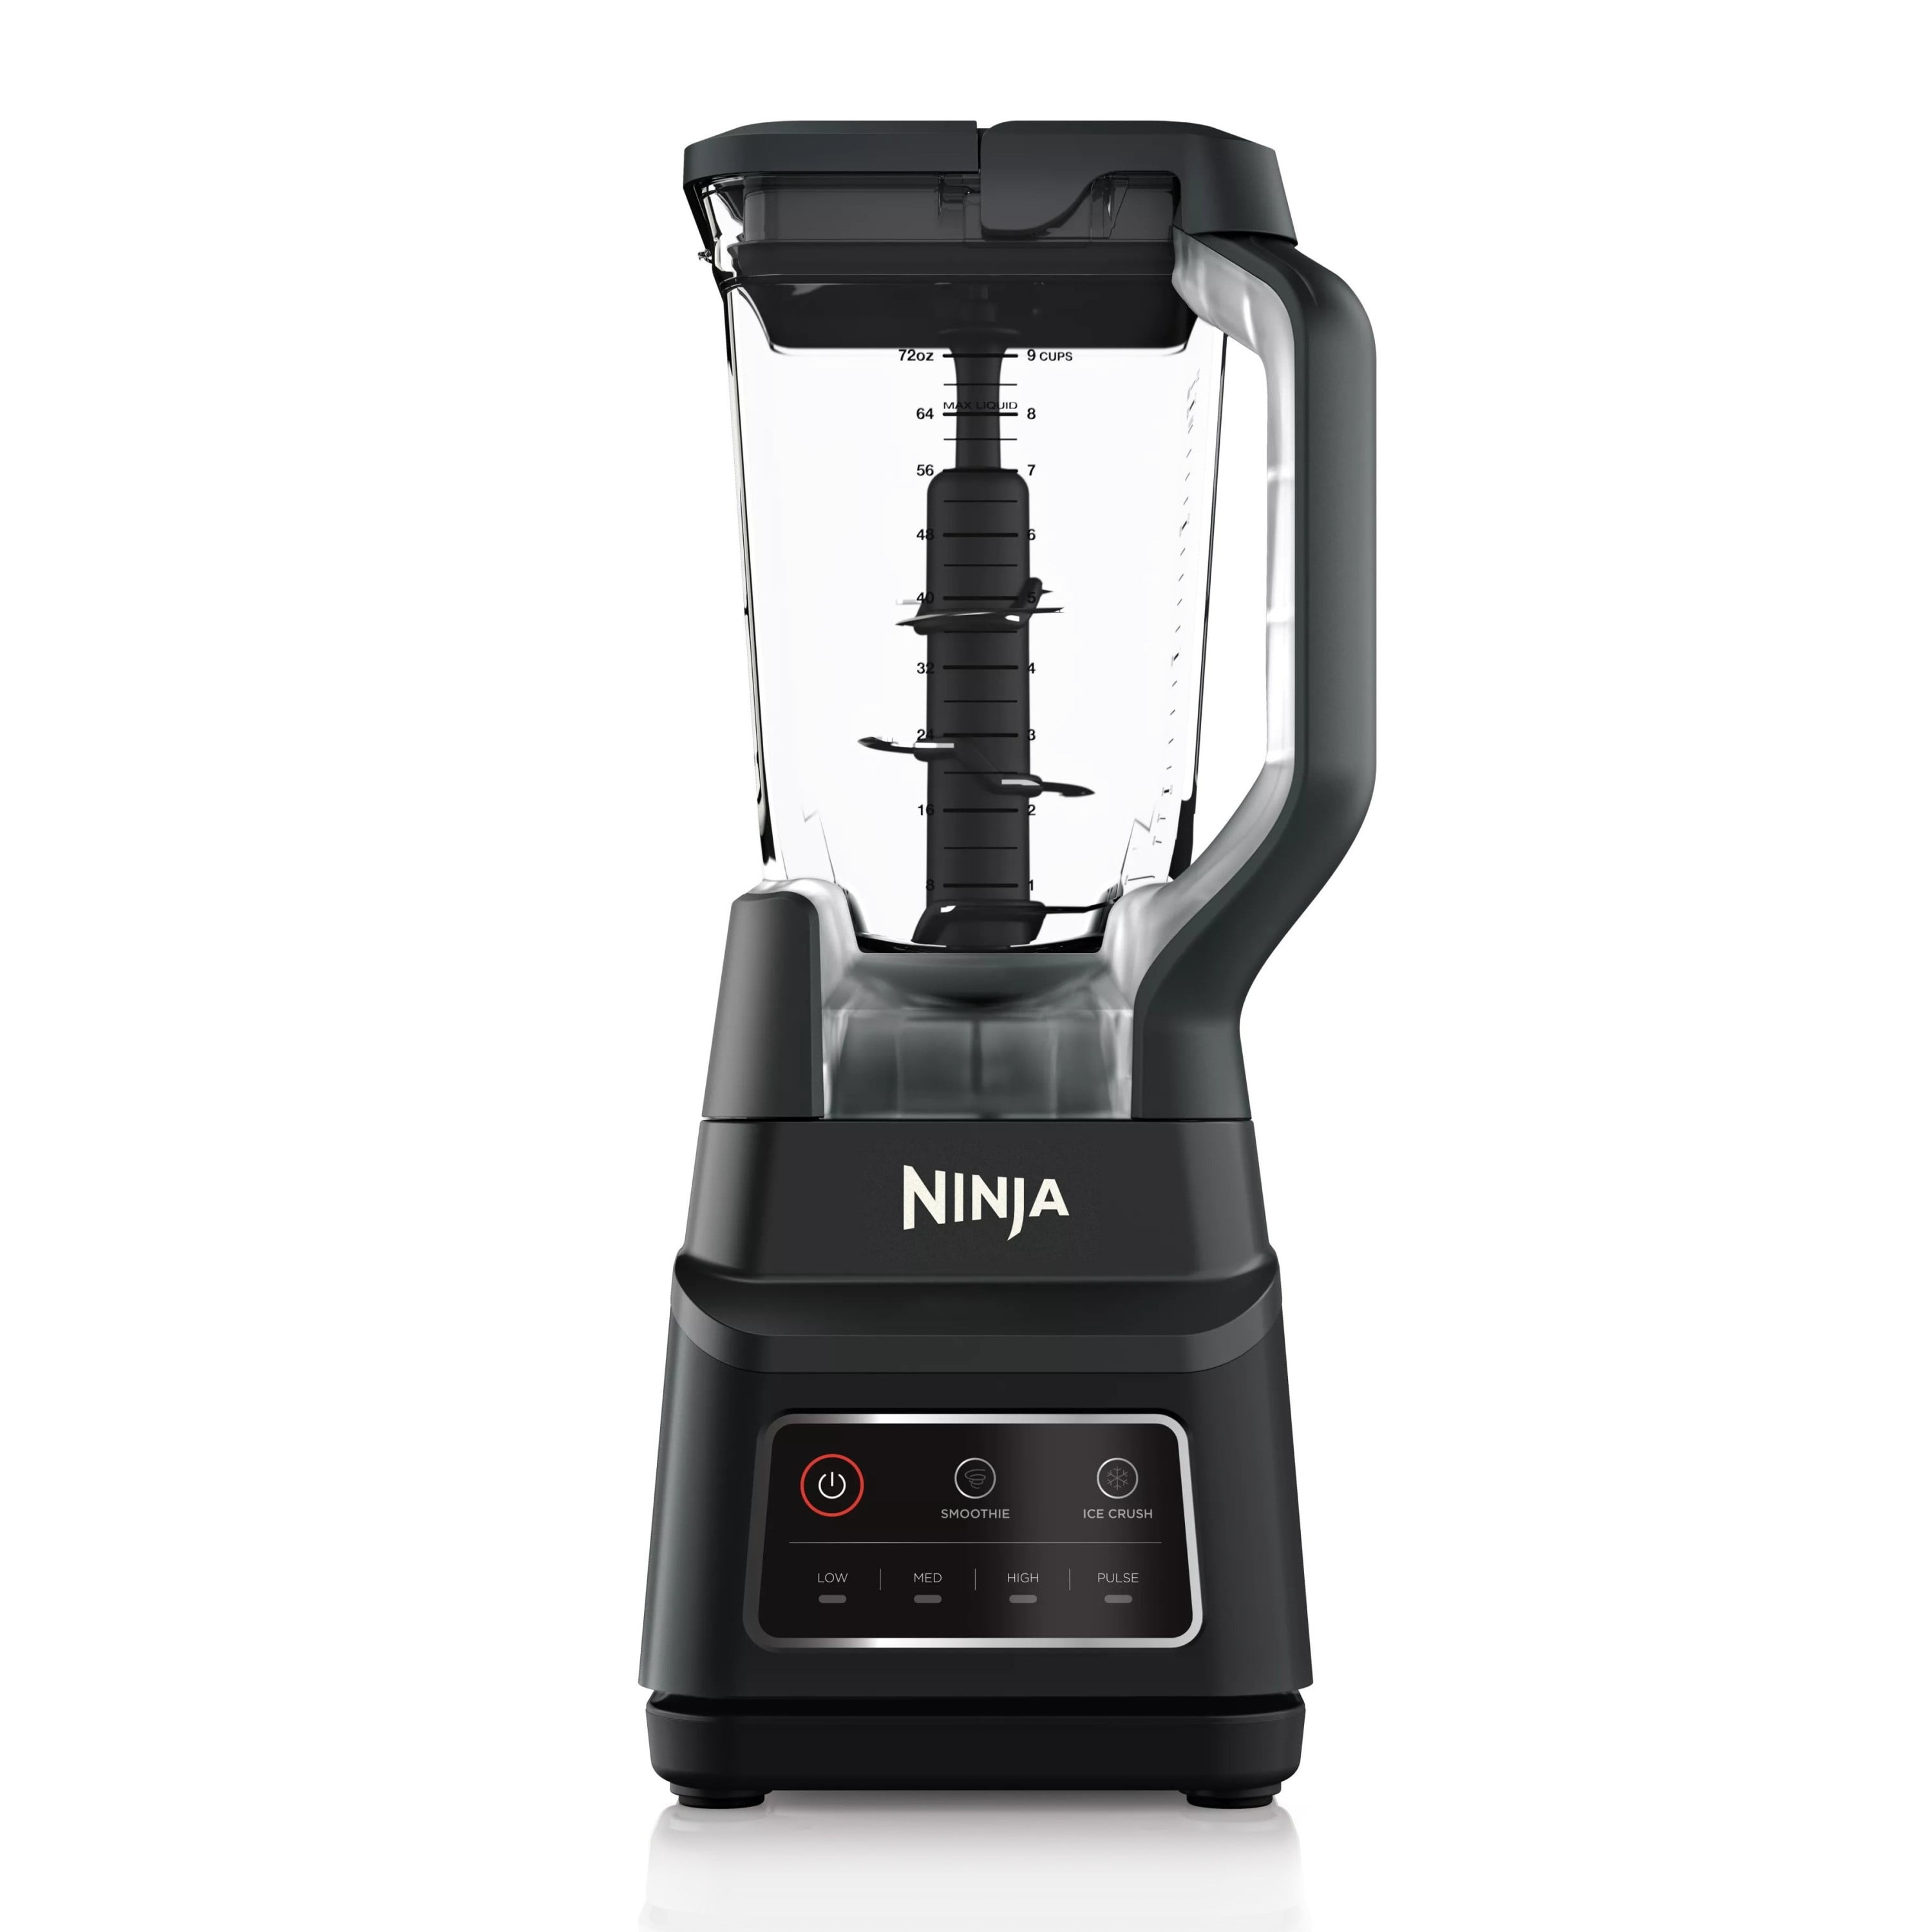
Before we can fix the leak, we need to pinpoint where it’s coming from. Ninja blenders are composed of several parts: the motor base, the blending pitcher or cup, the blade assembly, and the sealing gaskets or rings. A leak can originate from any of these areas if they’re worn out, damaged, or not properly secured.

Step 1: Ensure your Ninja blender is turned off and unplugged to avoid any accidents.
Step 2: Check the blade assembly. If it’s loose, simply hand-tighten it until it’s snug. Be cautious not to overtighten, as this could damage the threads or the sealing ring.
Step 3: Place the pitcher back on the base, add water, and do a quick test to check if the leak persists.
Step 1: If tightening the blade assembly doesn’t stop the leak, the next step is to check the sealing gasket. This rubber ring is crucial for creating a watertight seal between the blade assembly and the pitcher.
Step 2: Remove the blade assembly and inspect the gasket for any signs of damage or wear. If it’s compromised, it needs to be replaced.
Step 3: You can find replacement gaskets designed for your specific Ninja blender model online or through the manufacturer’s official parts supplier.
Step 4: Once you have the replacement, position the new gasket correctly and reassemble the blade assembly.
Step 1: Cracks or damage to the pitcher or cup can also lead to leaks. Carefully inspect the container for any hairline cracks or chips.
Step 2: If you find damage, it’s time to replace the pitcher or cup. Continuing to use a damaged container can be unsafe and will likely result in persistent leaks.
Step 3: Order a replacement container that is compatible with your Ninja blender model, and you should be good to go.
Step 1: Sometimes, the leak might not be from the bottom at all. Check the lid to ensure it’s properly sealed and that the gasket there isn’t worn out.
Step 2: If the lid isn’t sealing correctly, try re-seating it or look for a replacement lid that fits your model.
If none of the above solutions solve the problem, it may be time to reach out to Ninja’s customer support. They can provide additional troubleshooting tips and inform you about warranty coverage.
To keep your Ninja blender in top shape and leak-free, consider these preventative measures:
Leaking blenders can be a hassle, but with these quick and effective solutions, you can usually fix the issue in no time. At TheKitchenApplianceDad.com, we value your time and your passion for blending, so we hope this guide helps you resolve your leaky Ninja blender woes and gets you back to creating culinary masterpieces. Happy blending!

