how-to-use-a-ninja-blender-for-juicing-full-guide

How To Use A Ninja Blender For Juicing (Full Guide)

Juicing has become a popular way to consume fruits and vegetables, providing a quick and delicious method to ingest essential nutrients. While traditional juicers are commonly used for this purpose, blenders like the Ninja can also produce fresh juice with a bit more body and fiber. In this full guide from TheKitchenApplianceDad.com, we will walk you through the steps of using a Ninja blender for juicing.

Understanding Blender Juicing

Blender juicing differs slightly from traditional juicing. While a standard juicer extracts liquid while separating out the pulp, a blender processes the whole fruit or vegetable, resulting in a juice that contains more fiber. This can be both a health benefit and a difference in texture that you should be aware of before starting.

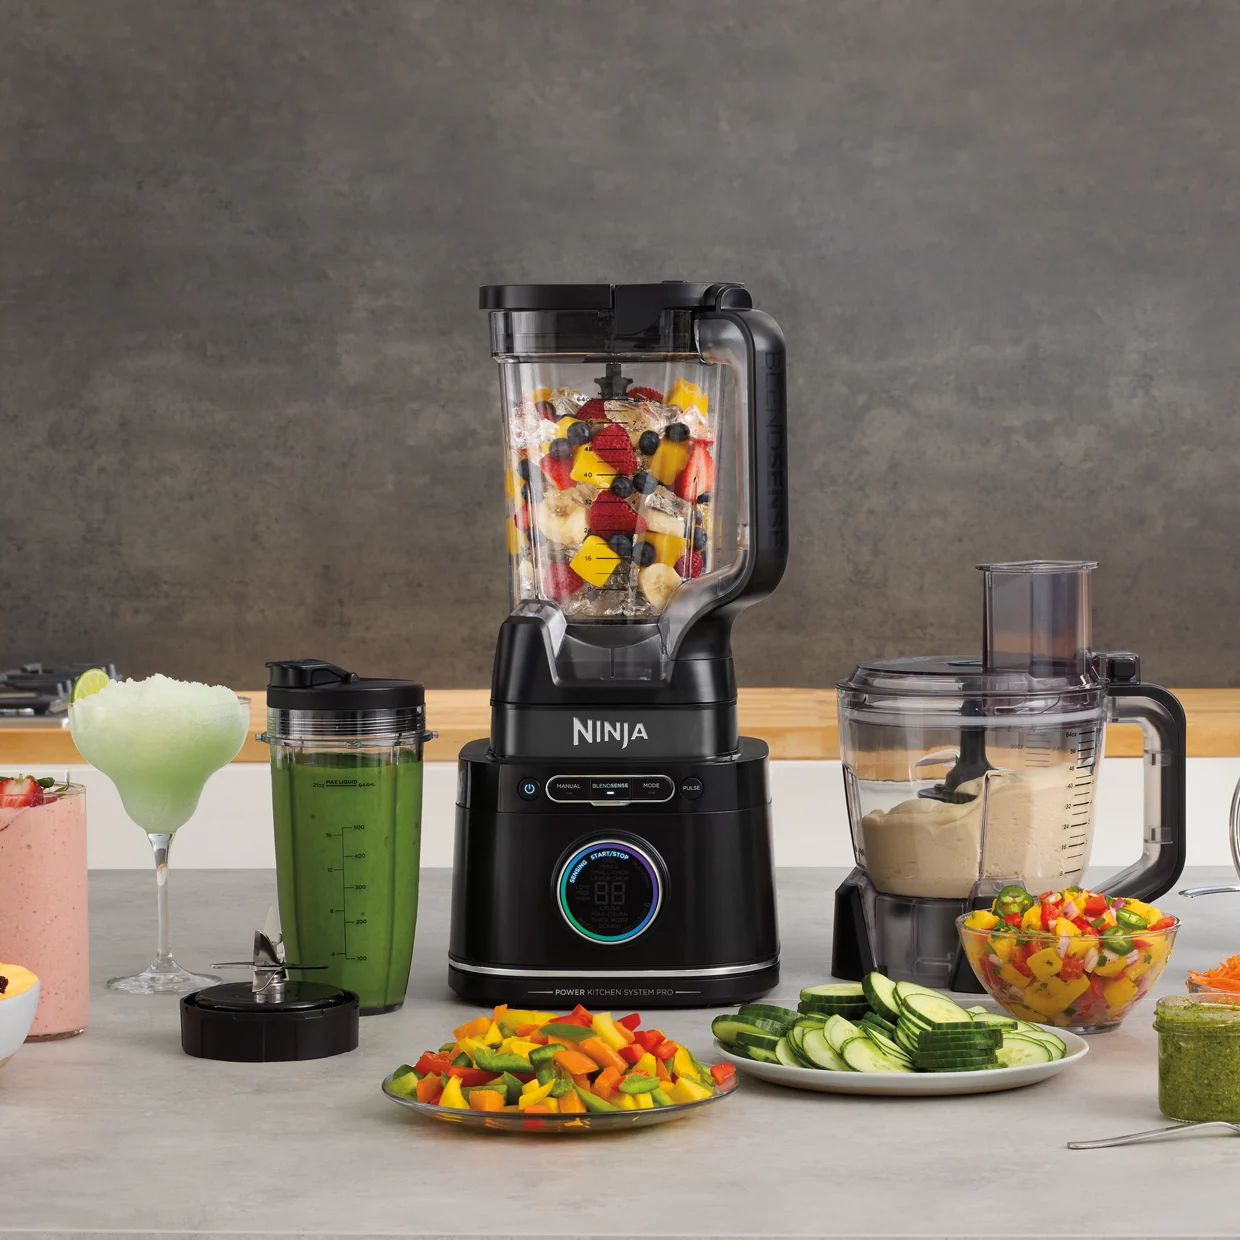
Ninja 2-in-1 blender with Auto-IQ review - Review | BBC Good Food

Preparing Ingredients

Step 1: Select and Wash Your Produce

Choose fresh fruits and vegetables for your juice. The fresher the produce, the tastier and more nutritious your juice will be. Wash them thoroughly to remove dirt and pesticides. Organic produce is preferable if you want to avoid chemicals.

Step 2: Cut and Peel as Needed

Depending on what you’re juicing, you may need to peel and cut your fruits and vegetables into smaller pieces. For instance, citrus fruits should be peeled to avoid bitterness, and large items like pineapples and melons should be cut down to a size that your Ninja blender can handle.

Blending Your Juice

Step 1: Add Liquids First

To help the blending process, pour a small amount of liquid into the blender first. This could be water, coconut water, or a liquid of your choice that complements the flavors of your juice.

Step 2: Add Your Fruits and Vegetables

Place your prepared produce into the blender. It’s best to add the softer items first and then the harder ones. This allows the blades to start blending quickly and prevents any large chunks from getting stuck.

Step 3: Use the Pulse Feature

Start blending your ingredients using the pulse feature of your Ninja blender. This gives you control over the consistency and helps to break down the larger pieces into a smoother mixture.

Step 4: Blend on High Speed

After pulsing a few times, switch to blending at a high speed. Continue until all the ingredients are fully broken down and the mixture appears to be a consistent liquid. This could take anywhere from 1 to 3 minutes, depending on the strength of your Ninja blender and the ingredients used.

Straining Your Juice (Optional)

If you prefer a smoother juice without pulp, you can strain it using a fine mesh strainer or a nut milk bag. Simply pour the blended mixture through the strainer into a bowl or pitcher, pressing the pulp with a spatula to extract as much liquid as possible.

Tips for the Best Juice Experience

  • Flavor Balancing: Combine sweet fruits with greens or vegetables to create a balanced flavor profile. For example, apples and carrots can sweeten the bitterness of kale or spinach.
  • Chill Your Produce: Using refrigerated fruits and vegetables can make your juice more refreshing, as the Ninja blender does not generate as much heat as a centrifugal juicer.
  • Add-Ins: You can add extra ingredients like ginger, turmeric, or herbs for additional health benefits and flavors.

Cleaning Your Ninja Blender

After you’ve enjoyed your juice, it’s important to clean your Ninja blender right away to prevent any residue from sticking and to keep it in good working order.

  1. Disassemble the blender and rinse off any leftover pulp and juice.
  2. Wash the blender parts with warm, soapy water. Most Ninja blenders have dishwasher-safe parts, but check your model’s instructions to be sure.
  3. For stubborn stains or odors, blend a solution of baking soda and water, then rinse thoroughly.
  4. Dry all parts before reassembling the blender.

Safety Precautions

  • Always make sure the blender lid is securely in place before starting the blender.
  • Do not overfill the blender, as this can cause leakage or strain the motor.
  • Cut hard ingredients into smaller pieces to prevent blade damage and ensure a smoother blend.
  • Never insert utensils into the blender while it is in operation.

Creative Juicing Ideas with Your Ninja Blender

Ready to get creative? Here are some unique juice combinations to try:

  • Green Goddess: Spinach, cucumber, green apple, lime, and mint.
  • Sunrise Blend: Carrot, orange, ginger, and turmeric.
  • Berry Bliss: Mixed berries, beetroot, and a splash of pomegranate juice.
  • Tropical Twist: Pineapple, mango, kale, and coconut water.

Key Takeaways

  • Using a Ninja blender for juicing is an excellent alternative to traditional juicing, offering a beverage with more fiber.
  • Always start with liquids, add soft ingredients, then the hard ones, and use the pulse feature before blending on high speed.
  • Straining the juice is optional but recommended for those who prefer a smoother texture.
  • Be mindful of flavor balancing, chilling your produce, and using add-ins for enhanced taste and health benefits.
  • Clean your Ninja blender immediately after use to maintain its longevity and performance.
  • Follow safety precautions to ensure a safe and enjoyable juicing experience.

By following this guide, you’ll be able to unlock the full potential of your Ninja blender for juicing, making delicious and nutritious beverages right at home. Whether you’re a seasoned juicer or new to the game, TheKitchenApplianceDad.com is here to help you blend your way to better health. Cheers to your next glass of homemade juice!
Meet

Dale

Hi, I'm Dale! With over ten years in high volume restaurants, my journey has taken me through the ins and outs of using, maintaining, and even repairing virtually every kitchen appliance imaginable.

I'm here to share simple, straightforward advice to help you choose and use your kitchen tools effectively. No fluff, just the essential info you need to cook up a storm.