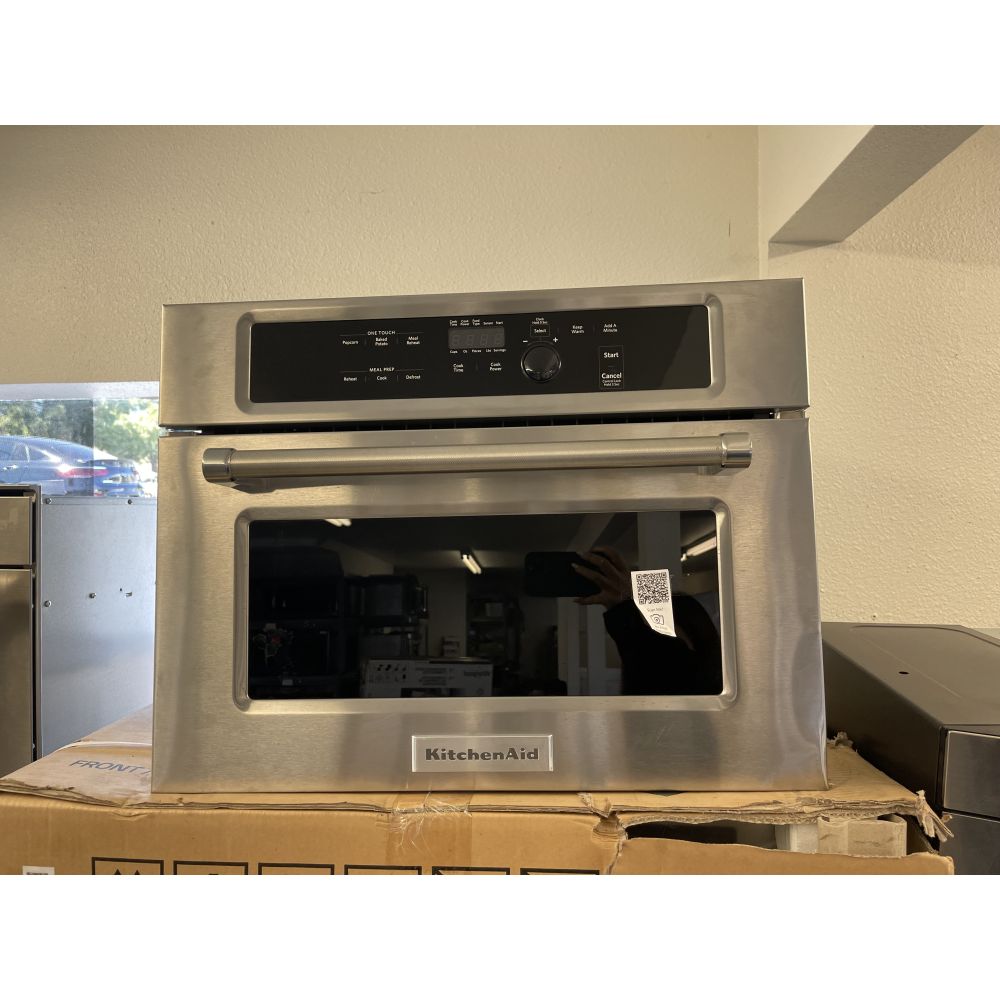
Welcome to TheKitchenApplianceDad.com, your go-to source for all things related to kitchen appliances. Today, we’re diving into a common issue many homeowners face with their microwaves: a broken handle. Specifically, we’ll focus on KitchenAid microwaves, known for their reliability and stylish designs. However, even the best appliances need a bit of TLC from time to time. So, if you find yourself with a loose or broken handle on your KitchenAid microwave, this guide is for you.
Before we jump into the repair process, it’s important to understand why microwave handles may break or become loose over time. Frequent use, accidental impacts, or material fatigue can all contribute to this issue. A broken handle not only makes it difficult to open and close the microwave but can also be a safety hazard, especially if it detaches unexpectedly.
To begin the repair, gather the following tools and materials:

Safety first! Always unplug the appliance before attempting any repairs to avoid the risk of electric shock.
Gently open the microwave door to access the handle area. Depending on your model, the handle might be attached from the inside of the door or have hidden screws under covers.
Examine the door to locate the screws holding the handle in place. In some KitchenAid models, you might need to pry open a cover or seal to access the screws. Use a thin tool like a flathead screwdriver for this purpose, but be gentle to avoid damaging the surface.
Using the Phillips screwdriver, remove the screws that secure the handle to the door. Keep these screws in the small bowl you’ve prepared, as you’ll need them to attach the new handle.
Take the new handle and align it with the mounting holes on the door. Secure it by reinserting the screws you removed earlier. Make sure the screws are tight enough to hold the handle firmly in place but avoid overtightening, as this could damage the threads or the handle itself.
Once the new handle is attached, test it by opening and closing the door several times. This is to ensure that the handle is securely attached and functioning correctly.
With the new handle firmly in place, clean any fingerprints or debris from the repair process off the microwave door. Plug the microwave back in and give it a final test to make sure everything is working as it should.
Repairing a KitchenAid microwave handle is a straightforward task that you can usually complete in under an hour with the right tools and a bit of patience. Not only does this save you the cost of a service call, but it also extends the life of your appliance.
Thanks for following this guide on TheKitchenApplianceDad.com. With a little know-how and effort, your KitchenAid microwave should be back in top shape in no time!

