
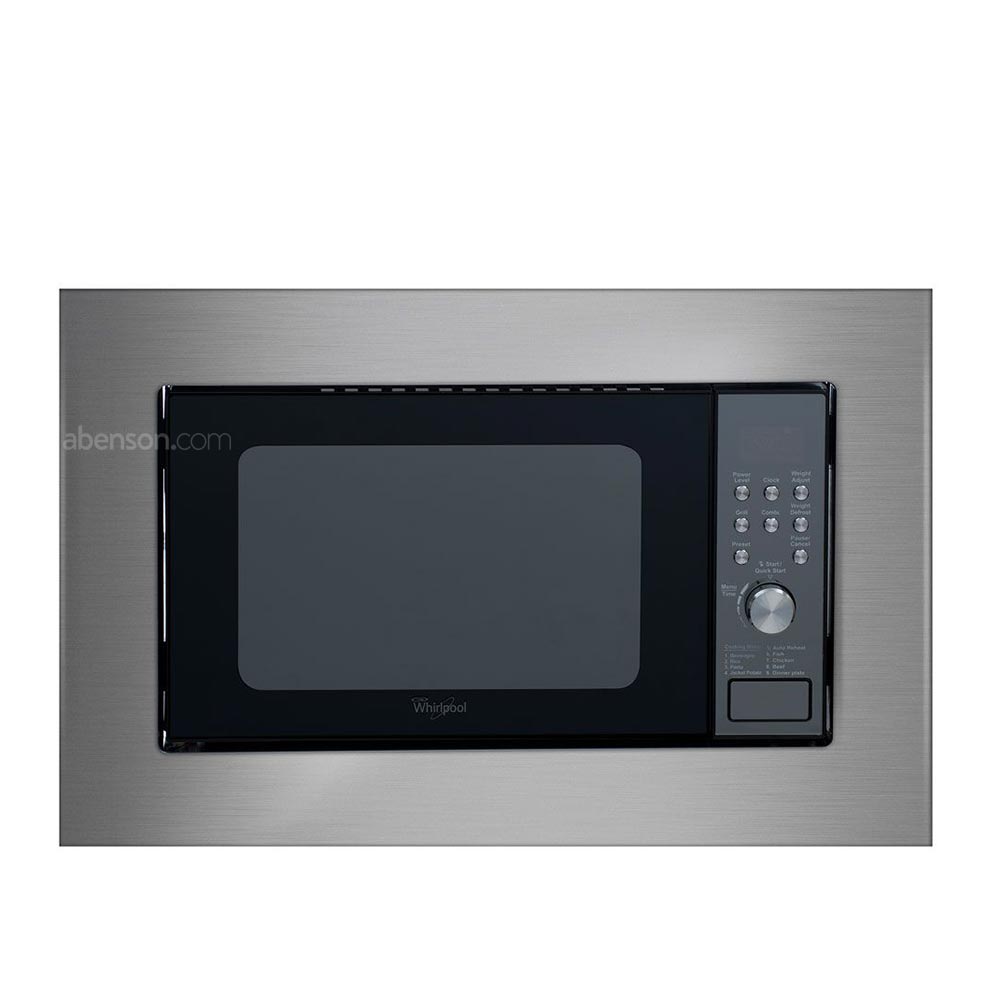
Welcome to another detailed guide from TheKitchenApplianceDad.com. Today, we’re diving into the process of safely removing a built-in Whirlpool microwave from your kitchen setup. This task might seem daunting at first, but with the right tools and a clear step-by-step approach, you can handle it like a pro.
Before you begin the removal process, it’s crucial to gather all necessary tools and ensure safety measures are in place. Here’s what you’ll need:
Safety first! Ensure that the microwave is completely disconnected from the power supply. This can usually be done by unplugging the unit or turning off the circuit breaker that powers the microwave. This step is crucial to prevent any electrical accidents.
The next step involves removing the microwave’s grill. This part is typically located above the microwave door and secured with screws. Use your screwdriver or drill to remove these screws and gently take off the grill. Keep all screws in a safe place as you might need them later if you plan to reinstall the microwave.
Most built-in microwaves are held in place by screws that attach them to the cabinetry or a frame. Look for these screws inside the cabinet above the microwave. You might need to remove some items from the cabinet to access these screws better. Once located, use your screwdriver to loosen and remove the screws.
Note: Be cautious during this step, as the microwave will begin to loosen from its place. It’s advisable to have your helper ready to support the weight of the microwave to prevent it from falling.
After the screws are removed, you can begin to carefully slide the microwave out of its housing. It’s important to do this gently and steadily to avoid damaging the surrounding cabinetry and the microwave itself.
Tip: At this point, having your helper stabilize the appliance as you guide it out can be incredibly helpful. You may also want to place a support, like a sturdy box or a small table, underneath the microwave to support it as you remove it completely.
Once the microwave is partially out, check for any cables or ventilation attachments that are still connected. Depending on your specific model, you may have a ventilation duct or a power connector that needs to be detached. Handle these connections carefully, following any specific instructions from your Whirlpool manual. If you’re unsure, consulting the official Whirlpool support site for a manual can be very helpful.
With all connections detached, you can now remove the microwave completely. Make sure the path is clear, and carefully move the microwave away from its installation spot. Congratulations, you’ve successfully taken down your built-in Whirlpool microwave!
After removing the microwave, you might notice some dust or debris left behind in the cabinet or on the wall. Take this opportunity to clean the area thoroughly. If you’re planning to install a new microwave or another appliance, ensure the space is prepared and meets the installation requirements for the new unit.
Removing a built-in appliance like a Whirlpool microwave might seem like a professional-only job, but with the right tools and precautions, it’s certainly something you can do yourself. By following these steps, you ensure a safe and successful removal of your appliance. Remember, if at any point the task seems overwhelming, it’s wise to consult with or hire a professional. Safety and proper handling are paramount. Happy DIY-ing from all of us at TheKitchenApplianceDad.com!

