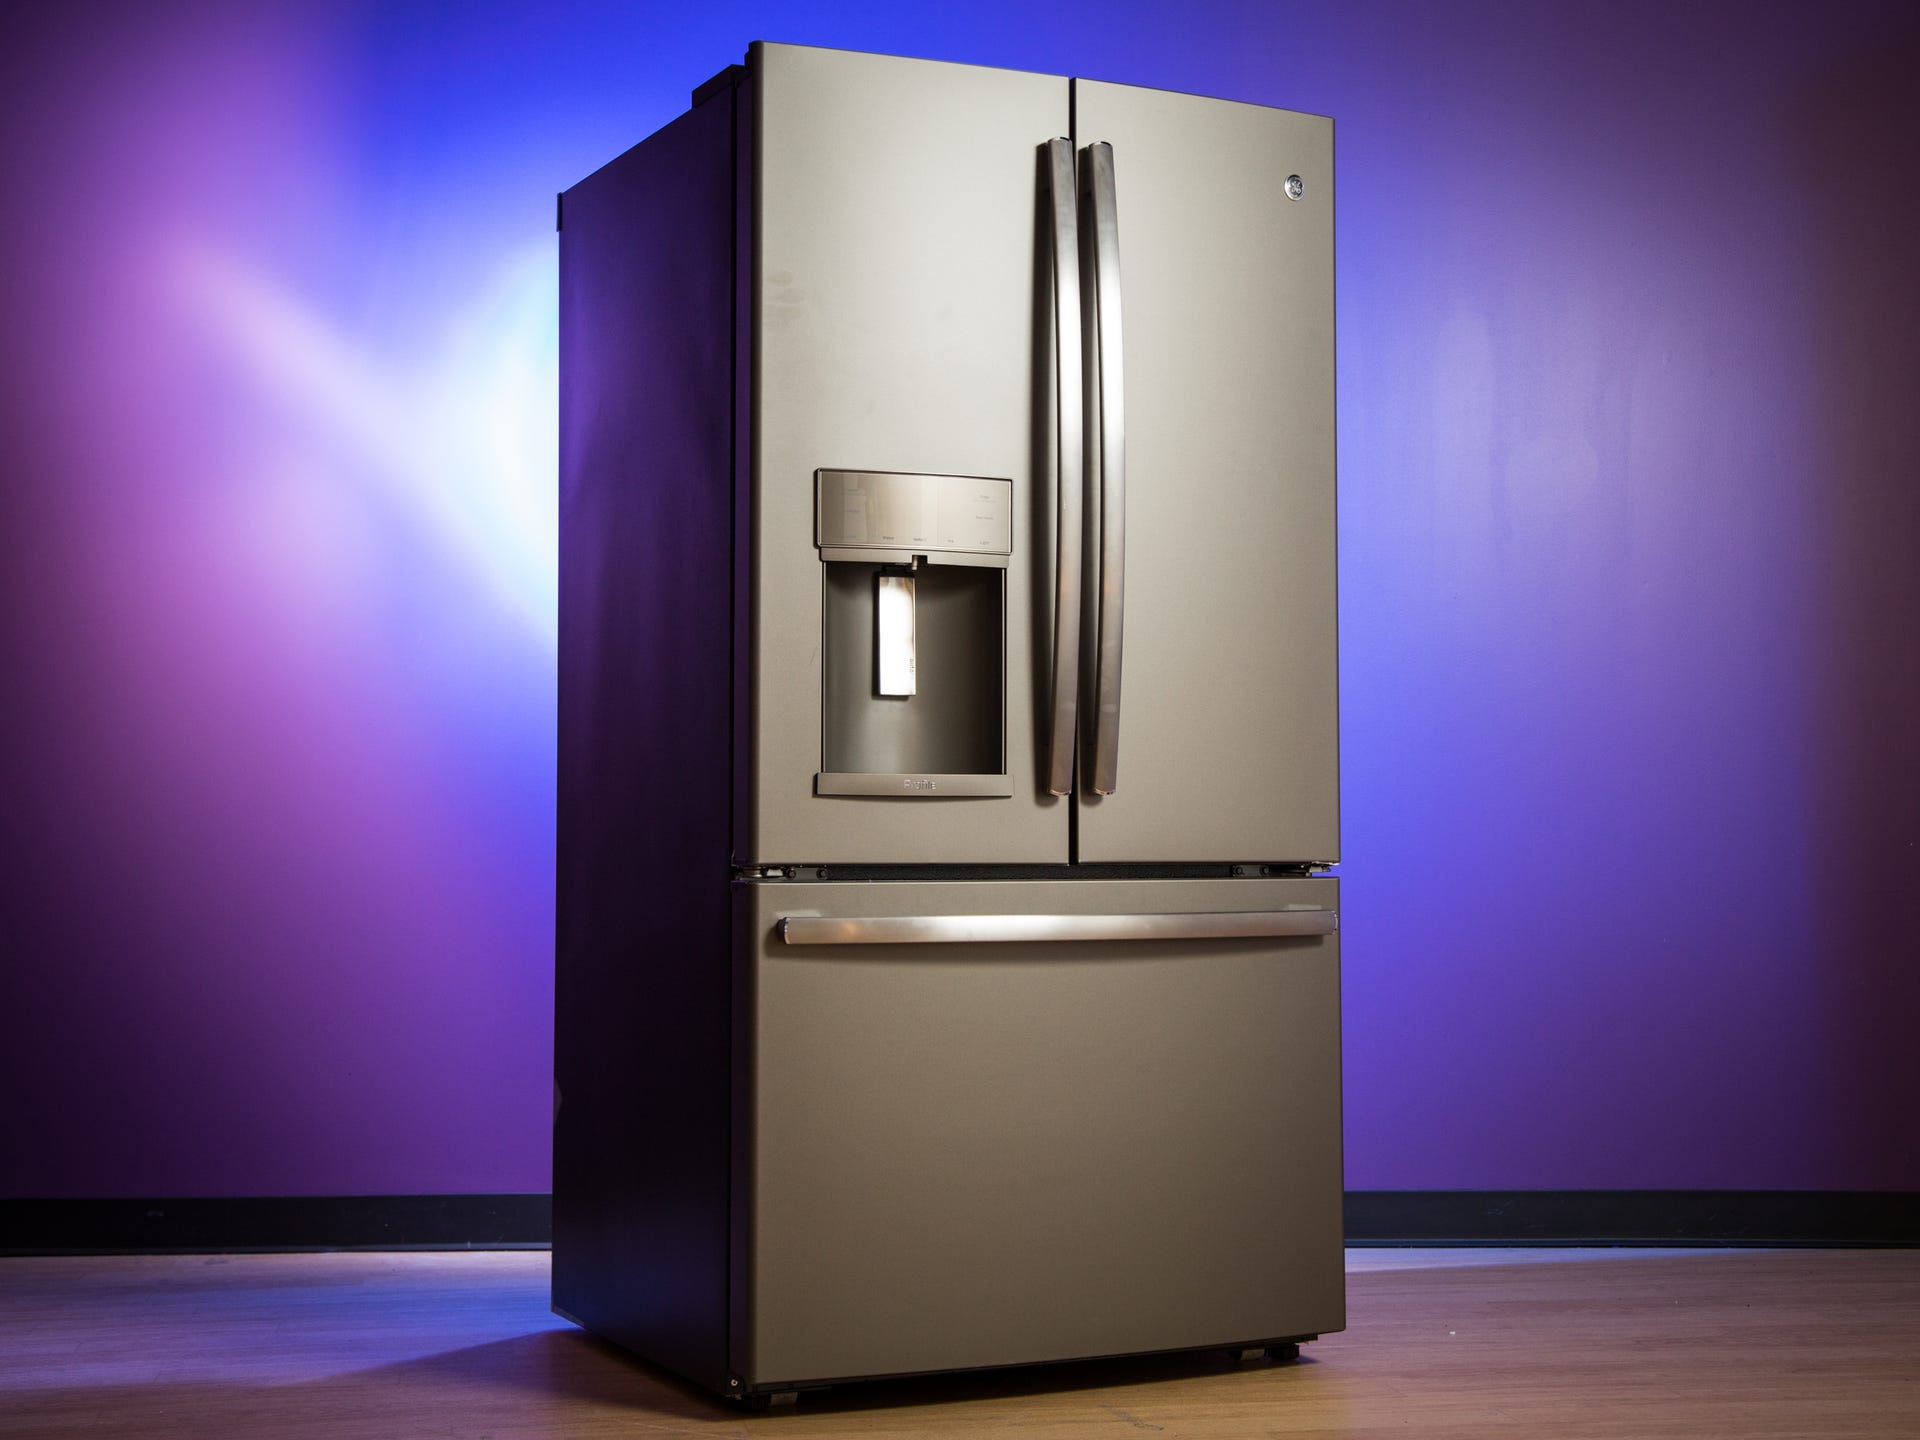
Maintaining the freshness of your water and ice from your GE refrigerator involves regular replacement of the refrigerator’s water filter. It’s a simple maintenance task that ensures your appliance operates efficiently and keeps your water tasting clean and fresh. At TheKitchenApplianceDad.com, we understand that dealing with appliance maintenance can sometimes be daunting. That’s why we’ve put together this comprehensive guide to help you change the water filter in your GE fridge effortlessly.
The water filter in your GE refrigerator plays a crucial role in removing contaminants and impurities from your water, such as chlorine, lead, and other particulates. This not only improves the taste and smell of your water and ice but also protects your health. Over time, the filter becomes clogged with particles and loses its effectiveness, making it important to replace it regularly, typically every six months.

Before you can change your filter, you need to know which type of filter your model uses and where it is located. GE refrigerators usually have the model number on a sticker inside the fridge, commonly found on the wall behind the crisper drawers. Once you have your model number, you can refer to your owner’s manual or visit the GE Appliances website (GE Appliances) to find the specific filter type and location for your model.
GE fridges typically use one of the following types of water filters:
The location of your water filter can vary depending on your GE fridge model. It’s typically found in the upper right-hand corner inside the refrigerator compartment, or within the base grille.
Before you remove the old filter, it’s a good idea to turn off the icemaker to prevent it from cycling while you’re changing the filter. You might also want to place a towel under the filter area to catch any water that might drip out.
For filters located in the interior:
For filters located in the base grille:
Remove the protective cap from the new filter and insert it into the slot. For twist filters, push it in slightly and twist it a quarter-turn clockwise until it locks into place. For push filters, simply push the new filter in until it clicks.
After installing the new filter, flush out the system to clear out any impurities or trapped air. Dispense and discard about two gallons (or approximately four minutes) of water through the water dispenser. This also helps to ensure that the system is functioning properly and the water tastes fresh.
If your GE fridge has a filter replacement indicator, reset it according to the instructions in your owner’s manual. This usually involves pressing and holding a button for a few seconds.
Once you’ve replaced the filter and reset the indicator, turn the icemaker back on. It might take a few cycles for the icemaker to produce ice again, so don’t worry if it doesn’t start immediately.
By following these simple steps, you can easily change the water filter in your GE fridge, ensuring that you continue to enjoy fresh and clean tasting water and ice. Remember, keeping up with this simple maintenance can significantly improve the quality of the water in your home. Stay tuned to TheKitchenApplianceDad.com for more tips and advice on keeping your kitchen appliances running smoothly.

