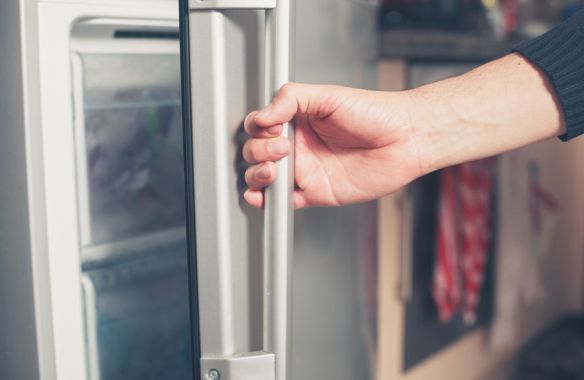
When it comes to maintaining or cleaning your refrigerator, one area that might need a bit of extra attention is the door handle. Over time, refrigerator door handles can accumulate dirt, grime, and bacteria, not to mention the potential issues if the handles become loose or damaged. Whether you’re deep cleaning your appliance, replacing a broken handle, or removing it for a sleeker look, understanding how to properly remove the refrigerator door handles is essential. In this detailed guide from TheKitchenApplianceDad.com, we’ll walk you through the steps and considerations for removing door handles from various types of refrigerators.
Before diving into the “how,” it’s important to understand the “why.” Here are a few reasons you might need to remove the handles from your refrigerator:

Before you start the removal process, gather the necessary tools. The type of tools you’ll need can vary based on the refrigerator model and handle type, but here are some common ones:
The first and most crucial step is to check your refrigerator’s user manual. Different brands and models might have specific mechanisms or screws that hold the handle in place. The manual should provide detailed instructions tailored to your specific model.
Most refrigerator handles are attached either by screws or by a set of clips and caps. In some cases, there might be a combination of both. Identifying the type of attachment will guide you on the appropriate tools and methods to use.
If your refrigerator handle has cover caps, these are usually designed to hide the screws for aesthetic purposes. Carefully pry off the caps using a flathead screwdriver or a putty knife, making sure not to scratch the surface.
Using the appropriate screwdriver or Allen wrench, turn the screws or bolts counterclockwise. Keep a firm grip on the handle as you remove the last screw to prevent it from falling.
Once the screws are removed, the handle might need to be slid up or down to be released from any clips holding it in place. Some models require a slight lifting or tilting motion to detach the handle from the mounting site.
After removing the handle, store it in a safe place if you plan to reattach it after cleaning or moving. If you’re replacing the handle, ensure that the new handle is compatible with your refrigerator model.
Once the handle is removed, it’s a good opportunity to clean both the handle and the area of the door where it was attached. Use a mild detergent or baking soda solution to clean, and dry thoroughly before reattaching the handle or attaching a new one.
Removing refrigerator door handles might seem daunting at first, but with the right tools and a careful approach, it can be a straightforward task. Whether you’re doing it for maintenance, aesthetic reasons,or out of necessity, knowing how to remove and reattach these components is a valuable skill for any homeowner. Always prioritize safety and refer back to your refrigerator’s user manual for the best results. Happy fixing, from all of us at TheKitchenApplianceDad.com!

