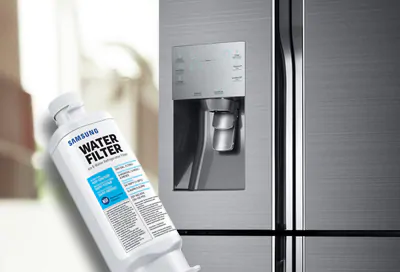
Replacing the water filter in your Samsung refrigerator is a crucial maintenance task that not only ensures you have clean, fresh-tasting water but also helps your appliance function at its best. At TheKitchenApplianceDad.com, we understand the importance of keeping your kitchen appliances in top shape, and today, we’re focusing on how you can easily replace the water filter in your Samsung fridge.
Why Replace Your Samsung Refrigerator Water Filter?
Before we dive into the step-by-step guide, let’s discuss why regularly changing your water filter is essential:
- Health Benefits: A clean filter helps remove contaminants and impurities from your water, which can include chlorine, lead, and other unwanted chemicals.
- Taste Improvement: Regular replacement of your water filter ensures that your water and ice taste clean and refreshing.
- Appliance Efficiency: Keeping your water filter fresh can prevent clogging and strain on your refrigerator, helping to extend its life.

Identifying the Right Water Filter
Samsung refrigerators use various filter models, depending on the refrigerator model. To ensure you purchase the correct filter, you can:
- Check the Refrigerator Model Number: This is usually found inside the refrigerator on the walls. Use this model number to find the corresponding filter.
- Look at Your Current Water Filter: The filter itself might have a part number or model number on it.
- Refer to Your User Manual: This manual should list the specific filter type required for your model.
Alternatively, Samsung’s official website offers a filter finder tool that can help you find the exact match for your refrigerator.
Tools and Materials Needed
- New Samsung Water Filter
- Towel or Small Container (to catch any drips when removing the old filter)
Step-by-Step Guide to Replacing Your Samsung Fridge Water Filter
Step 1: Prepare Your Refrigerator
- Safety First: Ensure that your hands are dry. Although you won’t need to turn off the water supply to change the filter, it’s good practice to ensure there’s no water on the floor.
- Locate Your Filter: Most Samsung refrigerator filters are located inside the refrigerator, either in the middle of the ceiling, the back upper-right corner, or the base grille.
Step 2: Remove The Old Filter
- Twist to Remove: If your filter is located in the upper right hand corner or the ceiling, grasp the filter and make a quarter-turn to the left. On some models, you might have a button to release the filter.
- Pull Out the Filter: After twisting, gently pull the filter downward (or out, depending on the model) and completely remove it from the housing. Have your towel or container ready in case water drips out.
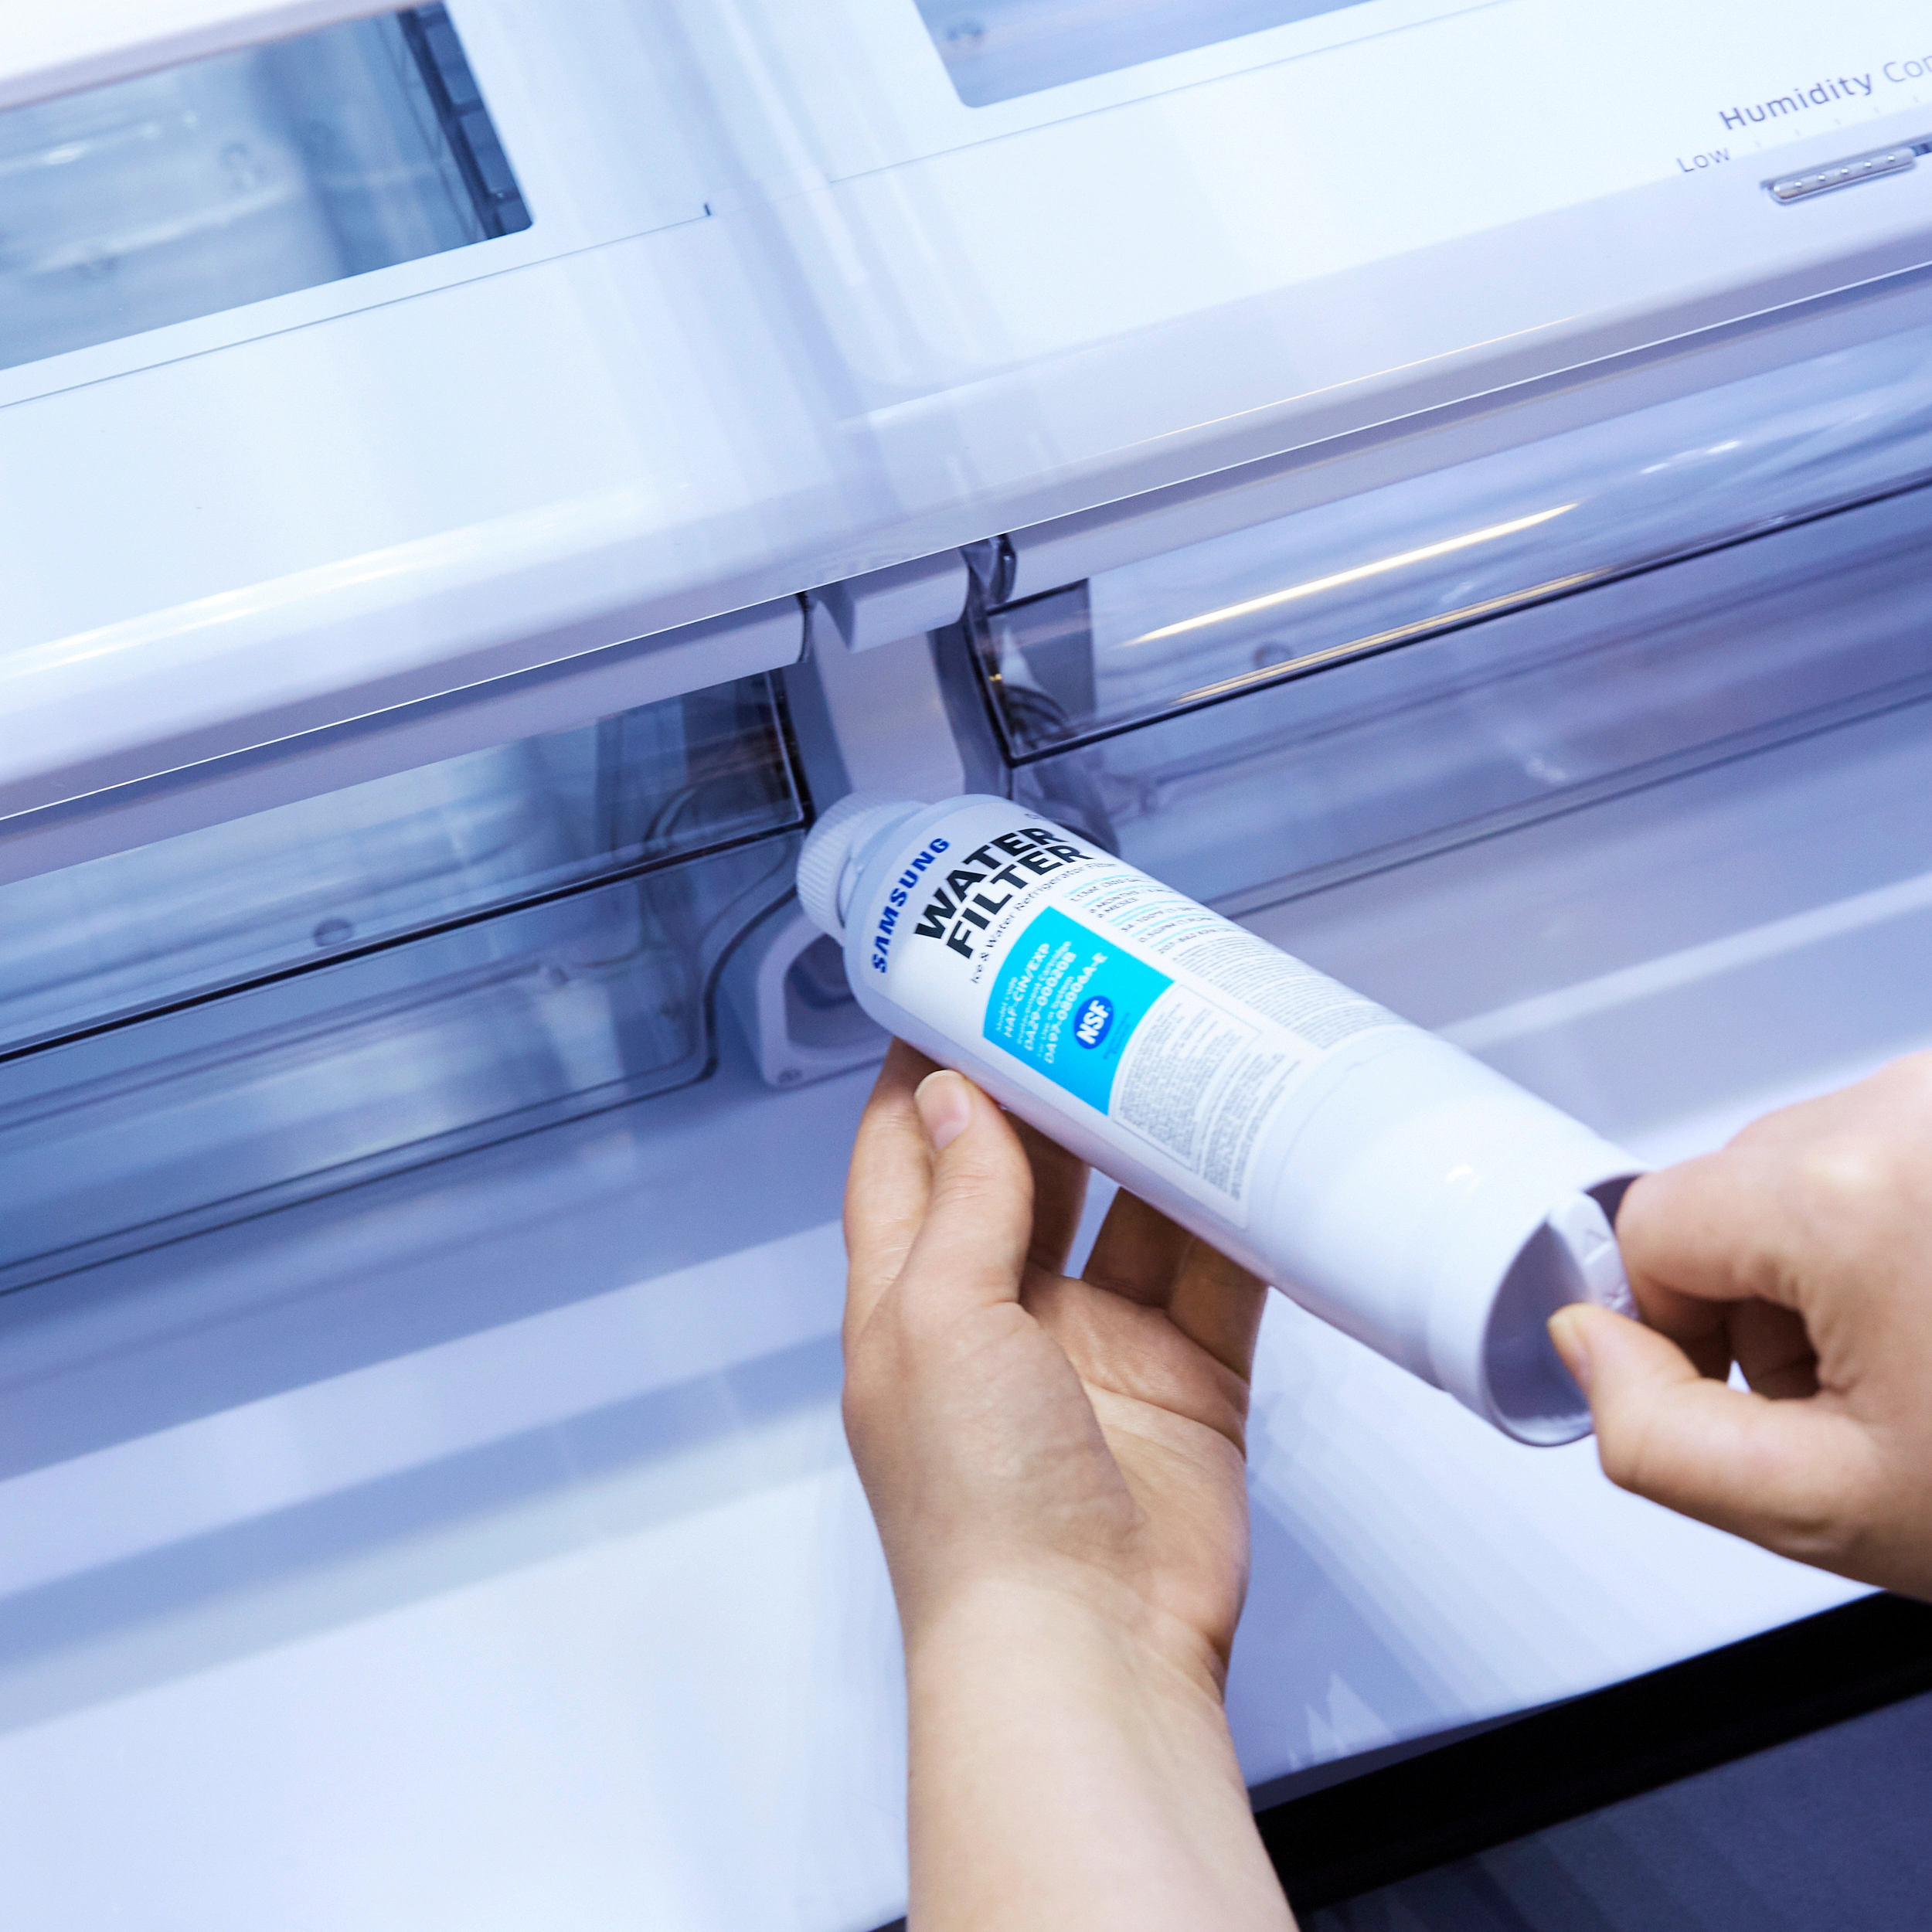
Step 3: Install the New Filter
- Remove Protective Cap: Your new Samsung water filter will have a protective cap covering the o-rings. Remove this cap before installation.
- Insert and Twist: Place the top part of the filter into the filter housing and push up. Then twist it right, securing it in place.
- Check for Leaks: Once installed, check around the filter for any signs of leaking. If you notice a leak, it might mean the filter isn’t fully twisted in place.
Step 4: Flush the New Filter
- Run Water Through: Dispense water for about 5 minutes or around 3 gallons to clear out the system. This process helps remove any carbon fines or trapped air in the new filter.
- Reset Filter Indicator: If your Samsung refrigerator has a filter indicator light, you will need to reset it. Usually, this is done by pressing and holding a specific button (like the “Alarm” or “Filter Reset” button) for 3 seconds.
Regular Maintenance Tips
- Frequency of Replacement: It’s recommended to replace your Samsung water filter every 6 months, or more often if you notice a decrease in water flow or an odd taste to the water.
- Keep Track of Filter Changes: Keep a log of when you change your filter either on a digital calendar or a note on the fridge. This can help you keep track of when it’s time for a replacement.
Key Takeaways
- Check Compatibility: Ensure the water filter model is compatible with your Samsung fridge.
- Regular Replacement: Change your Samsung water filter every 6 months to maintain water quality and appliance efficiency.
- Proper Installation: Install the new filter properly by removing the protective cap, inserting it correctly, and checking for leaks.
- Maintenance Checks: Regularly check and reset the filter indicator to keep track of when a new filter is needed.
By following these simple steps and tips from TheKitchenApplianceDad.com, you can easily replace the water filter in your Samsung refrigerator, ensuring youand your family continue to enjoy clean and safe drinking water. Regular maintenance not only extends the lifespan of your refrigerator but also guarantees the best performance and efficiency. Remember, taking a little time to replace the filter every six months can save you from bigger problems down the line. Happy filtering!