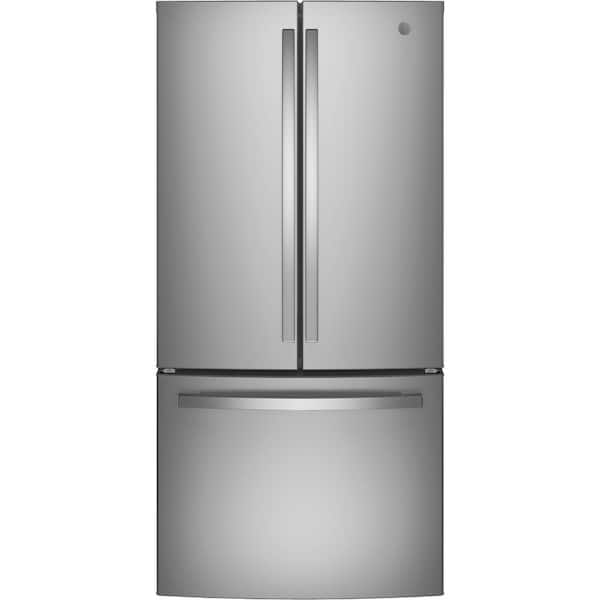
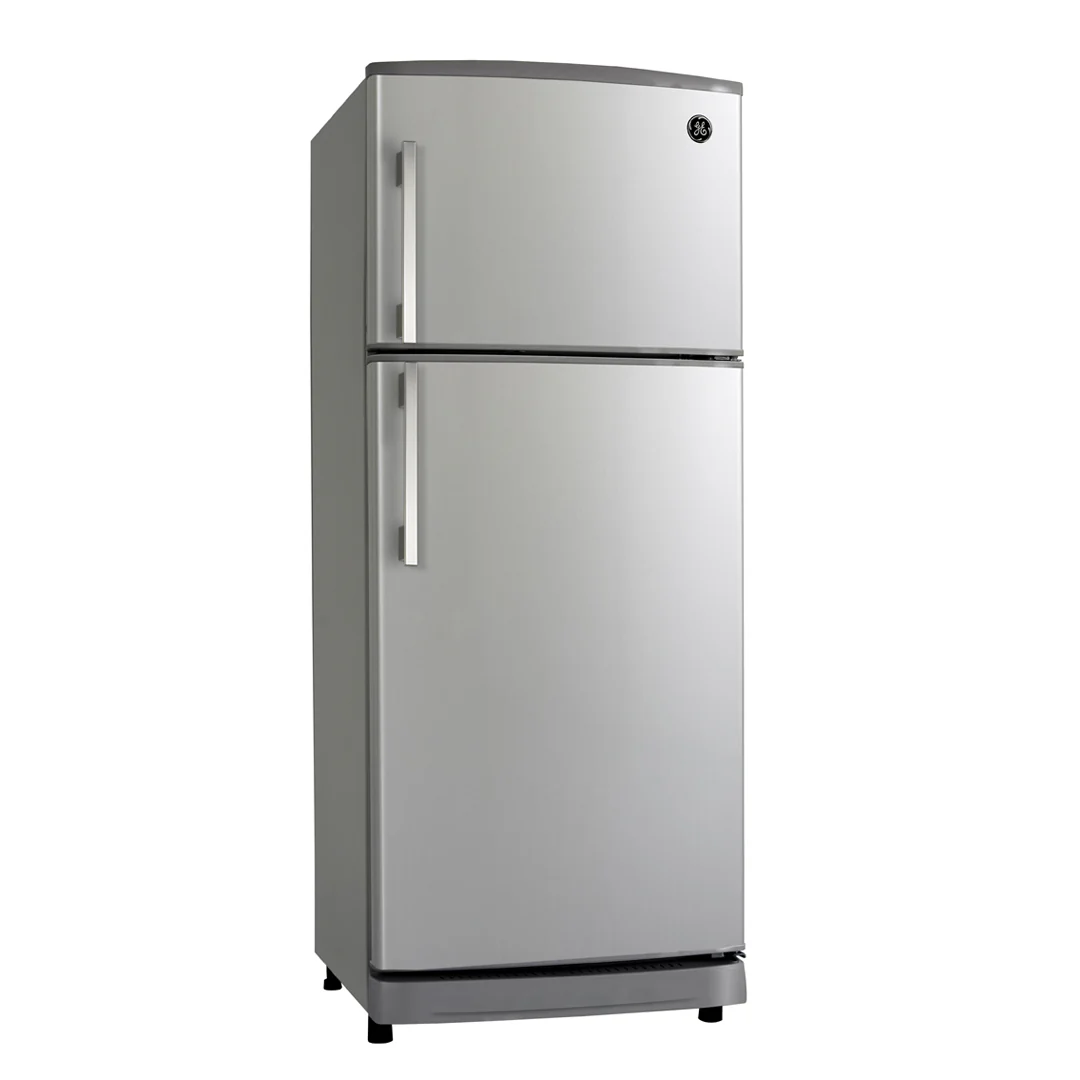
Welcome to another informative post from TheKitchenApplianceDad.com, where we aim to simplify your kitchen appliance issues with easy-to-follow guides and expert advice. Today, we’re diving into a common issue that many homeowners face: resetting a GE refrigerator. Whether your fridge is displaying an error code, not cooling properly, or you just installed a new water filter, resetting your GE refrigerator can often solve the problem. Below, I’ll guide you through the four easy steps to reset your GE refrigerator effectively.
Identify Your Refrigerator Model: Before beginning the reset process, it’s crucial to locate the control panel on your GE refrigerator. The location and style of the control panel might vary slightly depending on your model. Most newer models have their controls on the front panel, typically above the water and ice dispenser. Older models may have the control panel inside, on top of the refrigerator compartment.

Turn Off the Refrigerator: The next step in resetting your GE refrigerator is to power it down completely. You can do this in two ways:
Review the Display Panel: After turning your refrigerator back on, check the display panel for any error codes or warnings. GE refrigerators are equipped with self-diagnostic systems that display codes indicating specific issues. You can find what these codes mean and possible solutions in your user manual or on the GE Appliances website.
Adjust Settings if Necessary: This is also a good time to review and adjust any settings on your refrigerator. Perhaps you need to change the temperature settings, modify the operation modes, or reset the water filter indicator after replacing the filter.
Observe the Functioning: Once your GE refrigerator is back up and running, keep an eye on its functioning over the next 24 to 48 hours. Ensure it is cooling properly, making ice as expected, and that there are no new error codes appearing. If the issue persists or the fridge is not performing as expected, it may indicate a deeper problem requiring professional attention.
Consult a Professional if Needed: If resetting your refrigerator does not resolve the issue, it may be time to call in a professional. GE offers support services, or you can reach out to a local appliance repair professional. Always ensure that anyone you hire to work on your refrigerator is qualified and experienced with GE appliances.
To ensure you’ve got the essential points on how to reset your GE refrigerator, here’s a breakdown of the key steps:
Resetting your GE refrigerator is generally a simple process that can help resolve minor issues and restore optimal performance. However, if problems persist, don’t hesitate to consult with a professional for a more thorough examination. Remember, regular maintenance and timely attention to issues can significantly extend the life of your appliance.
For more tips, guides, and advice on kitchen appliances, keep following us here at TheKitchenApplianceDad.com. We’re here to help make your kitchen endeavors as smooth and hassle-free as possible!

