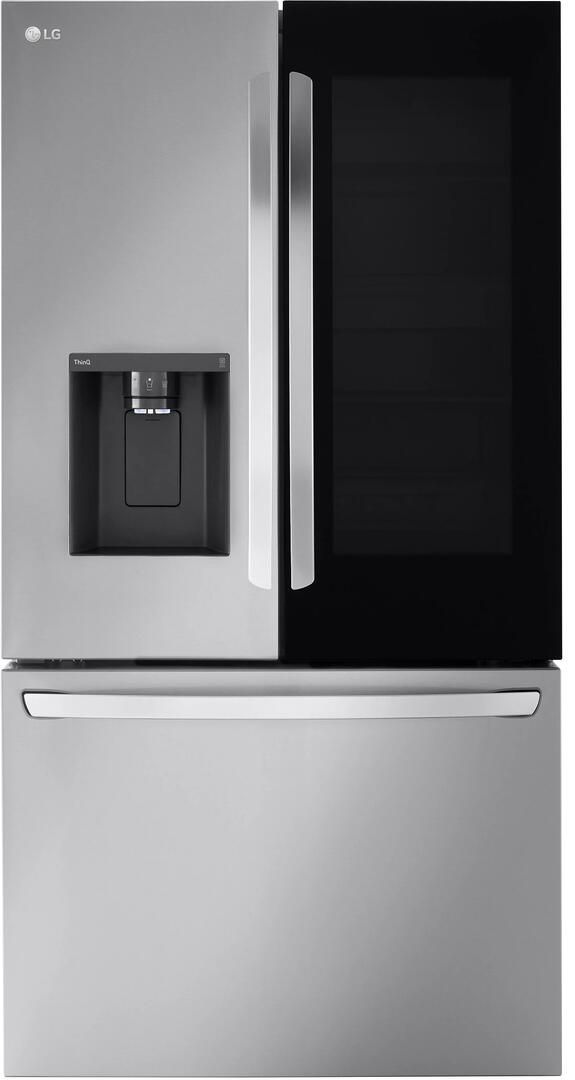
Welcome back to TheKitchenApplianceDad.com, where we make even the most daunting kitchen tasks seem like a breeze! Today, we’re tackling a common issue that might not be as complicated as it appears: switching the door on your Kenmore freezer from right to left. Whether you’re remodeling, moving your freezer to a new spot, or simply optimizing your kitchen’s layout, rehanging your freezer door can significantly boost functionality and accessibility.
Before we dive into the step-by-step guide, it’s crucial to confirm that your Kenmore freezer model supports reversible doors. Most modern Kenmore freezers do, but checking your specific model’s manual is a good starting point. If you’ve misplaced your physical copy, Kenmore manuals can often be found online at the Sears Parts Direct website.
Gather the following tools before starting the door reversal process:
Tip: Keep a small container or magnetic tray handy to hold screws and small parts once you remove them.

Safety first! Unplug your freezer to avoid any electrical hazards. Remove any items inside the door shelves and the freezer itself to prevent accidents and make the door lighter and easier to handle.
The top hinge cover is typically secured with one or two screws. Use a screwdriver to remove these screws and lift the hinge cover off. Be careful to keep all screws and parts together in your container.
Using your screwdriver or adjustable wrench, loosen the bolts or screws holding the top hinge in place. Once removed, carefully lift the door off the bottom hinge and set it aside in a safe location.
Your freezer will have hinge plugs on the opposite side where the door needs to be reattached. Remove these plugs and insert them into the holes where the hinges were originally installed. These plugs are typically plastic and can be pried out and pushed in by hand or with the flathead screwdriver.
Now, align the door onto the bottom hinge of the opposite side. Ensure it sits correctly and securely. Attach the top hinge to the top of the door and secure it with the screws or bolts you removed earlier. Use your level to make sure the door is not leaning and is properly aligned.
Place the top hinge cover back on and secure it with the previously removed screws. Ensure it is snug and properly aligned with the overall design of the freezer.
Once the door is installed, check the seal alignment. A proper seal ensures efficient operation and energy conservation. Adjust the hinges slightly if you notice any gaps or misalignment that could affect the seal.
After everything is reassembled, plug your freezer back in and monitor it for a few hours to ensure it’s working correctly. Check that the door opens and closes smoothly and that the freezer is cooling as expected.
By following these detailed instructions, you should feel confident in successfully switching the door on your Kenmore freezer to the left, enhancing the functionality and efficiency of your kitchen space. Remember, a well-organized kitchen leads to a happier home cooking environment! For more tips and tricks on handling kitchen appliances, keep visiting us here at TheKitchenApplianceDad.com.

