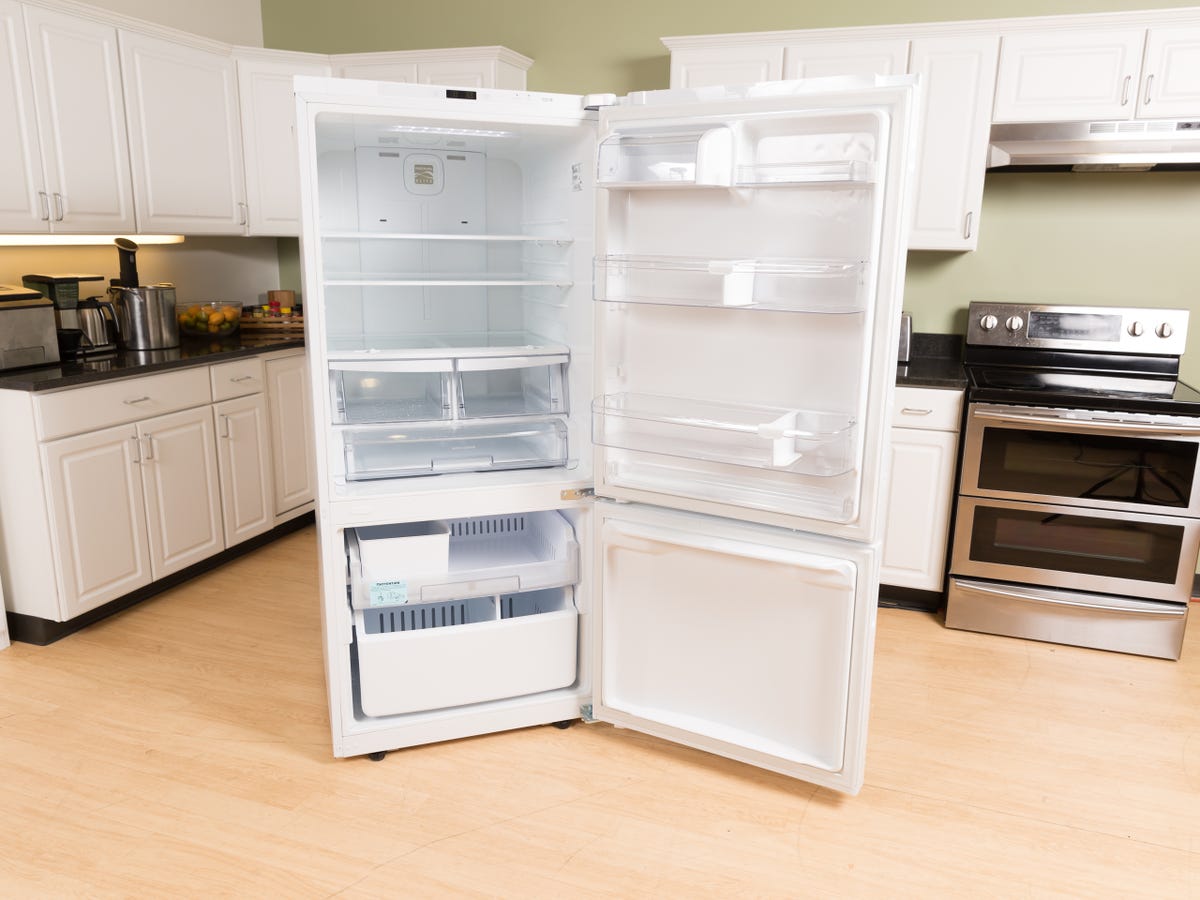
When it comes to maintaining or cleaning your refrigerator, one task that might seem daunting is detaching and reattaching the freezer door of your Kenmore Elite refrigerator. This high-end appliance, known for its durability and sleek design, features a bottom freezer that is quite handy when it comes to accessibility and storage. However, whether you’re moving house, cleaning, or replacing a part, knowing how to properly handle the freezer door is crucial. In today’s post on TheKitchenApplianceDad.com, we’ll guide you through the steps to safely detach and reattach the bottom freezer door of your Kenmore Elite refrigerator.
Before you begin, it’s important to identify your specific Kenmore Elite refrigerator model. This information can usually be found on the inside of the refrigerator, near the top on a label. Knowing your model will help you understand any model-specific instructions or precautions. You can also refer to your user manual or visit Kenmore’s official website for specific details about your model.
To start, gather the necessary tools. Typically, you will need:

For safety purposes, always unplug the refrigerator from the power outlet before attempting any repairs or maintenance. This prevents any electrical accidents and also stops the cooling process, making it safer and easier to work on the appliance.
Clear out all items from your freezer. This not only makes the door lighter and easier to handle but also prevents any items from falling out and getting damaged during the process.
If your model has an ice maker or a water dispenser, you will need to disconnect the water line. Usually, this can be done at the connection point located at the bottom hinge. Use a wrench to carefully disconnect the line, and have a towel ready to catch any dripping water.
The top hinge cover of the freezer door can usually be pried off with a flat-head screwdriver. Remove this cover to expose the hinge screws.
Using your Phillips head screwdriver, remove the screws holding the top hinge in place. Make sure to support the door as you remove the last screw to prevent the door from falling.
With all screws removed, lift the freezer door off the bottom hinge. It’s best to have someone help you with this step to safely manage the weight of the door. Place the door on a towel or soft cloth to prevent scratching.
Carefully align the bottom of the door with the lower hinge and lower it into place. Ensure that it sits evenly and securely.
Place the top hinge back over the holes at the top of the door and replace the screws. Tighten them securely to ensure the door is firmly attached.
Reconnect the water line if you have a dispenser or ice maker. Make sure the connection is secure to prevent leaks.
Snap the hinge cover back into place, ensuring it fits snugly and securely.
You can now put all the items back into the freezer. Make sure to distribute the weight evenly to avoid putting unnecessary strain on the door.
Once everything is in place, plug the refrigerator back into the power outlet. Check the alignment of the door and make sure there is a proper seal to maintain the efficiency of the cooling system.
By following these steps, you can easily detach and reattach the bottom freezer door of your Kenmore Elite refrigerator, ensuring it continues to function efficiently. Whether you’re performing a deep clean, moving your appliance, or making a repair, handling the door correctly is crucial to maintaining the longevity and effectiveness of your Kenmore Elite. Remember, if you encounter any issues or feel unsure at any point, consulting a professional technician is always a wise decision. Stay tuned to TheKitchenApplianceDad.com for more practical tips and expert advice on handling your kitchen appliances with care.

