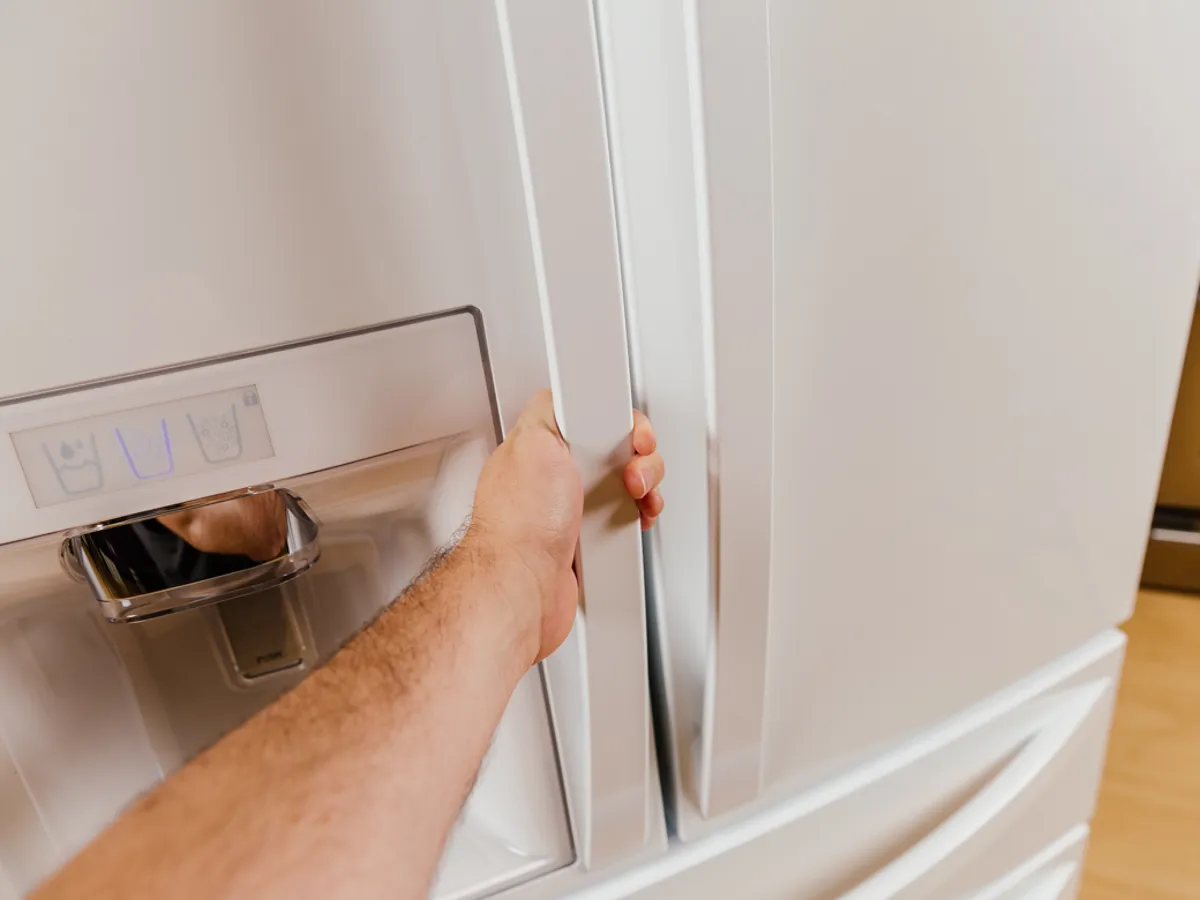
Welcome to another detailed guide from your go-to resource, TheKitchenApplianceDad.com. Today, we’re tackling a task that might seem daunting at first but is quite manageable with the right instructions: disassembling and reassembling a Kenmore freezer door. Whether you’re looking to replace a worn seal, fix a handle, or perform a thorough cleaning, this guide will walk you through each step of the process.
Before we dive into the how-to, let’s discuss why someone might need to disassemble their freezer door. Common reasons include:
To successfully disassemble and reassemble a Kenmore freezer door, you’ll need the following tools:
Ensure you have all these tools and materials ready before you start. It will save you time and make the process smoother.
Safety first! Always unplug the appliance before performing any repairs or maintenance to avoid any electrical hazards.
Gently open the freezer door. Using a screwdriver, remove the screws that hold the door handle in place (if your model has screws visible on the handle). Keep these screws in a safe place as you will need them for reassembly.
With the door still open, lift the door off its hinges. Depending on your Kenmore model, you may need an Allen wrench to loosen the bolts that hold the door on the hinges. Make sure to support the door with your hands firmly as you lift it off to avoid any damage.
Carefully place the door on a flat, protected surface to avoid scratching the front. This will give you better access to all parts of the door.
If you need to replace the seal or clean behind the inner panel, remove the screws that hold this panel in place using your screwdriver. Take care as some panels might have sharp edges.
Once any necessary repairs or cleaning are done, place the inner door panel back onto the door. Secure it by replacing and tightening the screws.
Carefully align the door back onto the freezer’s hinges. If you used an Allen wrench to remove it, use the same to secure it back in place. Make sure the door is properly aligned and opens and closes smoothly.
If you removed the handle, now is the time to put it back. Align it with the corresponding holes on the door and replace the screws, tightening them with your screwdriver.
Once everything is reassembled, plug the freezer back into the power outlet. Check the alignment of the door and ensure that it seals properly when closed.
Finally, check that the door opens and closes smoothly and that the handle is secure. It’s also a good idea to monitor the freezer’s temperature for the next few hours to ensure everything is working correctly.
Let’s recap the essential points covered in this guide on disassembling and reassembling a Kenmore freezer door:
By following these steps, you can confidently tackle the task of disassembling and reassembling your Kenmore freezer door, whether for maintenance, cleaning, or repair. Visit TheKitchenApplianceDad.com for more helpful guides and tips on managing your home appliances efficiently and safely.

