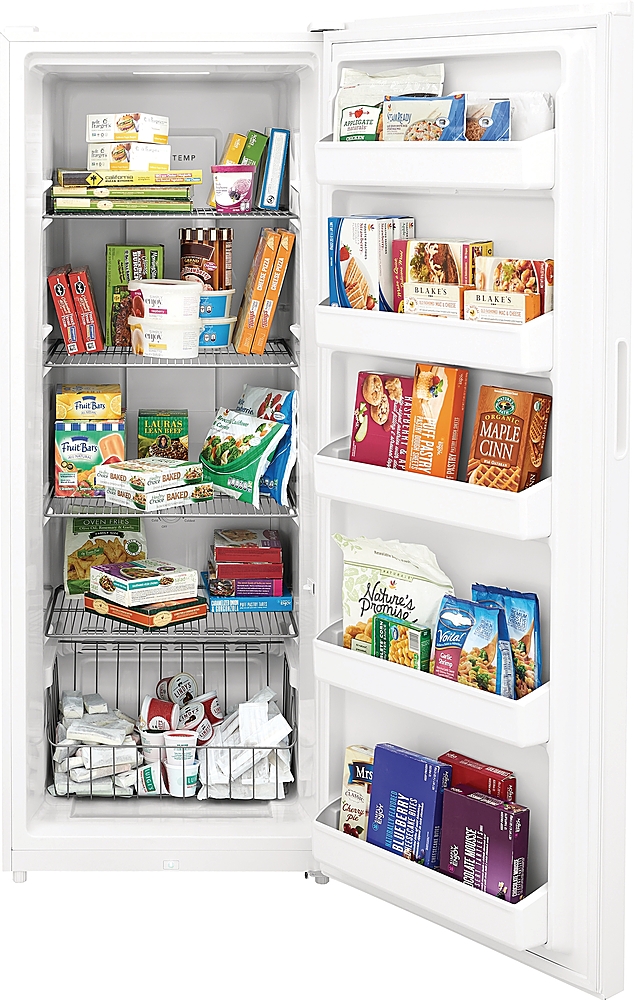
When it comes to maintaining the efficiency and longevity of your Frigidaire upright freezer, ensuring it is properly leveled and stable is paramount. An uneven freezer can lead to a multitude of problems, including improper door sealing, excessive noise, and uneven cooling. At TheKitchenApplianceDad.com, we understand the importance of keeping your appliances in top shape, so let’s dive into the step-by-step guide on how to keep your Frigidaire upright freezer level and stable.
Understanding the Importance of a Level Freezer
Before we get into the specifics, it’s crucial to understand why keeping your freezer level is so important. A freezer that isn’t level can lead to:
- Inefficient Sealing: The door may not close properly, leading to air leaks and increased energy consumption.
- Vibration and Noise: An uneven freezer can cause it to operate more loudly and vibrate, which can be both annoying and harmful to the unit.
- Irregular Frost Build-up: Uneven cooling can cause frost to accumulate more on one side than the other, which affects performance and efficiency.
Tools You’ll Need
To level your Frigidaire upright freezer, you will need:
- A bubble level
- An adjustable wrench or pliers
- A flashlight (optional, for better visibility)

Step-by-Step Guide to Leveling Your Freezer
Step 1: Unplug and Empty the Freezer
Safety first! Ensure the freezer is unplugged and empty. Removing items will make it easier to move and adjust without causing damage to the contents or shelves.
Step 2: Check Initial Level
Place the bubble level on top of the freezer in the center. Check both the side-to-side and front-to-back level. This initial check will give you an idea of which way the freezer is tilting.
Step 3: Adjust the Legs
Most Frigidaire upright freezers come with adjustable legs or rollers. These can be turned clockwise or counterclockwise to raise or lower the corners of the freezer.
- Front Legs: Start with the front legs. Use your wrench to adjust these. Turn clockwise to raise that corner of the freezer, or counterclockwise to lower it.
- Rear Legs/Rollers: Some models also have adjustable rear legs or rollers. Adjust these in the same way as the front if needed. You might need to tilt the freezer slightly or use a flashlight to see the rear legs better. Be cautious and ensure you have someone to help if the unit needs to be tilted.
Step 4: Re-check Level
Place the level back on top of the freezer and check again. You may need to repeat adjustments several times to get it perfectly level both side-to-side and front-to-back.
Step 5: Secure the Freezer and Plug it In
Once the freezer is level, ensure it is situated where it won’t easily move. If your model has locking rollers, ensure they are engaged. Plug the freezer back in, and carefully restock your items.
Additional Tips for Freezer Stability
- Location: Choose a location where the floor is even and stable. Avoid placing your freezer on carpet or uneven tiling.
- Avoid Overloading Doors: Placing too many heavy items in the door shelves can cause the freezer to tilt forward over time. Keep heavier items lower in the main compartment.
- Regular Checks: Periodically check the level of your freezer to ensure that it remains stable over time. This is especially important if you notice any changes in noise or door function.
Troubleshooting Common Issues
- Excessive Vibration: If the freezer continues to vibrate after leveling, check to see if any items inside are causing the imbalance. Also, ensure that the internal components like the shelves are correctly installed.
- Door Not Sealing: If the door won’t seal even after leveling, check the door seals for any food particles or damages that might prevent it from closing properly.
Key Takeaways
- Ensure Safety: Always unplug the freezer before making adjustments.
- Use Proper Tools: A bubble level and an adjustable wrench or pliers are essential.
- Check Both Directions: Level both side-to-side and front-to-back.
- Stabilize Location: Keep the freezer in a stable, even location and avoid overloading the door.
- Maintenance: Regularly check your freezer’s level and stability.
By following these detailed steps, you can ensure that your Frigidaire upright freezer operates efficiently and lasts for years. Remember, taking a little time to make sure your freezer is properly set up can save you time and money in the long run by preventing unnecessary wear and tear. For more tips on appliance maintenance and troubleshooting, keep reading TheKitchenApplianceDad.com.


