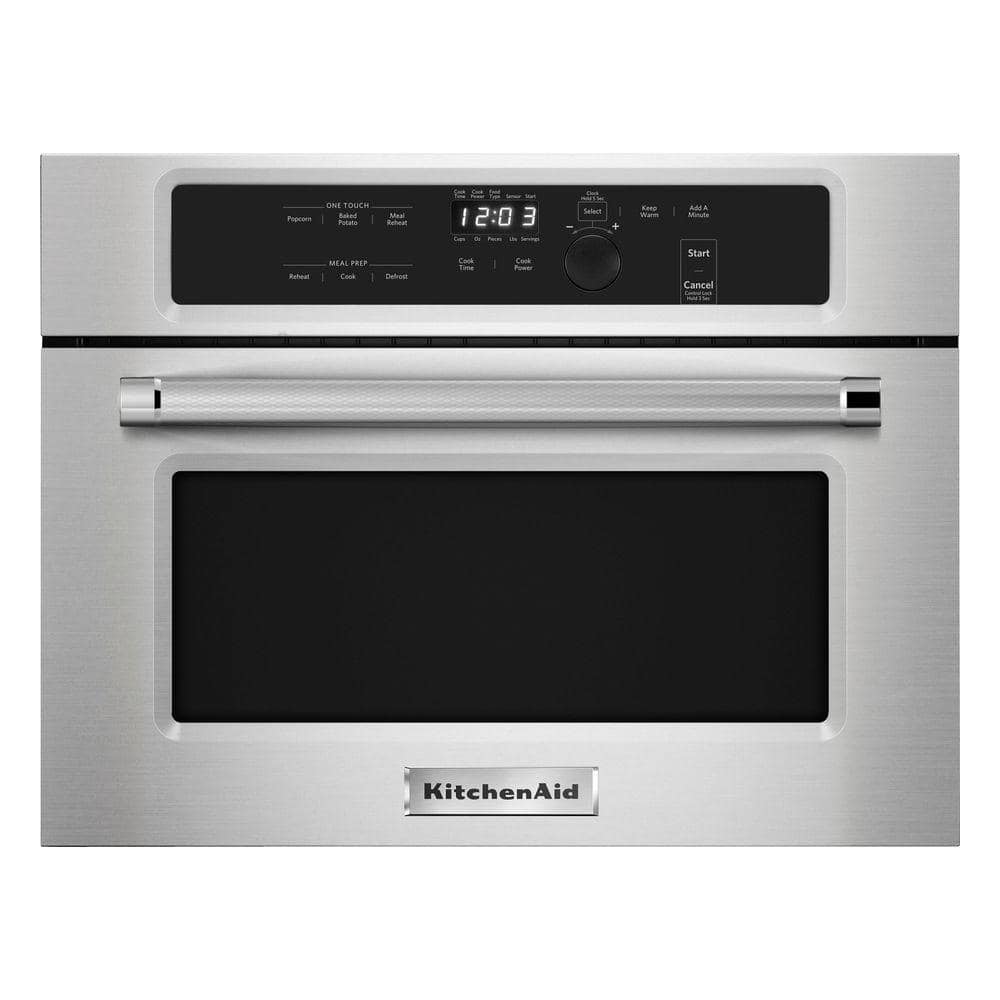
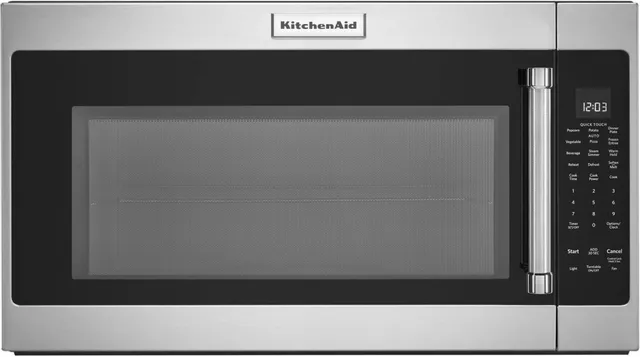
In today’s comprehensive guide, we’re tackling a common household conundrum: KitchenAid Microwave Troubleshooting. KitchenAid is a trusted brand renowned for its high-quality kitchen appliances, but even the best appliances can run into issues from time to time. If your KitchenAid microwave is not performing as expected, you’ve come to the right place for help. Let’s walk through an A-Z troubleshooting guide designed to get your microwave back in business.
Understanding the Basics of Your KitchenAid Microwave
Before we dive into troubleshooting, it’s essential to understand the basic components of your KitchenAid microwave. Familiarize yourself with the user manual for specific instructions tailored to your model. You can usually find this on KitchenAid’s official website by entering your model number.

A – Assessing the Problem
Common Issues
- Microwave Not Heating: If your microwave turns on but doesn’t heat, it could be an issue with the door switch, magnetron, or high voltage diode.
- Turntable Not Turning: A turntable that won’t turn could indicate a problem with the motor or the roller guide.
- Unusual Noises: Bizarre sounds can be traced back to a malfunctioning motor, a damaged turntable, or even debris in the fan.
- Control Panel Issues: Non-responsive buttons or display errors can be linked to control board problems or a faulty touchpad.
B – Basic Checks and Quick Fixes
Before you start tinkering with your microwave’s internals, perform these basic checks:
- Ensure it’s Plugged In: This might seem obvious, but it’s always worth double-checking.
- Check the Door Seal: A dirty or damaged door seal can prevent your microwave from functioning correctly.
- Test the Outlet: Plug another appliance into the same outlet to ensure there’s no electrical issue.
- Examine the Control Lock Feature: Some models have a control lock to prevent unintended use, usually activated by holding a button for a few seconds.
C – Cleaning Components
Regular maintenance can prevent many issues. Keep the interior clean, ensure the turntable and roller guide are free of debris, and regularly wipe down the door seal.
D – Door Switch Issues
The door switch is a safety feature that prevents the microwave from operating when the door is open. If defective, it could prevent your microwave from starting.
How to Check:
- Unplug the microwave and remove the cabinet.
- Locate the door switches and check for continuity with a multimeter.
- Replace the switch if it doesn’t show continuity.
E – Examining the Magnetron
The magnetron generates the microwaves that heat your food. If it’s faulty, the microwave won’t heat.
Safety Precaution:
Warning: A magnetron uses high voltage. Only a qualified technician should inspect or replace it.
F – Fixing the Turntable Motor
If your turntable isn’t spinning:
- Unplug the microwave and remove the bottom panel.
- Disconnect the turntable motor and test it with a multimeter for continuity.
- Replace the motor if necessary.
G – Getting to Grips with Noises
Unusual noises could indicate:
- Turntable issues: Make sure the plate is correctly seated and the roller guide isn’t obstructed.
- Fan problems: Check for obstructions in the fan area.
- Motor dysfunction: If other components look fine, the motor might need attention.
H – Handling Control Panel Problems
A malfunctioning control panel can be caused by:
- Loose connections: Ensure all wires are securely connected.
- Faulty touchpad: A non-responsive touchpad may need replacing.
- Control board issues: If the display is erratic, the control board may need repair or replacement.
I – Investigating Power Issues
If your microwave won’t power on:
- Check the fuse: Look for a blown fuse and replace it if necessary.
- Inspect the thermal cutoffs: These safety devices can cut power if the microwave overheats. Test them with a multimeter and replace if they lack continuity.
J – Judging When to Call a Professional
Although some issues can be resolved with DIY fixes, others require professional expertise. If you’re not comfortable performing these checks or if the problem persists, it’s time to call a certified technician for a more thorough inspection.
Key Takeaways
- Safety First: Always unplug your microwave before attempting any inspections or repairs, and be aware of the risks of high voltage components.
- Consult the Manual: Your user manual is an invaluable resource for specific troubleshooting related to your model.
- Perform Regular Maintenance: Keeping yourmicrowave clean and checking components regularly can prevent many common issues.
- Know Your Limits: If you’re not confident in your ability to fix the problem or if it involves high voltage components, seek professional help.
Remember that TheKitchenApplianceDad.com is here to guide you through your kitchen appliance challenges. Whether you’re dealing with a minor annoyance or a major malfunction, understanding your KitchenAid microwave can save you time and money. By following this A-Z troubleshooting guide, you’ll be better equipped to diagnose issues and decide on the best course of action.
Remember, when in doubt, don’t hesitate to reach out to a professional. Your safety and the longevity of your appliance are paramount. Happy troubleshooting, and may your meals be evenly heated and delicious!


